Your One-Stop Wire Mesh Fence Supplier | POLYMETAL
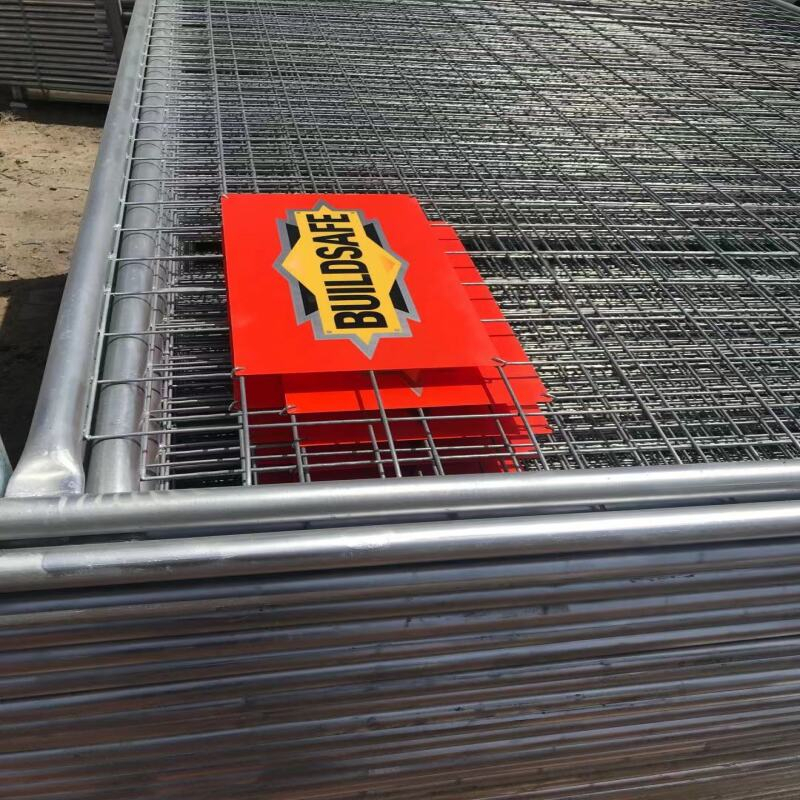

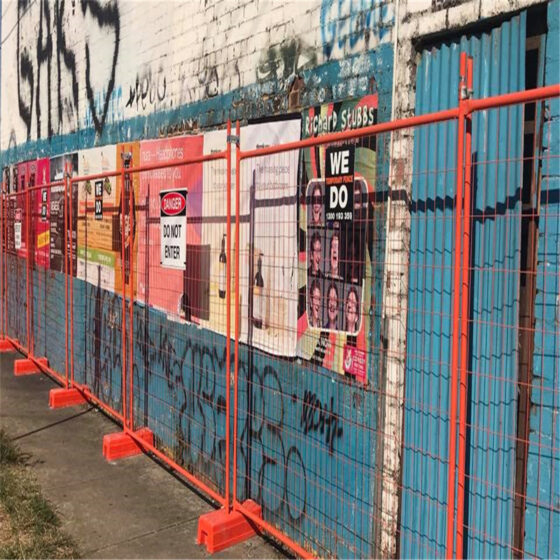
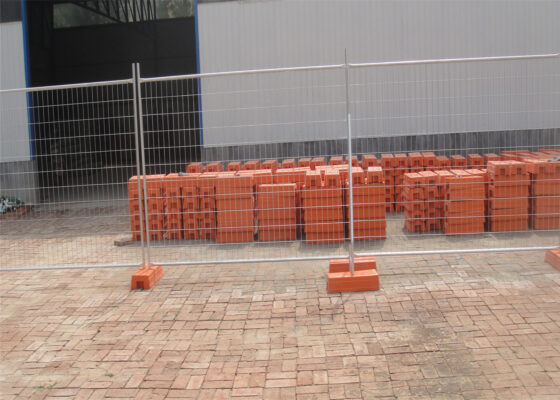
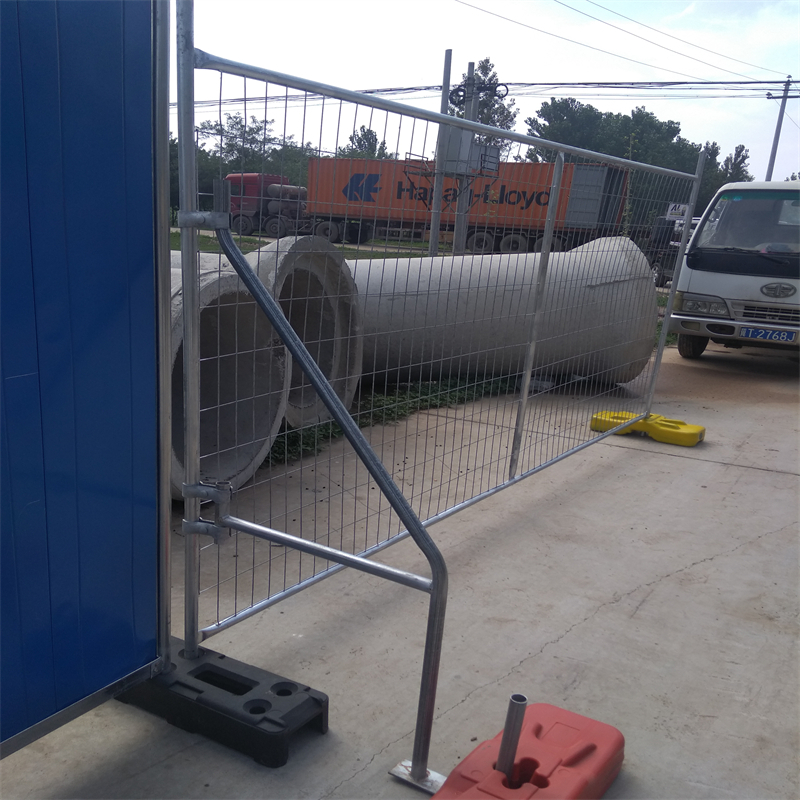
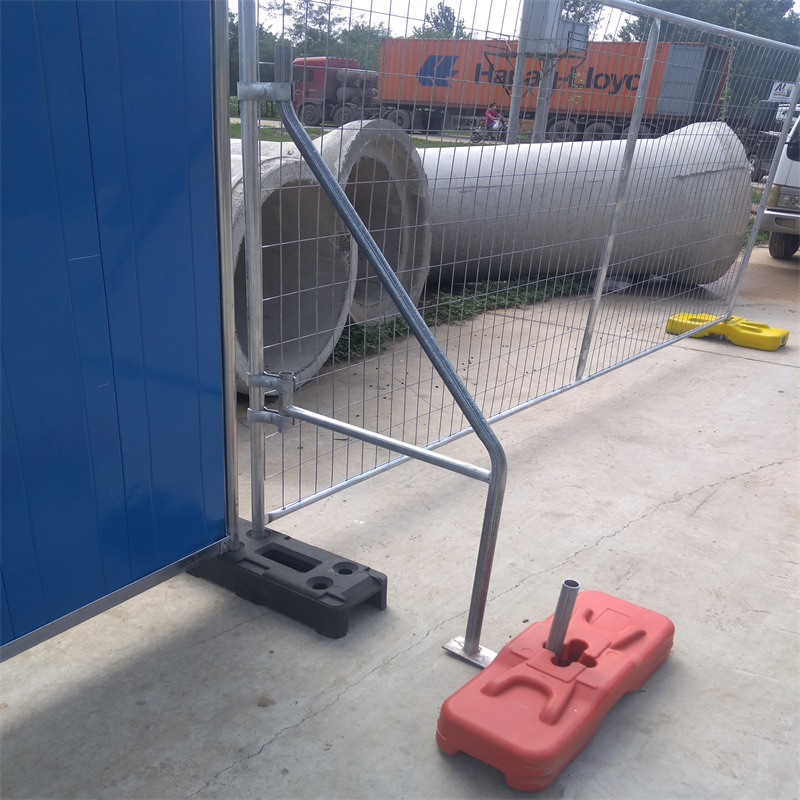
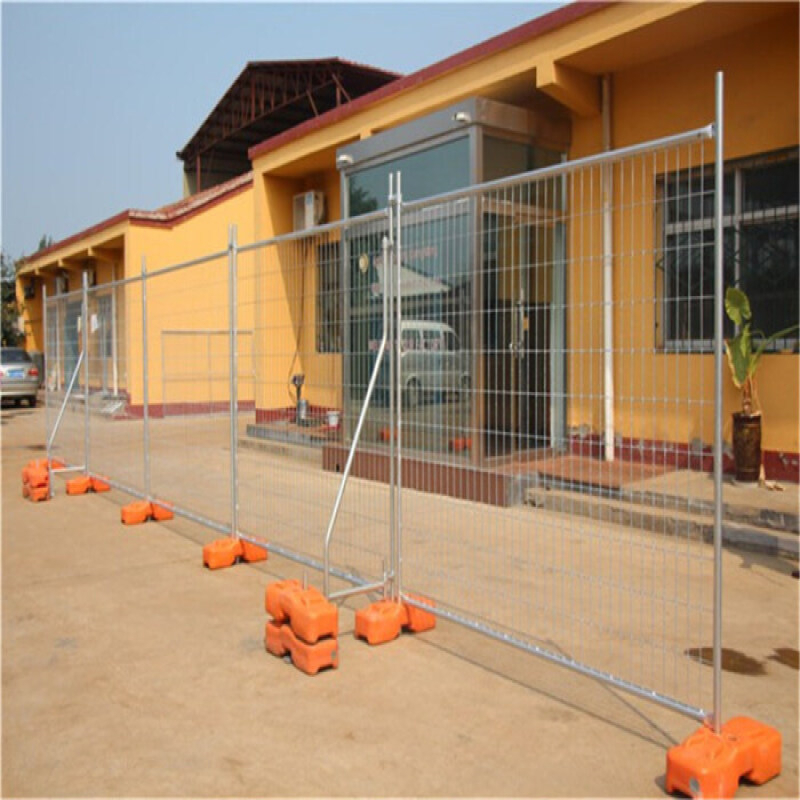
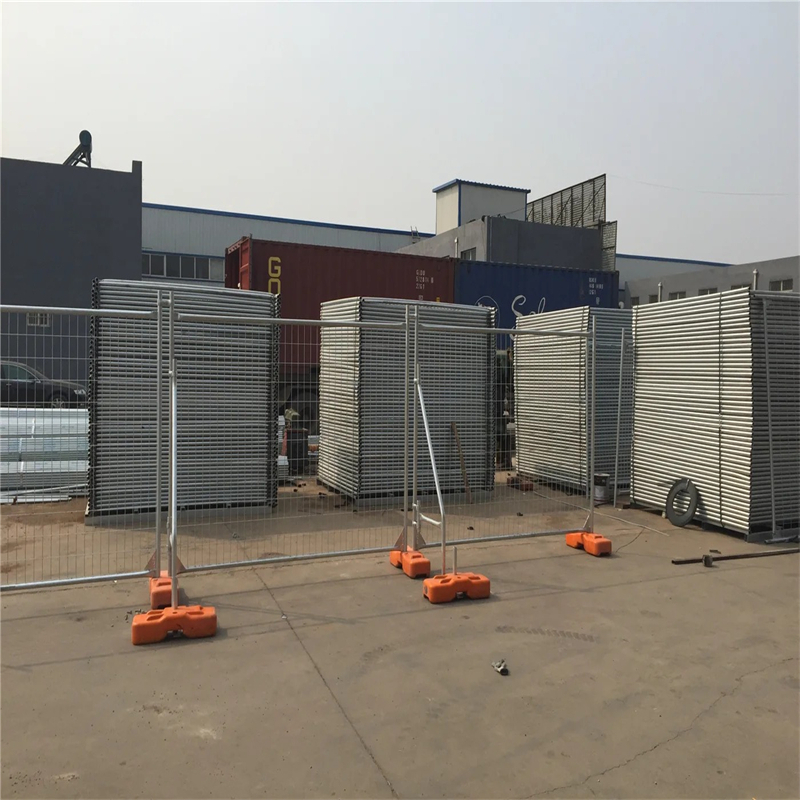
POLYMETAL Australian temporary fence panels for sale are built for fast site control without sacrificing stability, repeat-use durability, or a professional boundary line. These free-standing portable panels are widely used across Australia on construction sites, civil works corridors, event perimeters, crowd control zones, restricted-access areas, and short-term industrial separation lines where panels must be moved, stacked, re-installed, and still stay upright in real wind conditions.
A temporary fence line succeeds when it stays straight, stays joined, and stays standing. That is not “luck.” It is the result of correct frame OD selection, correct wall thickness, correct mesh wire diameter, weld discipline, and correct stability accessories such as concrete feet, clamps, and wind stays.
Product Description
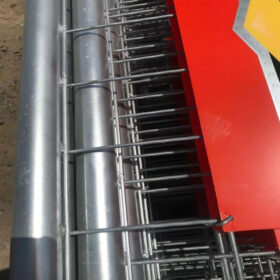
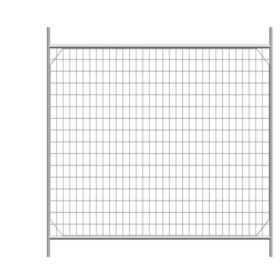
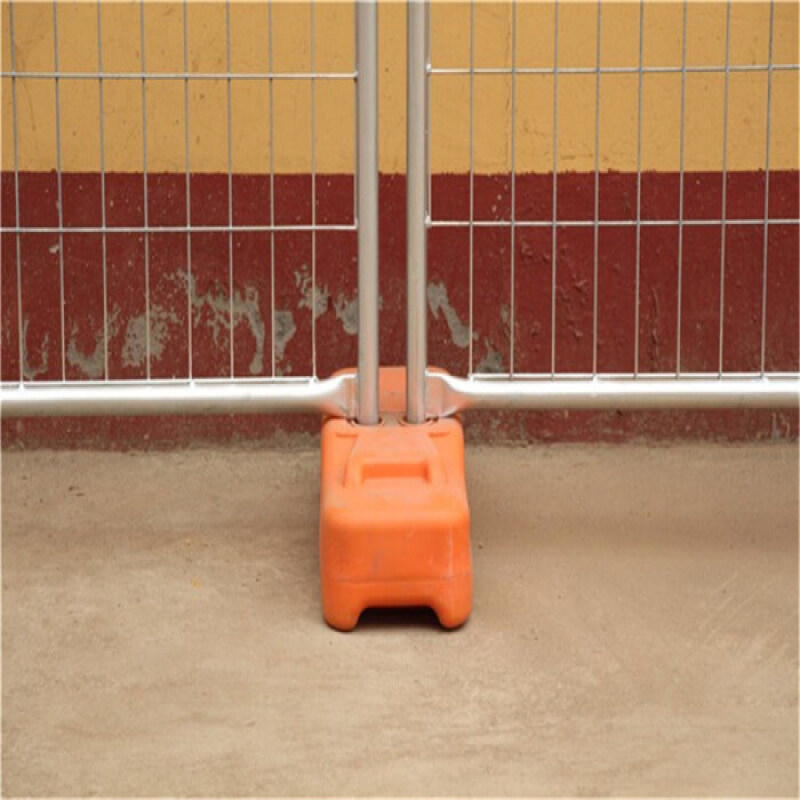
POLYMETAL Australian temporary fence panels for sale are built from round steel tubing frames and rigid welded mesh infill to form a reusable panel that can handle repeated handling cycles. Standard panel height is commonly 2100mm, while popular panel widths include 2400mm, 3300mm, and 3500mm. Longer panels are commonly supplied with a middle rail to reduce span pumping and improve stiffness in wind corridors.
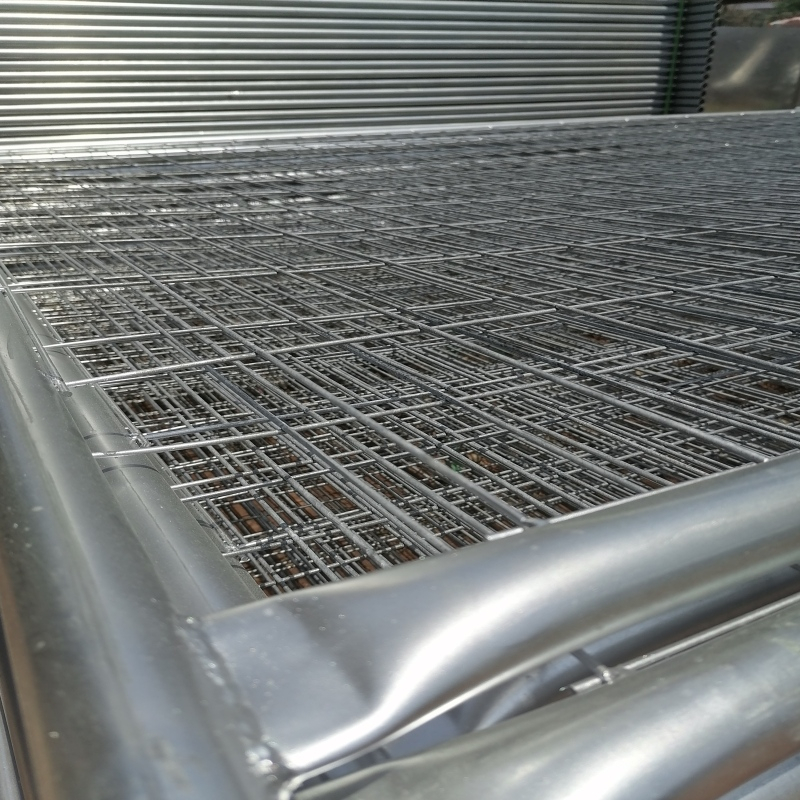
The frame tube options commonly include OD32mm, OD38mm, OD40mm, and OD41mm, with wall thickness choices such as 1.0mm, 1.2mm, 1.4mm, 1.5mm, and 2.00mm to match exposure level and reuse intensity. The infill welded mesh is commonly 60mm × 150mm, balancing visibility with practical resistance to casual climbing rhythm and tool reach. Wire diameter options commonly include 2.70mm, 3.00mm, and 4.00mm, selected by duty level and expected service life.
Corrosion protection is controlled by zinc and finishing thickness. Typical finish schedules include 14 microns (light HDG), 42 microns (hot dipped galvanized), and 100 microns (heavy hot dipped galvanized) for high-abuse or coastal exposure. For common 2.1m-high panels, a typical wire layout is 12 vertical wires with horizontal wire counts that match panel length: 38 pcs (2.1m×2.4m), 53 pcs (2.1m×3.3m), and 56 pcs (2.1m×3.5m). When specified and produced to the required tolerances, POLYMETAL systems can be supplied to comply with AS4687-2022.
System Logic for Australian Temporary Fence Panels for Sale
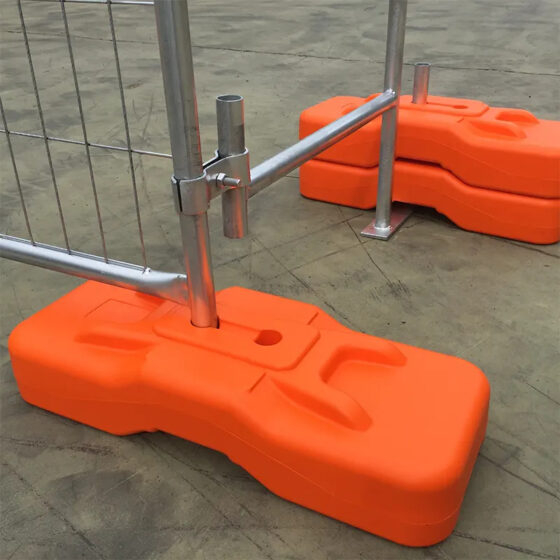
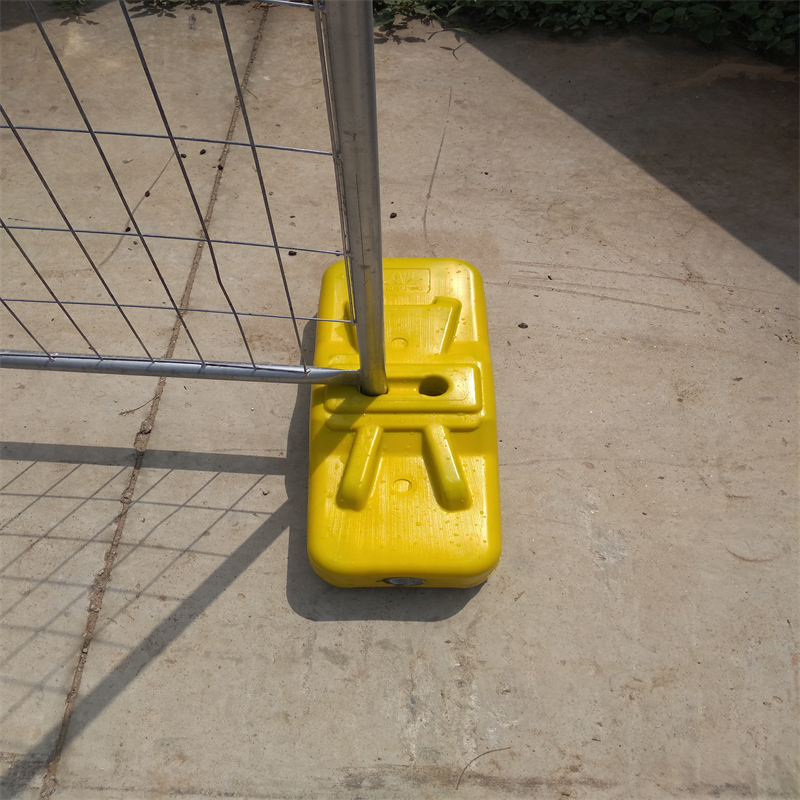
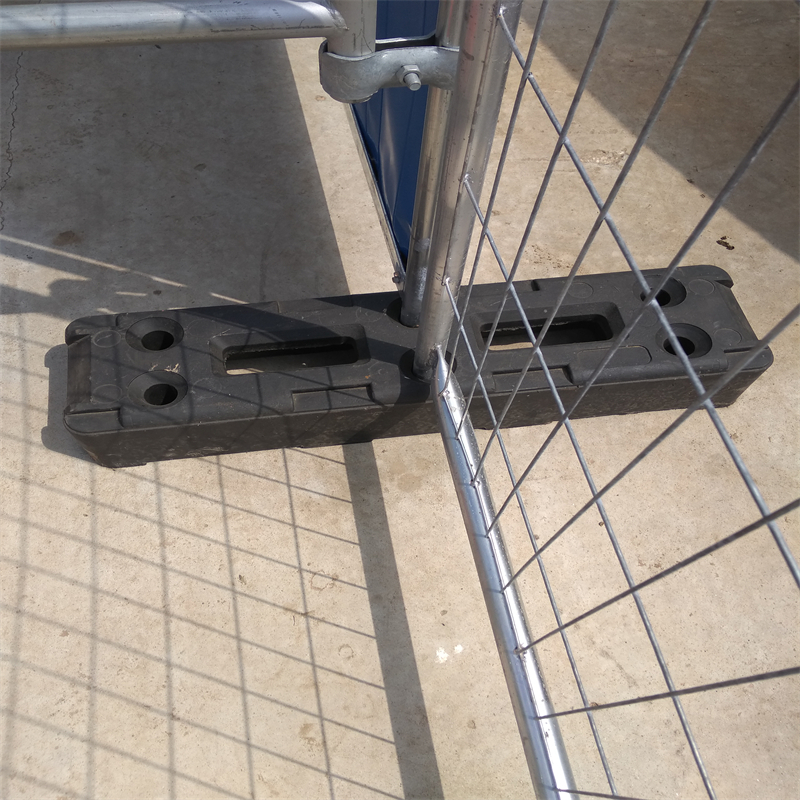
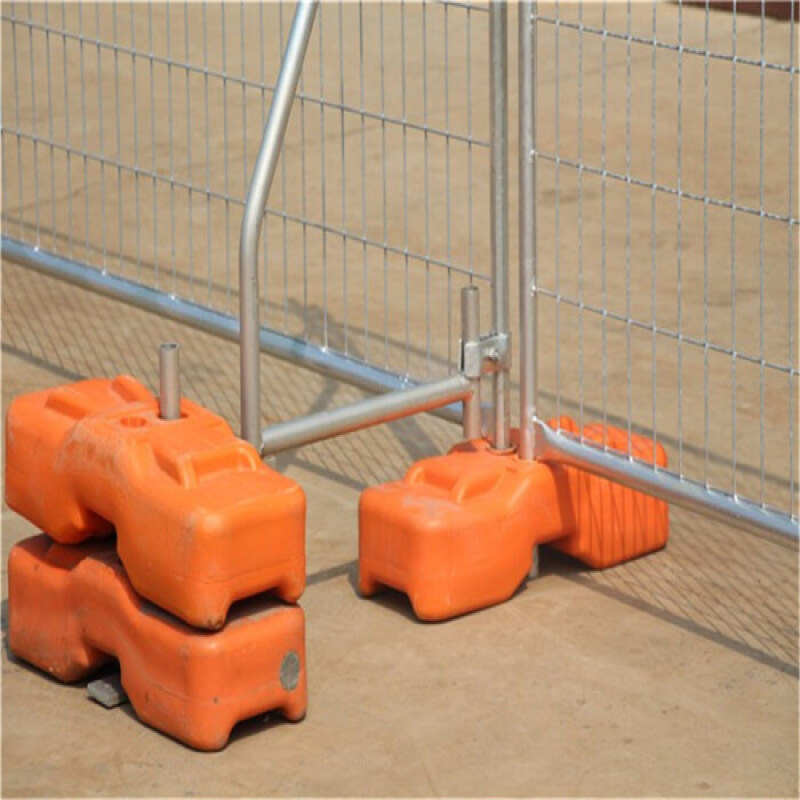
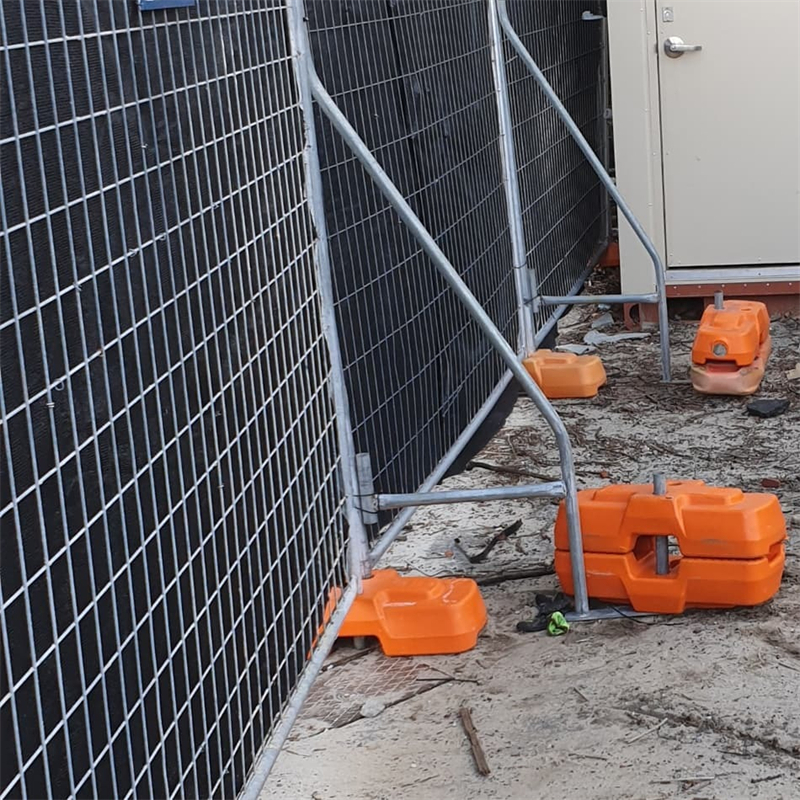
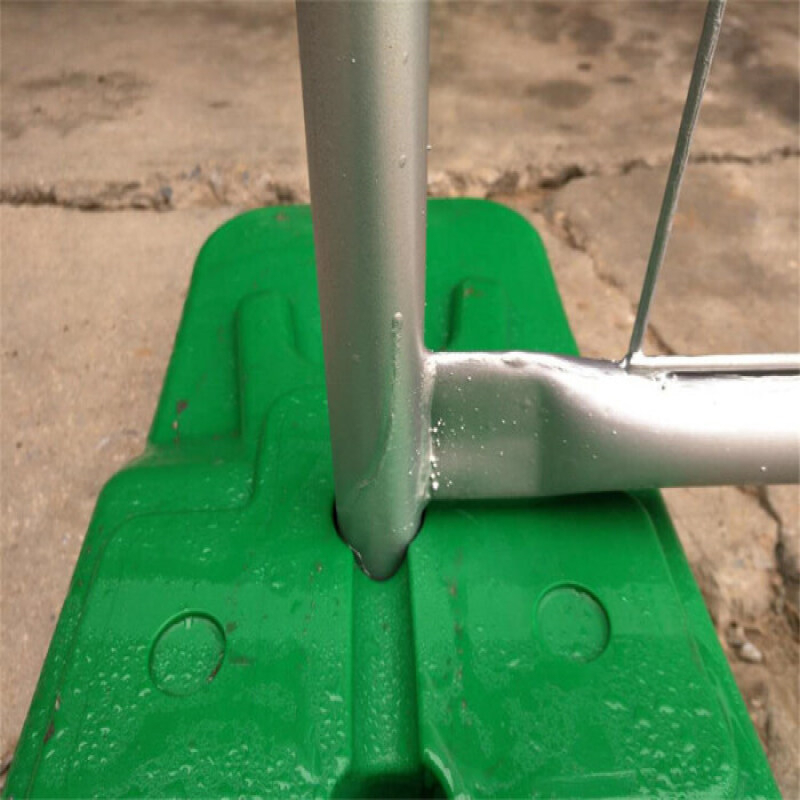
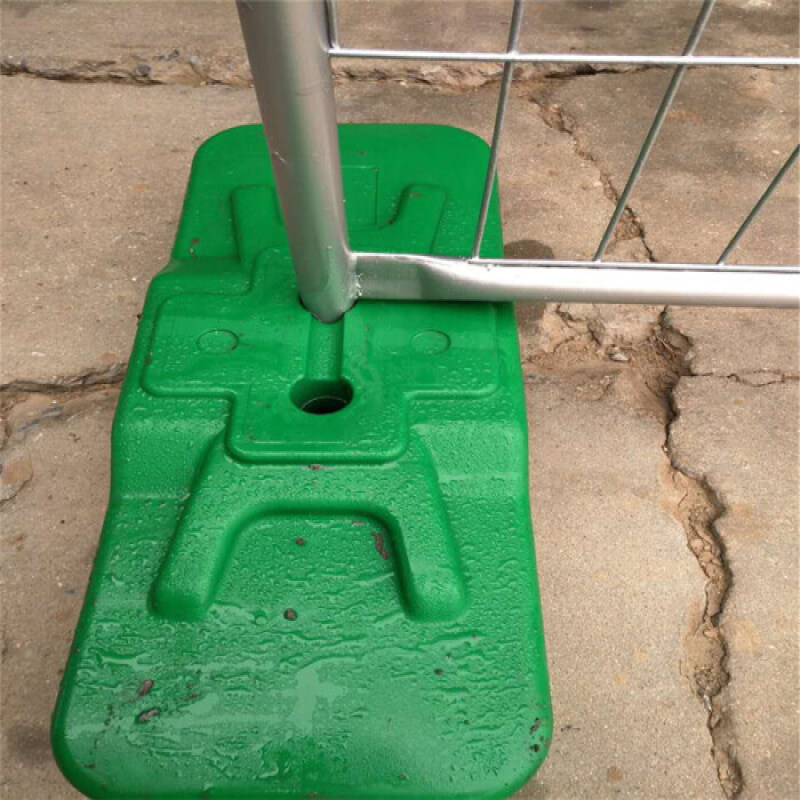
Temporary fencing does not usually fail because “steel is weak.” It fails because movement is allowed to start. Wind load creates vibration, vibration creates micro-shifts at joins, micro-shifts become lean, lean becomes spread, and a single weak bay can turn into a line-wide stability problem. That is why a stable temporary fence line is treated as a system: frame OD + wall thickness + mesh wire diameter + weld integrity + feet type + clamp security + stay spacing—especially when you follow proven setup methods for filling temporary fence feet in Australia.
Top 8 Traps You Don’t Know About Australian Temporary Fence Panels for Sale (Especially #4)
Trap #1: Choosing frame OD by price instead of wind exposure—small OD frames flex earlier and fatigue faster.
Trap #2: Buying “galvanized” without defining zinc microns—finish life collapses once stacking rubs through the coating.
Trap #3: Under-specifying frame thickness—panels bend at lift points and never stand straight again.
Trap #4: Skipping stays and concrete feet in “moderate wind”—this is where lines fall, injuries happen, and projects get stopped.
Trap #5: Ignoring the middle rail on 3300mm/3500mm panels—unsupported spans pump in wind and crack welds.
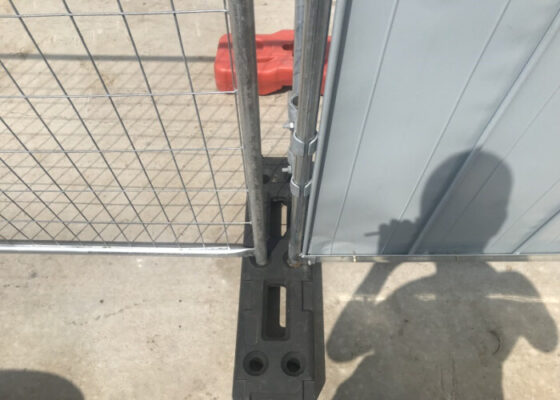
Trap #6: Using weak clamps—movement becomes leverage and panels walk out of alignment.
Trap #7: Mixing panel sizes randomly—gaps form, transitions weaken, and the line becomes unstable.
Trap #8: No consistent wire count—uneven stiffness creates “soft bays” that fail first and damage the entire run.
Specifications Australian temporary fence panels for sale
Table 1. POLYMETAL Standard Panel Schedule (AS4687-2022 Ready) — 10 Specs
| Spec | Panel Height (mm) | Panel Length (mm) | Frame Tube OD (mm) | Frame Thickness (mm) | Mesh Opening (mm) | Mesh Wire Dia (mm) | Vertical Wires (pcs) | Horizontal Wires (pcs) | Middle Rail | Finish (Microns) |
|---|---|---|---|---|---|---|---|---|---|---|
| AUS-TF01 | 2100 | 2400 | 32 | 1.0 | 60×150 | 2.70 | 12 | 38 | No | 14 |
| AUS-TF02 | 2100 | 2400 | 32 | 1.2 | 60×150 | 3.00 | 12 | 38 | No | 42 |
| AUS-TF03 | 2100 | 2400 | 38 | 1.2 | 60×150 | 3.00 | 12 | 38 | No | 42 |
| AUS-TF04 | 2100 | 2400 | 38 | 1.4 | 60×150 | 3.00 | 12 | 38 | No | 42 |
| AUS-TF05 | 2100 | 2400 | 40 | 1.5 | 60×150 | 4.00 | 12 | 38 | No | 100 |
| AUS-TF06 | 2100 | 2400 | 41 | 1.5 | 60×150 | 4.00 | 12 | 38 | No | 100 |
| AUS-TF07 | 2100 | 2400 | 40 | 2.0 | 60×150 | 4.00 | 12 | 38 | No | 100 |
| AUS-TF08 | 2100 | 3300 | 38 | 1.2 | 60×150 | 2.70 | 12 | 53 | Yes | 14 |
| AUS-TF09 | 2100 | 3300 | 40 | 1.4 | 60×150 | 3.00 | 12 | 53 | Yes | 42 |
| AUS-TF10 | 2100 | 3500 | 41 | 1.5 | 60×150 | 4.00 | 12 | 56 | Yes | 100 |
Table 2. Wind-Zone + Heavy Reuse Builds — 10 Specs
| Spec | Panel Height (mm) | Panel Length (mm) | Frame Tube OD (mm) | Frame Thickness (mm) | Mesh Opening (mm) | Mesh Wire Dia (mm) | Vertical Wires (pcs) | Horizontal Wires (pcs) | Middle Rail | Finish (Microns) |
|---|---|---|---|---|---|---|---|---|---|---|
| AUS-HD01 | 2100 | 2400 | 40 | 1.5 | 60×150 | 4.00 | 12 | 38 | No | 100 |
| AUS-HD02 | 2100 | 2400 | 41 | 1.5 | 60×150 | 4.00 | 12 | 38 | No | 100 |
| AUS-HD03 | 2100 | 2400 | 40 | 2.0 | 60×150 | 4.00 | 12 | 38 | No | 100 |
| AUS-HD04 | 2100 | 2400 | 41 | 2.0 | 60×150 | 4.00 | 12 | 38 | No | 100 |
| AUS-HD05 | 2100 | 3300 | 40 | 1.4 | 60×150 | 3.00 | 12 | 53 | Yes | 42 |
| AUS-HD06 | 2100 | 3300 | 41 | 1.5 | 60×150 | 4.00 | 12 | 53 | Yes | 100 |
| AUS-HD07 | 2100 | 3300 | 41 | 2.0 | 60×150 | 4.00 | 12 | 53 | Yes | 100 |
| AUS-HD08 | 2100 | 3500 | 40 | 1.5 | 60×150 | 4.00 | 12 | 56 | Yes | 100 |
| AUS-HD09 | 2100 | 3500 | 41 | 1.5 | 60×150 | 4.00 | 12 | 56 | Yes | 100 |
| AUS-HD10 | 2100 | 3500 | 41 | 2.0 | 60×150 | 4.00 | 12 | 56 | Yes | 100 |
Table 3. Long-Run Perimeter Panels (3300/3500 With Mid Rail) — 10 Specs
| Spec | Panel Height (mm) | Panel Length (mm) | Frame Tube OD (mm) | Frame Thickness (mm) | Mesh Opening (mm) | Mesh Wire Dia (mm) | Vertical Wires (pcs) | Horizontal Wires (pcs) | Middle Rail | Finish (Microns) |
|---|---|---|---|---|---|---|---|---|---|---|
| AUS-LR01 | 2100 | 3300 | 38 | 1.2 | 60×150 | 2.70 | 12 | 53 | Yes | 14 |
| AUS-LR02 | 2100 | 3300 | 38 | 1.4 | 60×150 | 3.00 | 12 | 53 | Yes | 42 |
| AUS-LR03 | 2100 | 3300 | 40 | 1.4 | 60×150 | 3.00 | 12 | 53 | Yes | 42 |
| AUS-LR04 | 2100 | 3300 | 40 | 1.5 | 60×150 | 4.00 | 12 | 53 | Yes | 100 |
| AUS-LR05 | 2100 | 3300 | 41 | 1.5 | 60×150 | 4.00 | 12 | 53 | Yes | 100 |
| AUS-LR06 | 2100 | 3500 | 38 | 1.4 | 60×150 | 3.00 | 12 | 56 | Yes | 42 |
| AUS-LR07 | 2100 | 3500 | 40 | 1.5 | 60×150 | 4.00 | 12 | 56 | Yes | 100 |
| AUS-LR08 | 2100 | 3500 | 41 | 1.5 | 60×150 | 4.00 | 12 | 56 | Yes | 100 |
| AUS-LR09 | 2100 | 3500 | 41 | 2.0 | 60×150 | 4.00 | 12 | 56 | Yes | 100 |
| AUS-LR10 | 2100 | 3500 | 40 | 2.0 | 60×150 | 4.00 | 12 | 56 | Yes | 100 |
Table 4. Finish Levels (14 / 42 / 100 Microns) — 10 Specs
| Spec | Panel Height (mm) | Panel Length (mm) | Frame Tube OD (mm) | Frame Thickness (mm) | Mesh Opening (mm) | Mesh Wire Dia (mm) | Vertical Wires (pcs) | Horizontal Wires (pcs) | Middle Rail | Finish (Microns) |
|---|---|---|---|---|---|---|---|---|---|---|
| AUS-FN01 | 2100 | 2400 | 32 | 1.0 | 60×150 | 2.70 | 12 | 38 | No | 14 |
| AUS-FN02 | 2100 | 2400 | 32 | 1.2 | 60×150 | 3.00 | 12 | 38 | No | 42 |
| AUS-FN03 | 2100 | 2400 | 38 | 1.2 | 60×150 | 3.00 | 12 | 38 | No | 42 |
| AUS-FN04 | 2100 | 2400 | 40 | 1.5 | 60×150 | 4.00 | 12 | 38 | No | 100 |
| AUS-FN05 | 2100 | 2400 | 41 | 1.5 | 60×150 | 4.00 | 12 | 38 | No | 100 |
| AUS-FN06 | 2100 | 3300 | 38 | 1.2 | 60×150 | 2.70 | 12 | 53 | Yes | 14 |
| AUS-FN07 | 2100 | 3300 | 40 | 1.4 | 60×150 | 3.00 | 12 | 53 | Yes | 42 |
| AUS-FN08 | 2100 | 3300 | 41 | 1.5 | 60×150 | 4.00 | 12 | 53 | Yes | 100 |
| AUS-FN09 | 2100 | 3500 | 40 | 1.5 | 60×150 | 4.00 | 12 | 56 | Yes | 100 |
| AUS-FN10 | 2100 | 3500 | 41 | 2.0 | 60×150 | 4.00 | 12 | 56 | Yes | 100 |
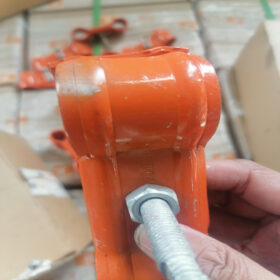
Table 5. Stability Setup (Clamps, Feet, Stays) — 10 Specs
| Spec | Panel Height (mm) | Panel Length (mm) | Frame Tube OD (mm) | Frame Thickness (mm) | Mesh Wire Dia (mm) | Finish (Microns) | Feet Type | Clamps / Join | Stay Required | Typical Stay Interval |
|---|---|---|---|---|---|---|---|---|---|---|
| AUS-ST01 | 2100 | 2400 | 32 | 1.2 | 3.00 | 42 | Concrete | 2 | Yes | 4.8m modules |
| AUS-ST02 | 2100 | 2400 | 38 | 1.4 | 3.00 | 42 | Concrete | 2 | Yes | 7.2m modules |
| AUS-ST03 | 2100 | 2400 | 40 | 1.5 | 4.00 | 100 | Concrete | 2 | Yes | 4.8m modules |
| AUS-ST04 | 2100 | 3300 | 38 | 1.2 | 2.70 | 14 | Concrete | 2 | Yes | 4.8m modules |
| AUS-ST05 | 2100 | 3300 | 40 | 1.4 | 3.00 | 42 | Concrete | 2 | Yes | 7.2m modules |
| AUS-ST06 | 2100 | 3300 | 41 | 1.5 | 4.00 | 100 | Concrete | 2 | Yes | 4.8m modules |
| AUS-ST07 | 2100 | 3500 | 38 | 1.4 | 3.00 | 42 | Concrete | 2 | Yes | 7.2m modules |
| AUS-ST08 | 2100 | 3500 | 40 | 1.5 | 4.00 | 100 | Concrete | 2 | Yes | 4.8m modules |
| AUS-ST09 | 2100 | 3500 | 41 | 2.0 | 4.00 | 100 | Concrete | 2 | Yes | 4.8m modules |
| AUS-ST10 | 2100 | 3500 | 41 | 1.5 | 4.00 | 100 | Concrete | 2 | Yes | Corners + gates |
Applications Australian temporary fence panels for sale
POLYMETAL Australian temporary fence panels for sale are commonly used for construction site boundaries, civil works corridors, road and rail works, demolition zones, utility trenching, storage yards, event perimeters, crowd-control lanes, restricted public access areas, school maintenance zones, and short-term industrial separation where fast installation and reliable stability are mandatory.
Benefits
POLYMETAL Australian temporary fence panels for sale deliver fast deployment, clear boundary control, and high visibility through welded mesh infill. Correctly specified frame OD and wall thickness help panels stay straight after repeated handling, while correct wire diameter and weld discipline keep the mesh tight without progressive loosening. With zinc finish options from 14 to 100 microns, projects can choose the right balance of cost and service life, reducing maintenance, reducing call-backs, and reducing the risk that a “temporary” line becomes an expensive incident—especially when paired with galv star pickets.
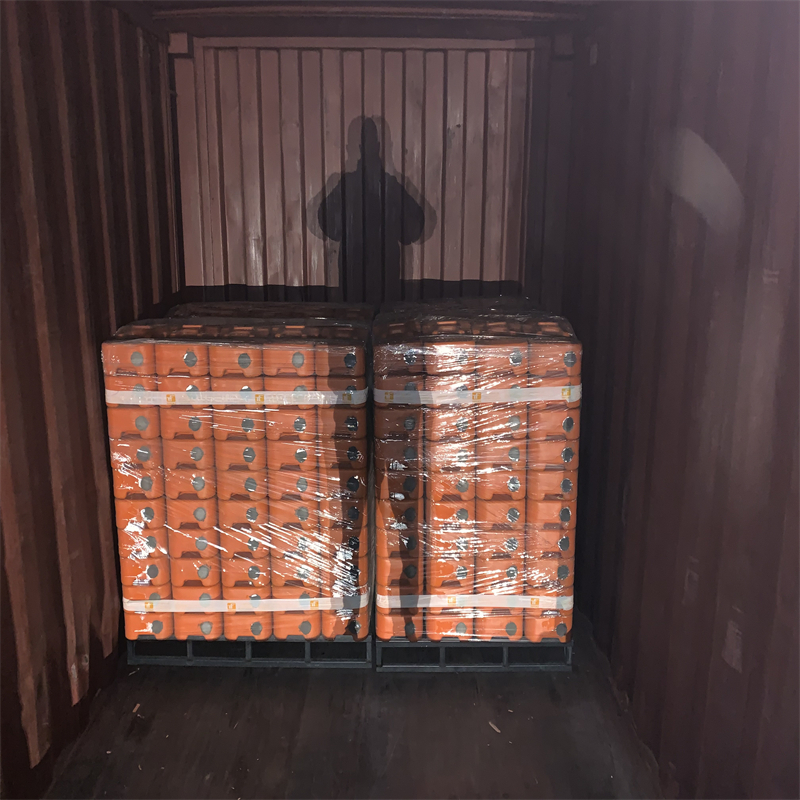
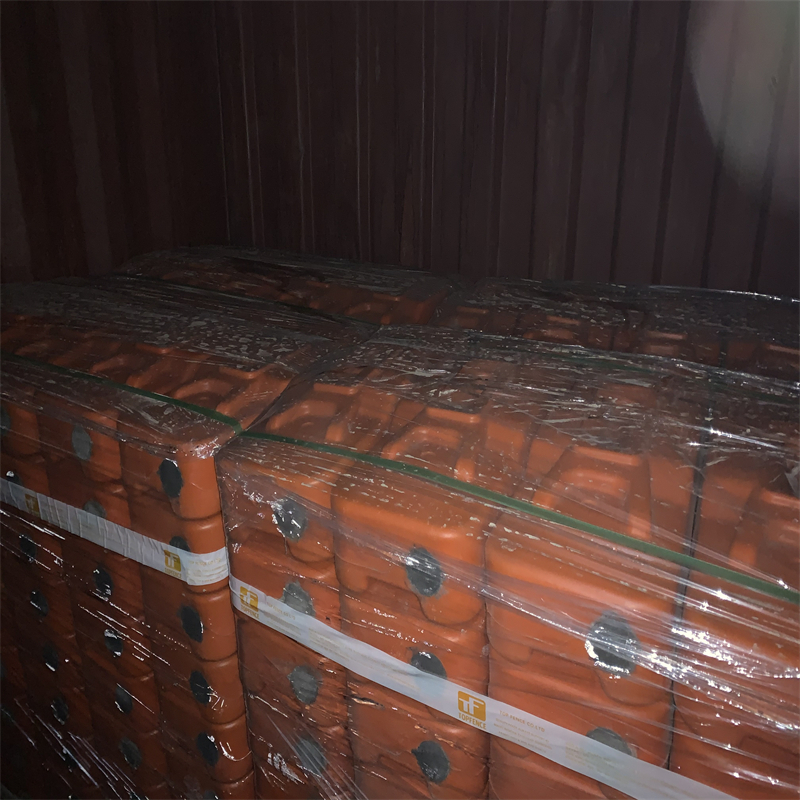
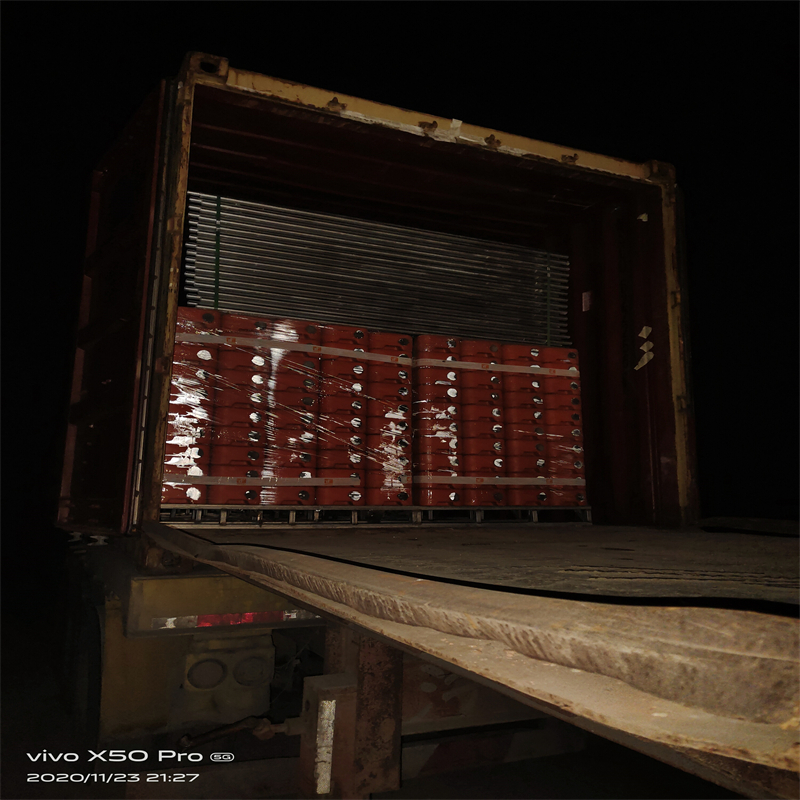
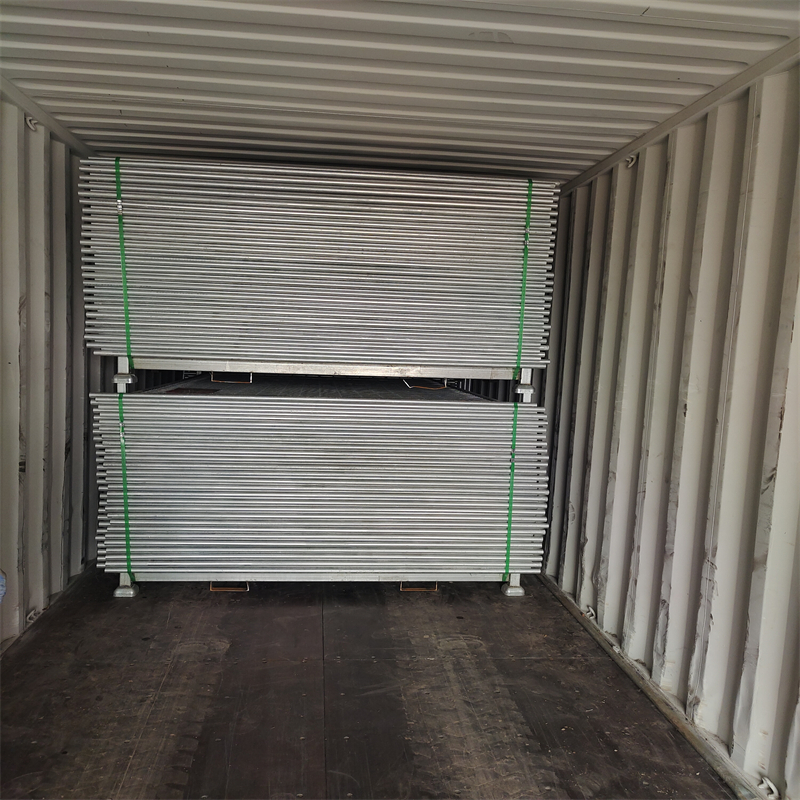
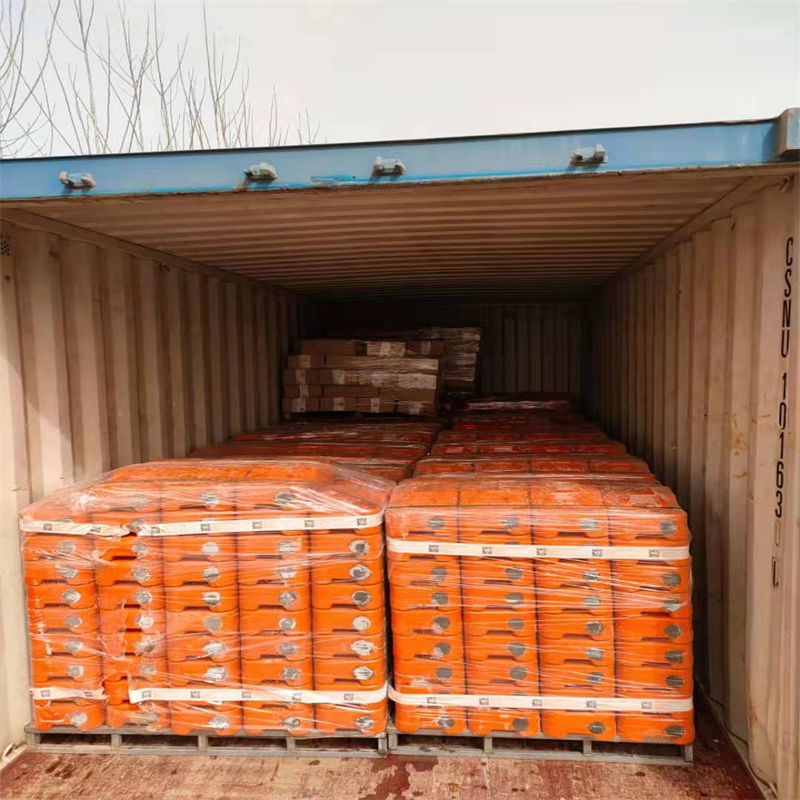
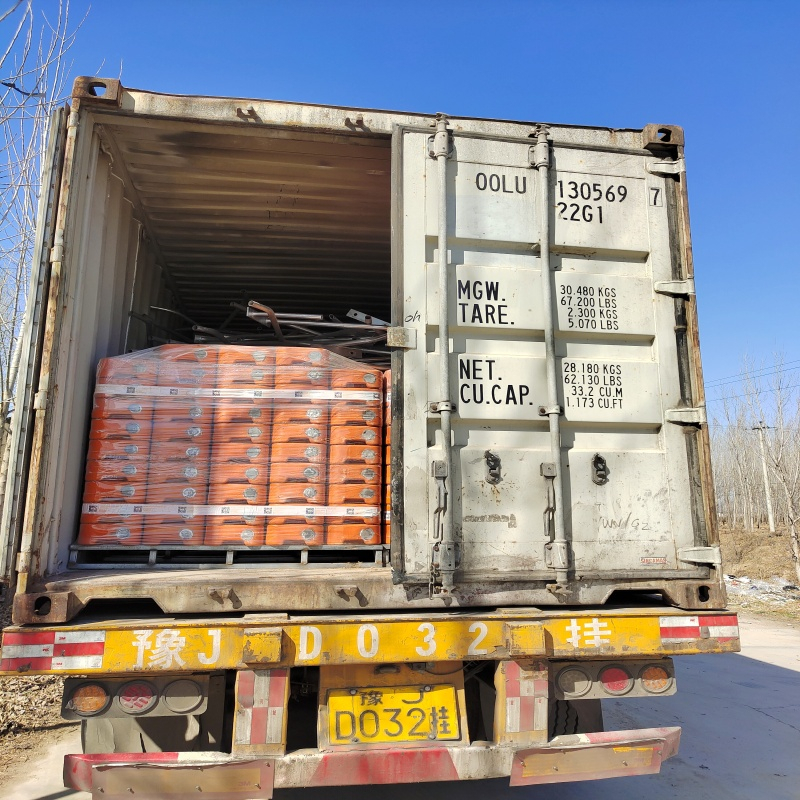
Packing Australian temporary fence panels for sale
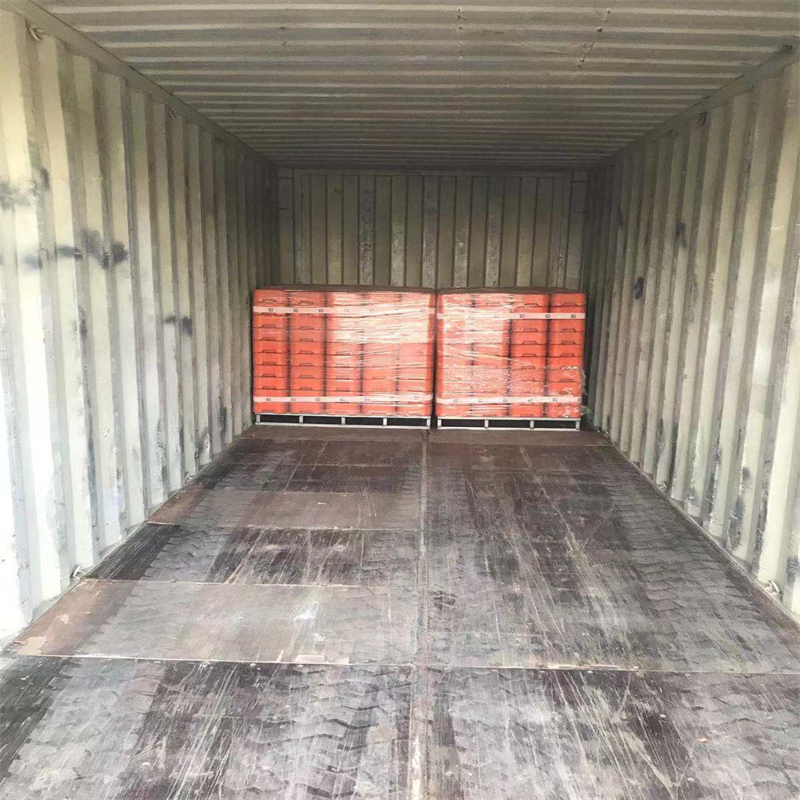
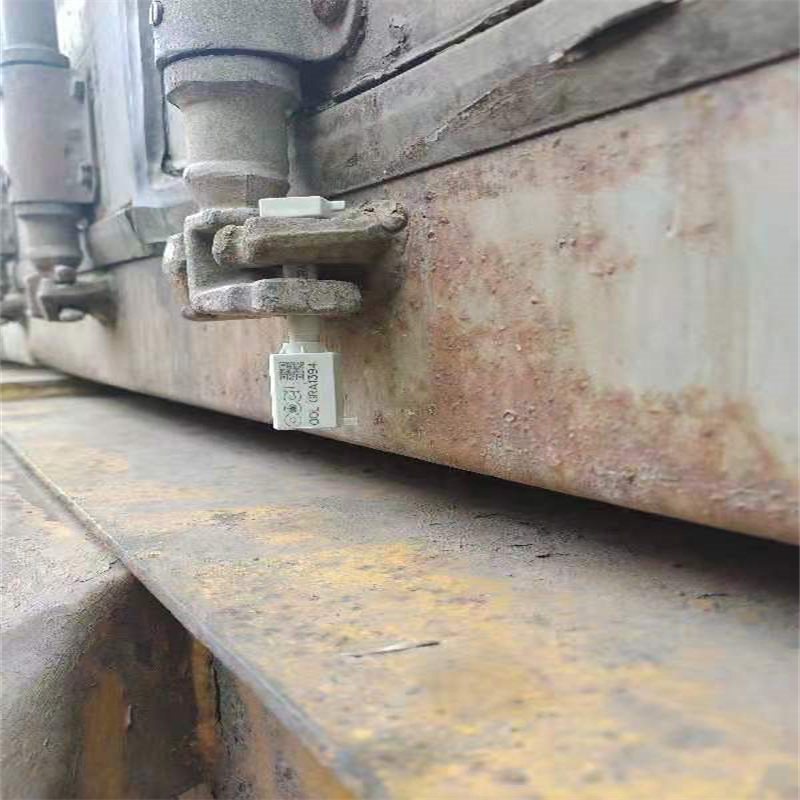
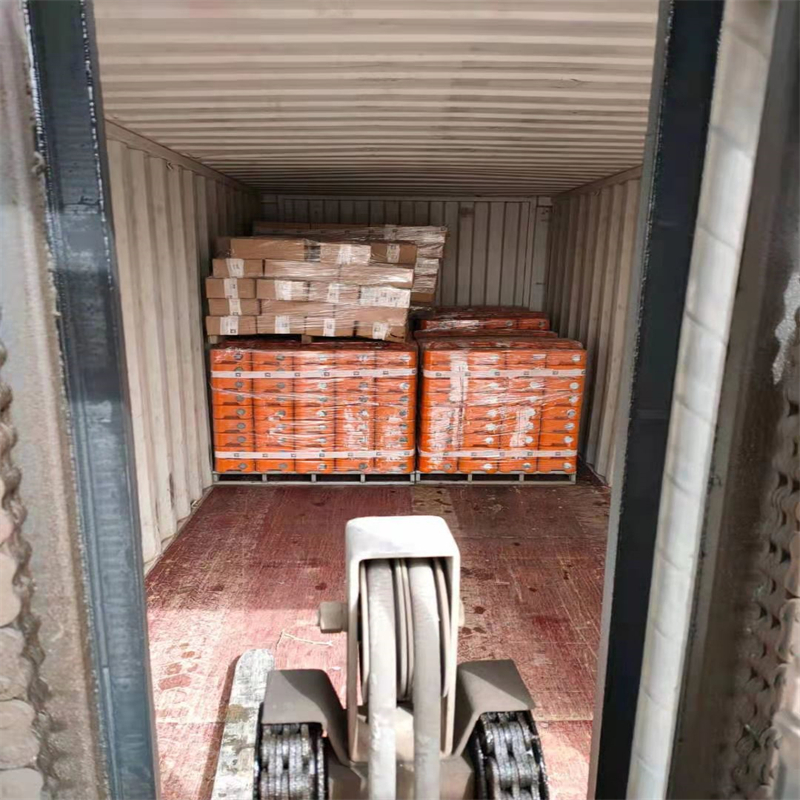
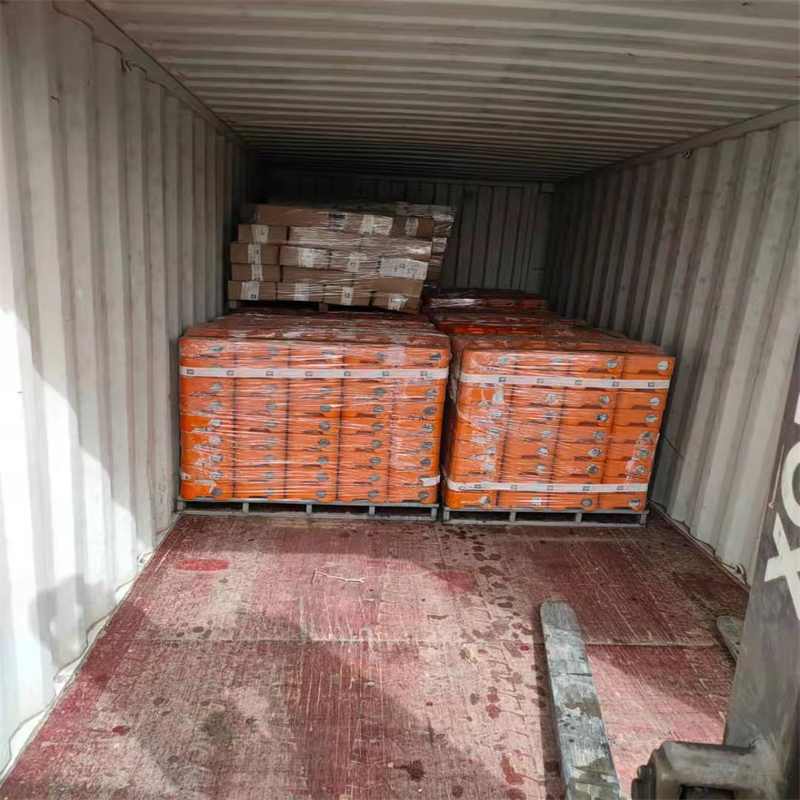
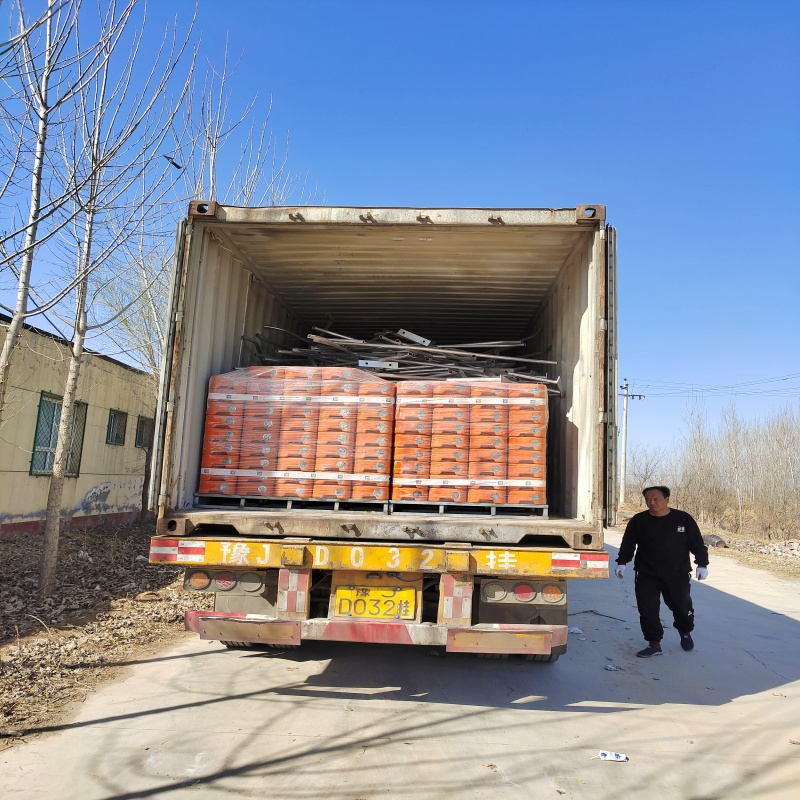
Panels are stacked with separation layers to reduce zinc abrasion, wrapped with protective film, and steel-strapped into stable bundles for forklift handling and container loading. Accessories such as clamps, stays, and fasteners are bagged and boxed for fast site counting. Concrete feet are commonly palletized for clean logistics and to prevent missing sets that would otherwise trigger the Trap #4 stability failure.
Standards and Quality Control Australian temporary fence panels for sale
POLYMETAL systems can be supplied to comply with AS4687-2022 when specified and produced to the required tolerances. Production control focuses on frame tube thickness consistency, weld integrity at mesh intersections, panel squareness and flatness, and finish thickness control (14μm / 42μm / 100μm schedules). Final inspection commonly includes dimensional checks, weld visual review, surface finish checks, packing verification, and accessory counting so the delivered system installs tight and remains tight.
FAQs Australian temporary fence panels for sale
What is the most common size for Australian temporary fence panels for sale?
The most common site panel is 2100mm high × 2400mm long, because it balances transport efficiency, line stability, and quick installation.
When should 3300mm or 3500mm panels be used?
Long panels are efficient for straight runs, but they should be supplied with a middle rail and installed with correct stability planning (feet + stays) to prevent wind pumping and progressive leaning.
What mesh and wire are typical?
A common welded mesh is 60mm × 150mm, paired with 2.70mm / 3.00mm / 4.00mm wire depending on duty level.
What finish should be chosen for heavy reuse or coastal handling?
100 microns hot dipped galvanized is the preferred option for harsh exposure and repeated stacking abrasion.
What causes the most expensive failures?
The biggest costs usually come from stability shortcuts—especially Trap #4, where missing stays and proper feet strategy turns wind into topple risk and shutdown consequences.