Your One-Stop Wire Mesh Fence Supplier | POLYMETAL


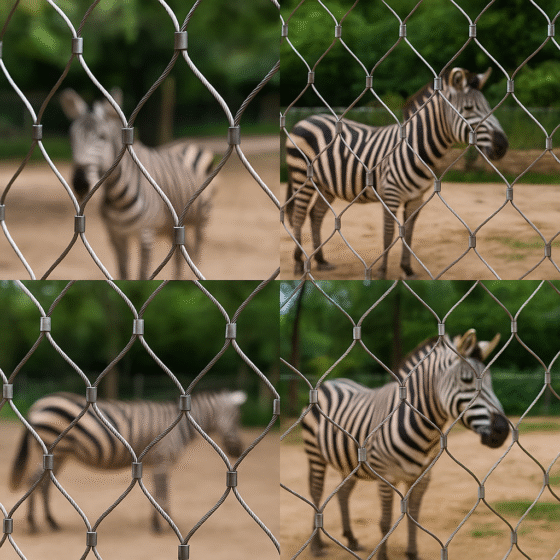
Custom crowd control barriers are supposed to manage flow, protect people, and keep venues looking organised. But many buyers compare photos and price only—then discover problems during setup or peak crowd pressure: rocking lines, noisy joints, scratched coatings, tripping complaints, or panels that won’t align. The section below breaks down the most expensive traps that hit custom crowd control barriers and how to avoid them when specifying POLYMETAL systems. For architectural zones that need visibility with a different type of containment, see x tend cable mesh.
15 Shocking Traps You Don’t Know About Custom Crowd Control Barriers (Especially No.7 Can Cost You Big)
Trap 1: The “Same Photo” Trap That Hides Weak Tube Choices
Custom crowd control barriers can look identical online while using different frame tube diameters and wall thickness. Thin frames flex, deform during stacking, and feel cheap when pushed in real use.
Trap 2: The Finish Trap That Decides Whether Rust Starts Early
A nice colour doesn’t equal durability. When surface preparation and coating sequence are rushed, scratches become corrosion starters—especially at welds and high-contact points.
Trap 3: The Weld Trap That Predicts Service Life
Weld quality isn’t just “holding together.” Inconsistent welding can crack under repeated pushing, dragging, or stacking—and spatter can trap moisture and accelerate corrosion.
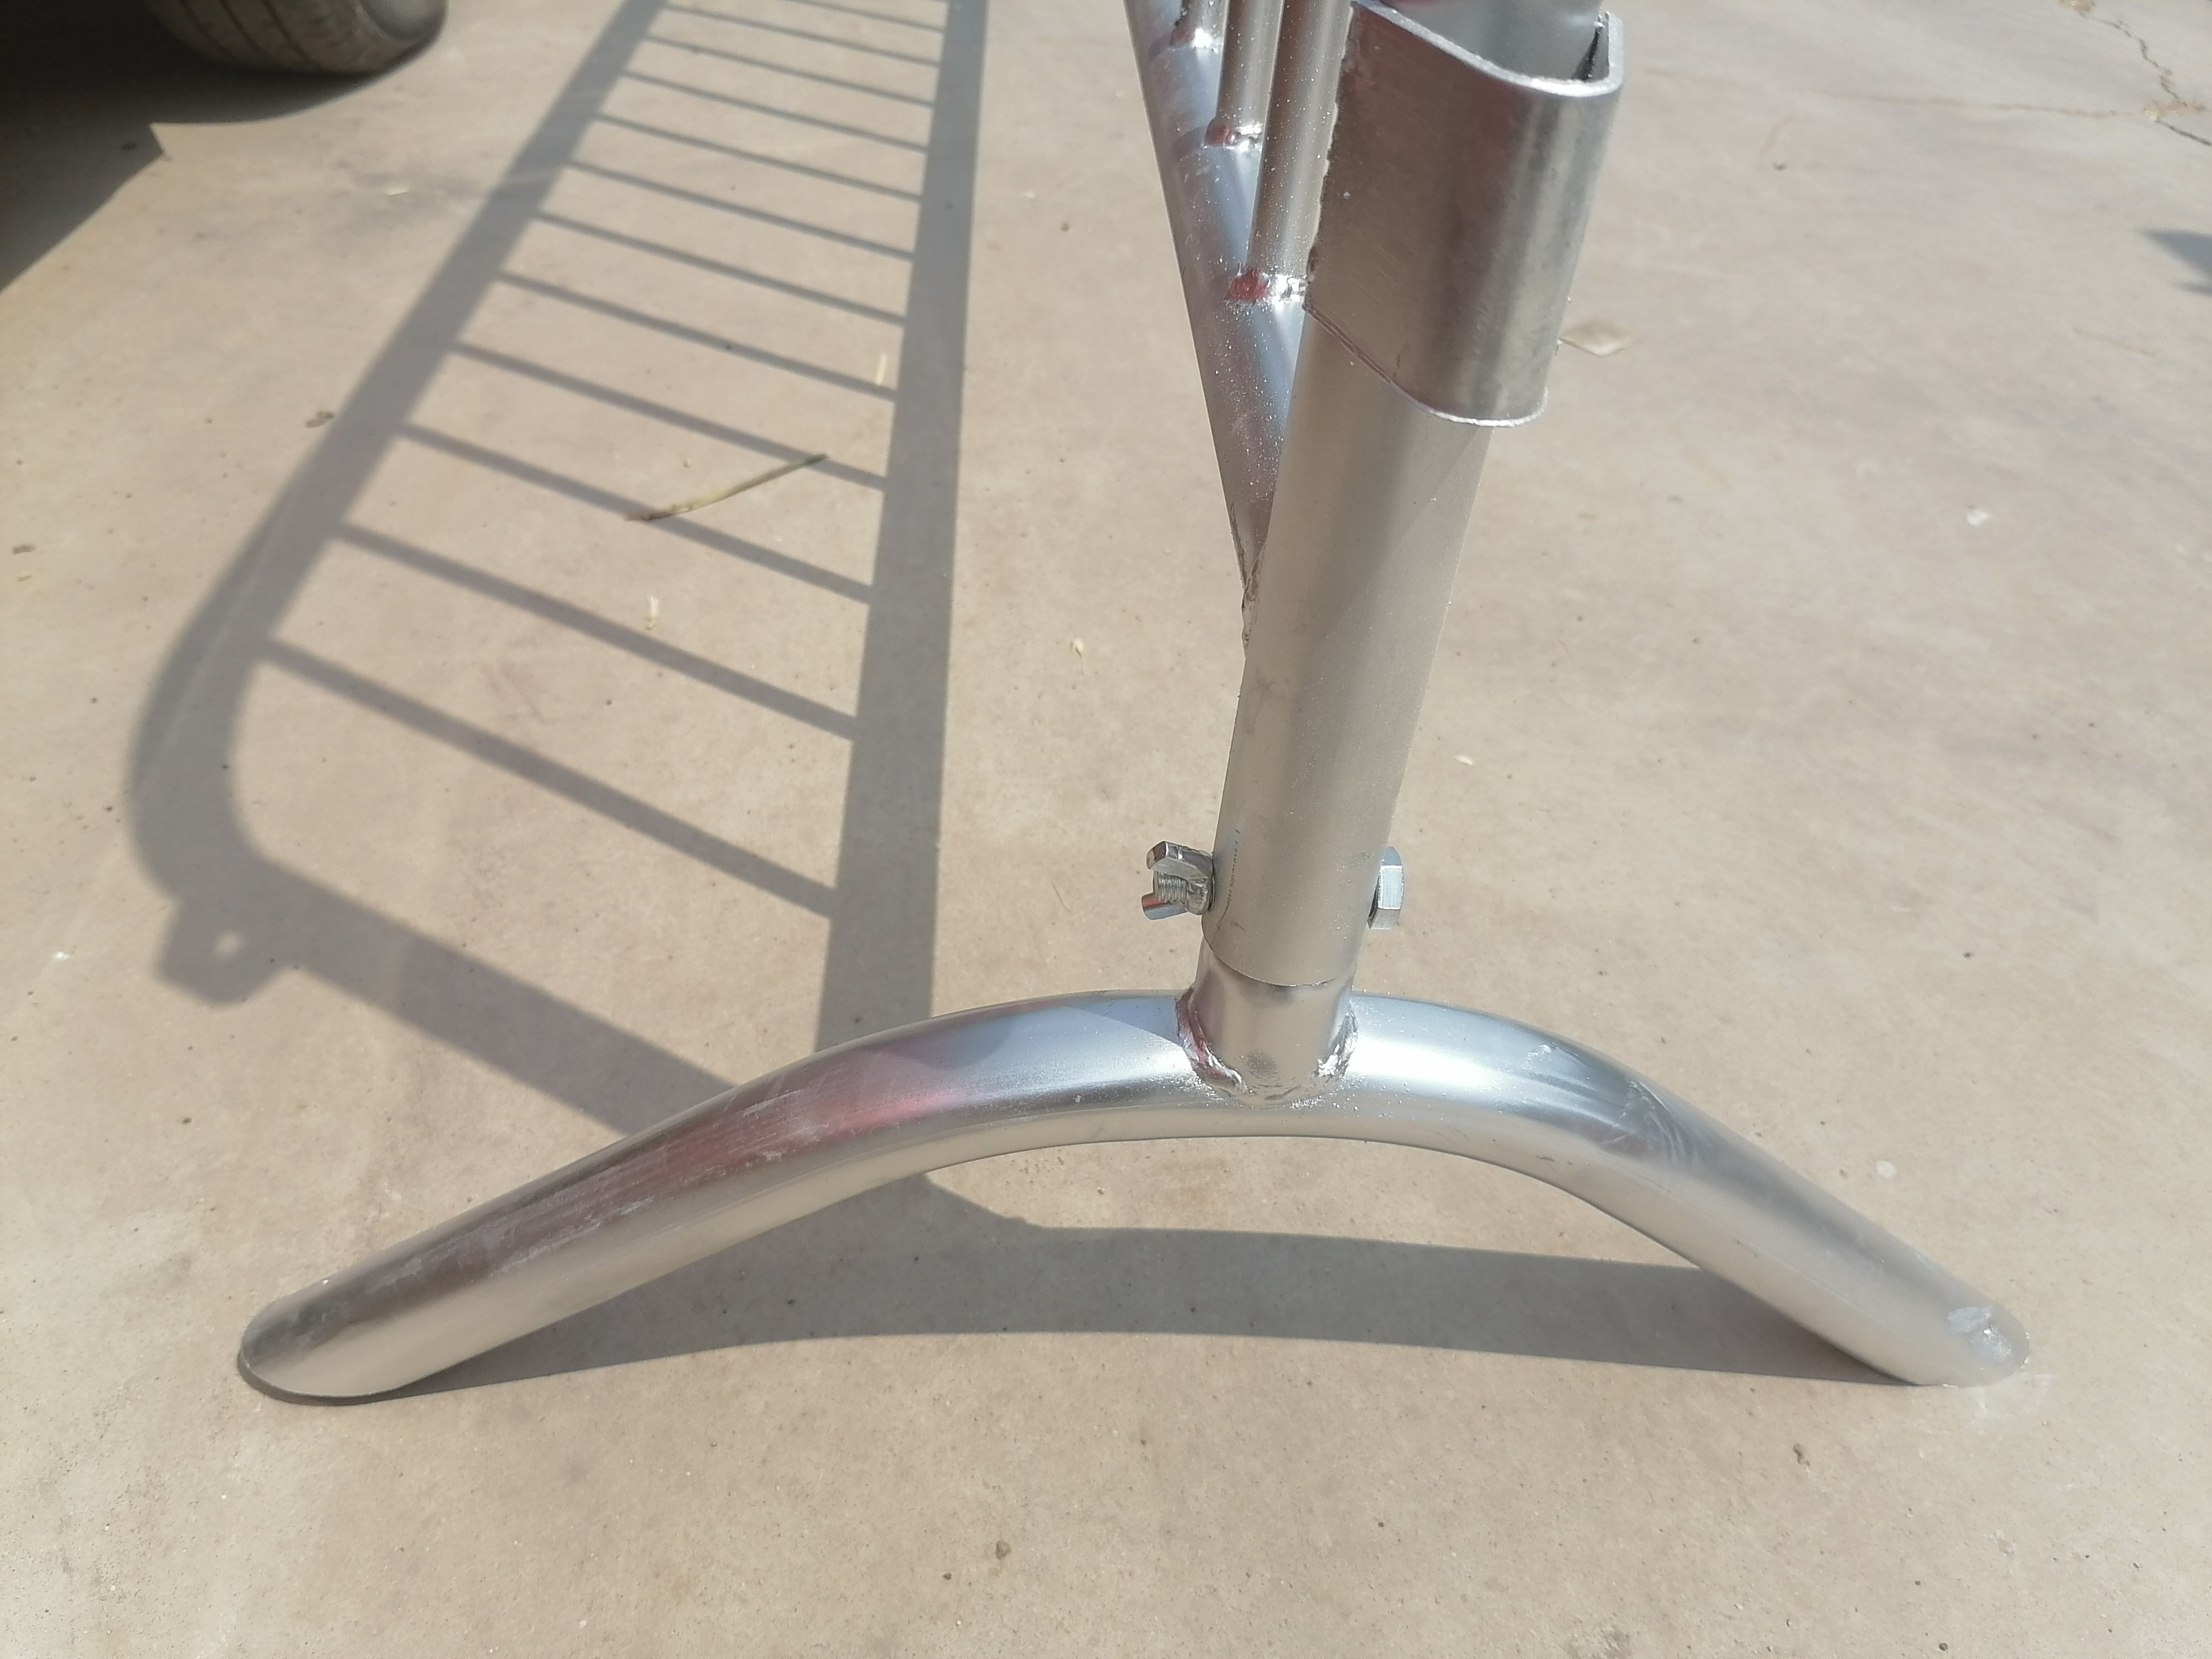
Trap 4: The Base-Width Trap That Causes Wobble
Base width controls stability more than most buyers expect. Narrow bases rock on uneven ground and can feel unsafe at crowd pressure points.
Trap 5: The Noise Trap That Makes a Venue Feel Cheap
A barrier line that rattles feels low-end even if it’s strong. Hook alignment, contact points, and panel fit decide whether your perimeter sounds premium or chaotic.
Trap 6: The Transport-Damage Trap That Shows Up After Setup
Even strong barriers can arrive scratched if panels rub during transport. Those scratches become rust points and shorten the barrier’s “new look” lifespan.
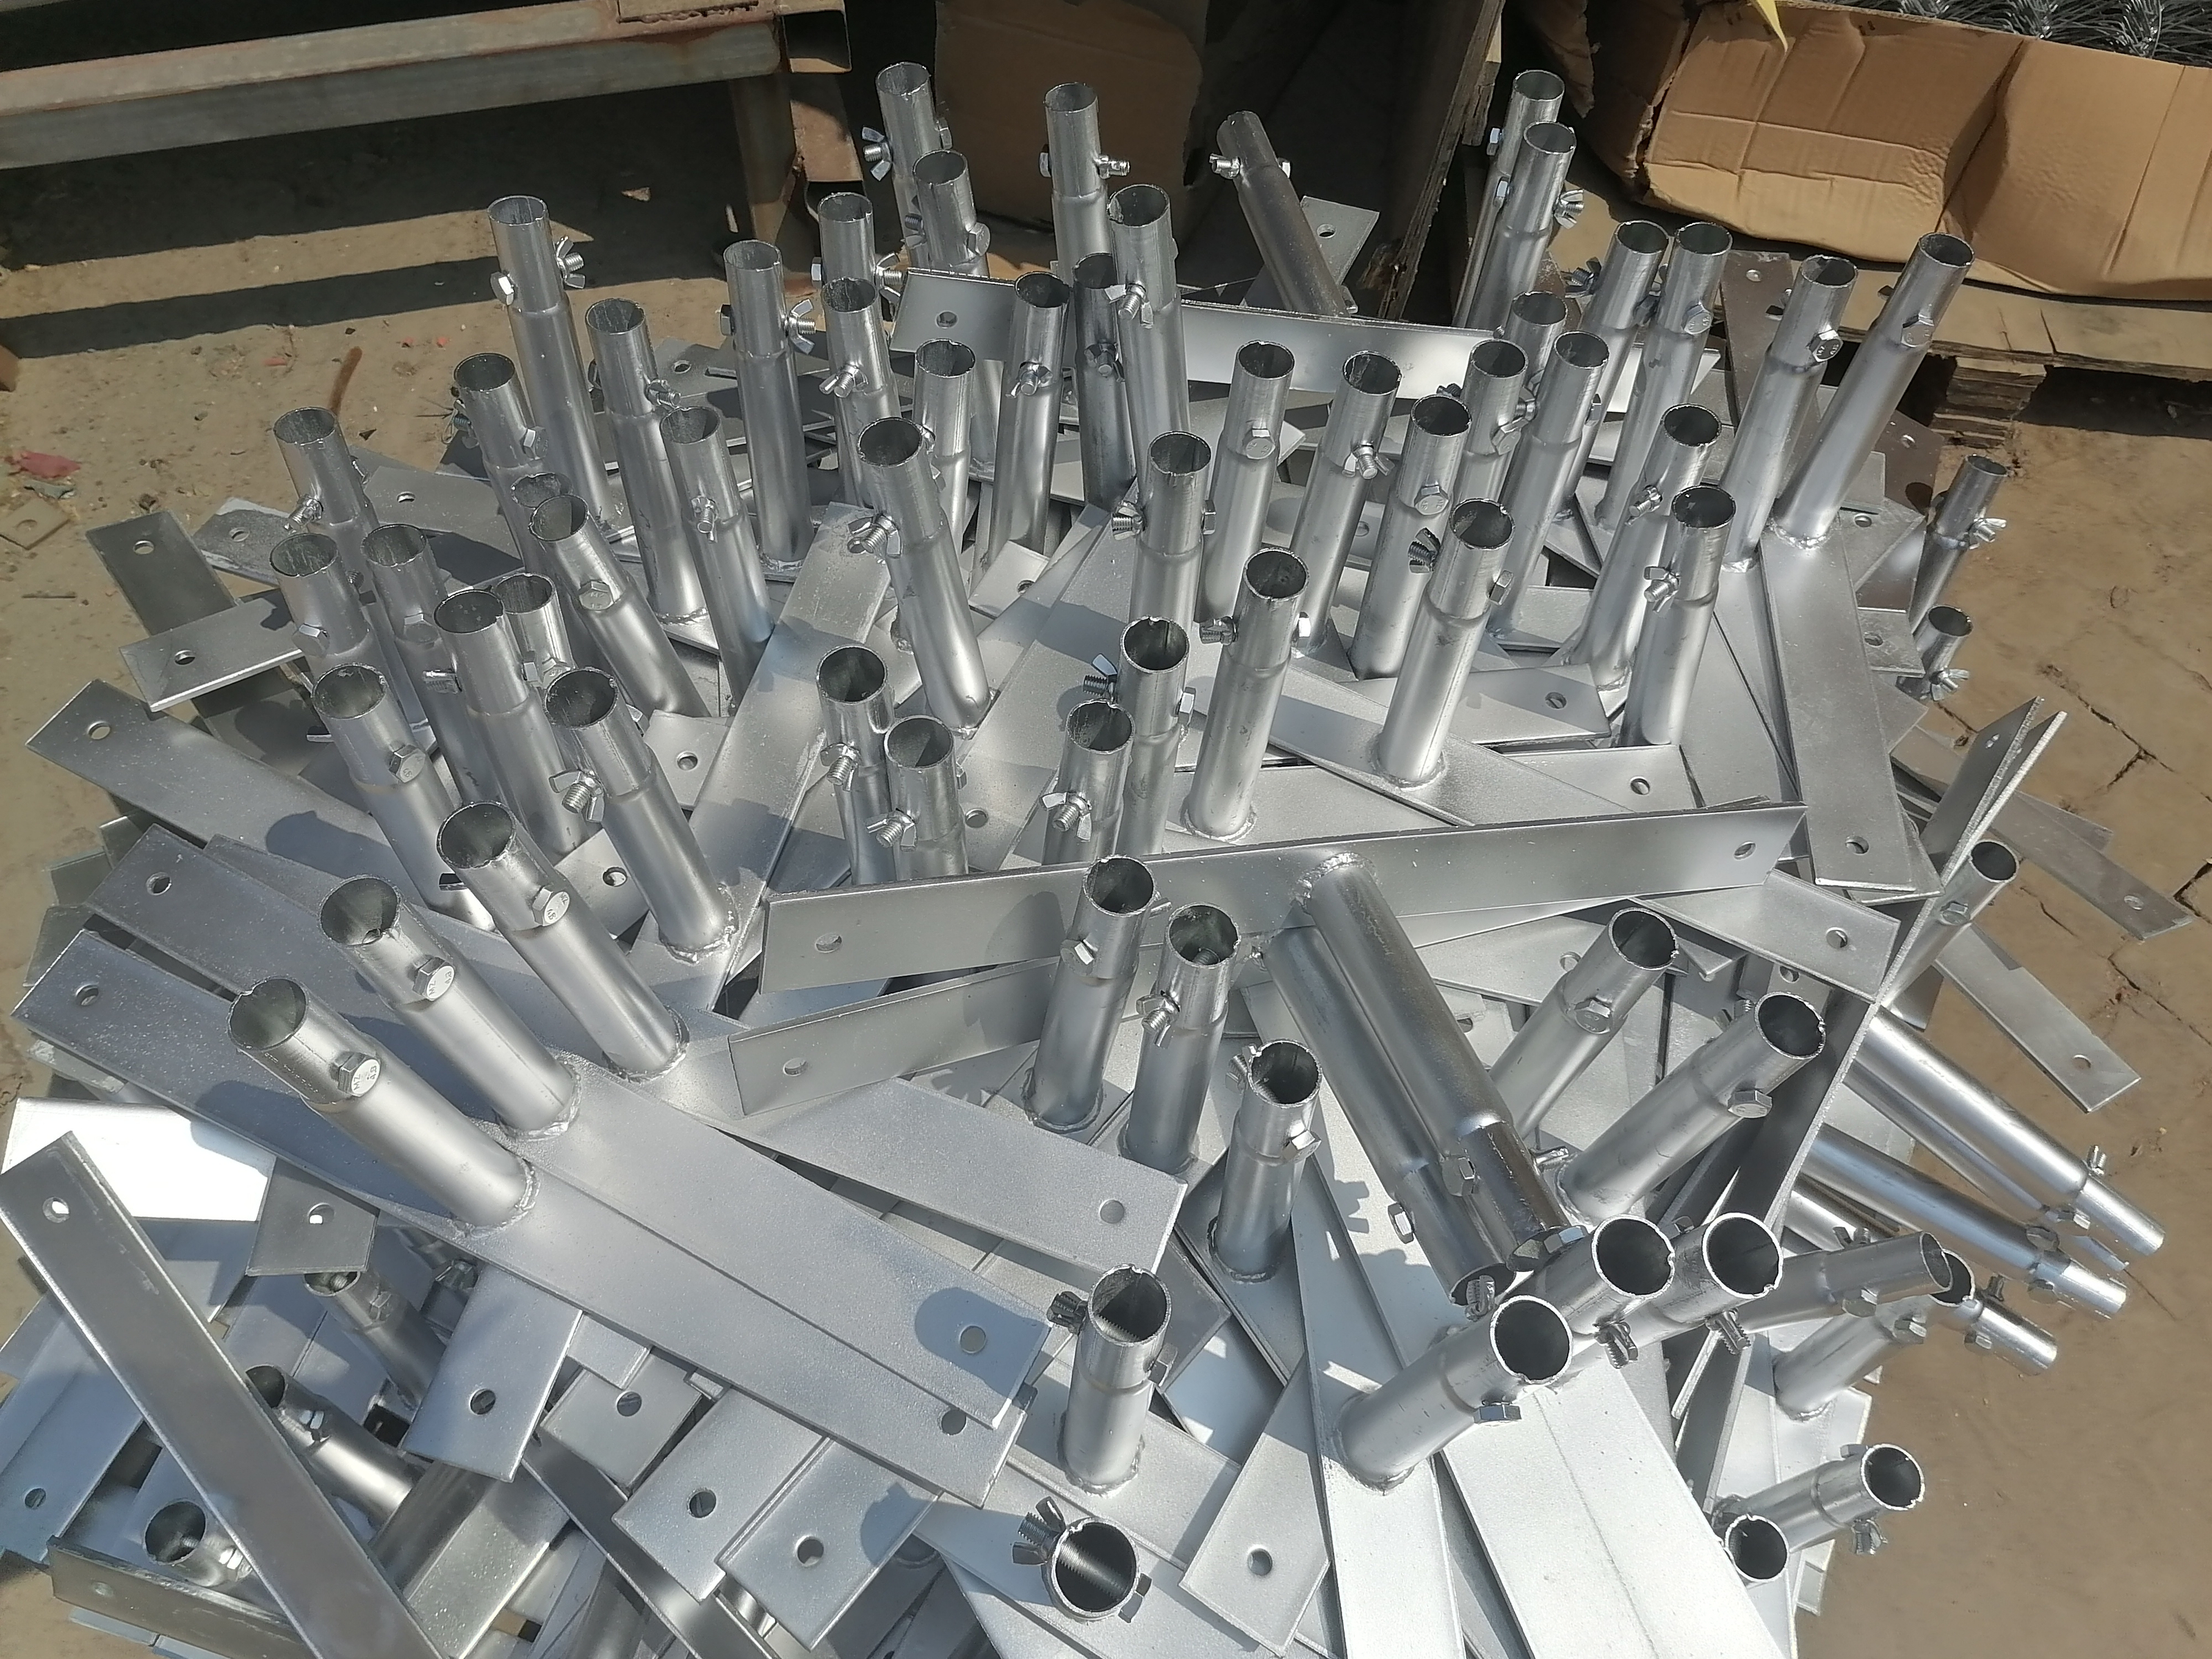
Trap 7: The Foot-Choice Cost Trap (This Is the One That Can Cost You Big)
Bridge foot vs flat foot vs V foot is not a small detail. Wrong feet trigger trip hazards, unstable lines on grass, or slow repositioning—wasting labour and damaging event flow.
Trap 8: The Length-Mixing Trap That Breaks Layout Rhythm
Mixing 1m, 2m, and 2.5m lengths without a plan creates awkward gaps and messy alignment. Small mismatches become major delays across long runs.
Trap 9: The Frame OD Trap That Changes Rigidity
Frame tube OD (25/32/35/38mm) strongly affects stiffness. Under pushing loads and repeated stacking, smaller tube choices deform faster.
Trap 10: The Wall-Thickness Trap That Punishes Cheap Builds
Wall thickness (1.5/1.6/2.0mm) affects impact resistance and long-term straightness. Too thin and you’ll see bending, wobble, and early fatigue.
Trap 11: The Upright OD Trap That Controls “Solid Feel”
Upright tubes (12/16/19mm OD) affect how secure the barrier feels. Weak uprights can look fine on day one but feel springy under pressure.
Trap 12: The Upright Thickness Trap That Decides Dent Resistance
Upright thickness (0.7/0.8/1.0/1.2mm) determines whether bars dent or stay straight after repeated contact.
Trap 13: The Spacing Trap That Changes Flow Control Strength
Spacing (90/100/150/200mm) affects how well the barrier blocks crossing and controls squeezing. Wider spacing can look open and feel less secure.
Trap 14: The Outdoor Ground Trap
Grass and uneven ground amplify rocking. Bridge foot span selection (500/600/750mm) becomes critical outdoors, where crowd pressure is less predictable.
Trap 15: The Total-Cost Trap That Punishes “Cheap Per Piece”
The cheapest custom crowd control barriers often create hidden costs: rework, replacements, repairs, and downtime. Better tube choices and correct feet reduce lifetime cost.
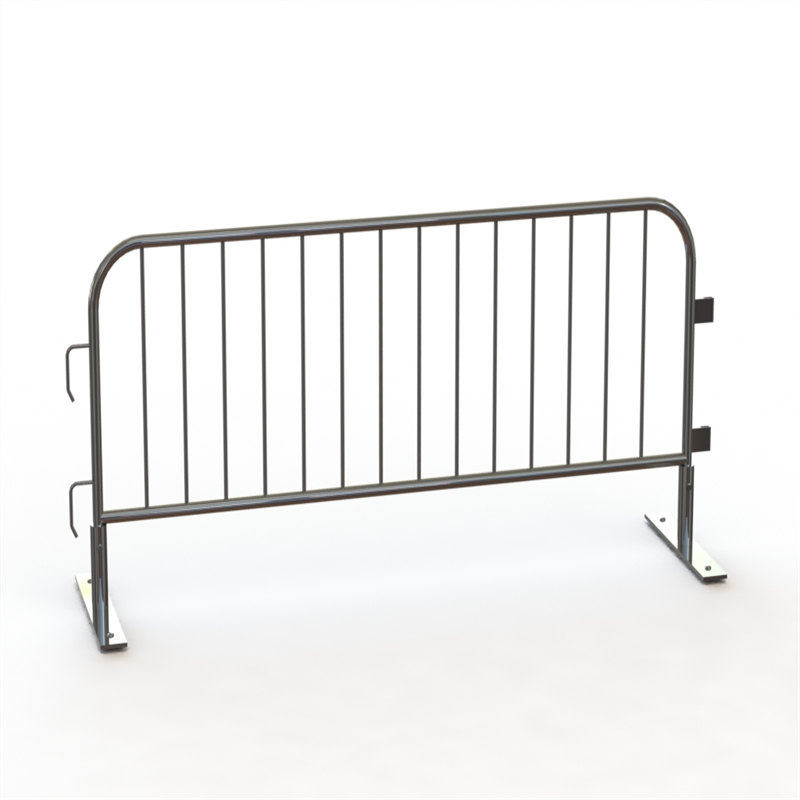
POLYMETAL Custom Crowd Control Barriers Product Description (Original Content)
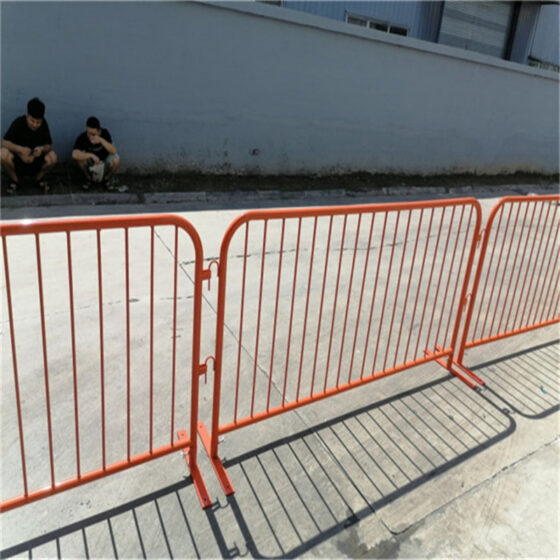
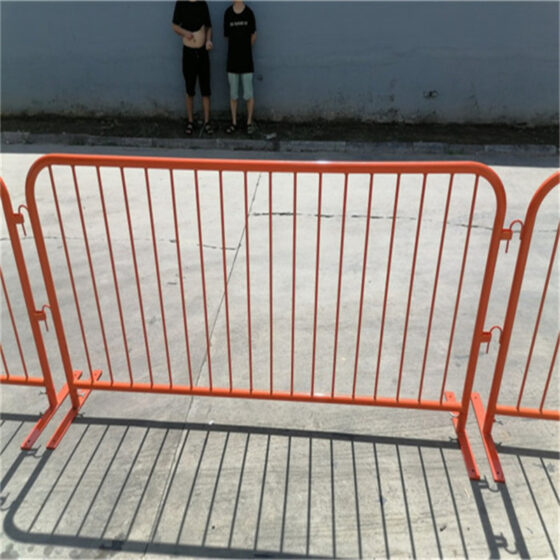
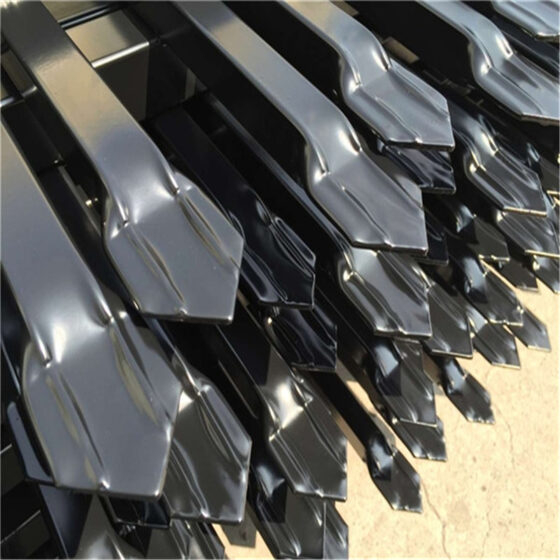
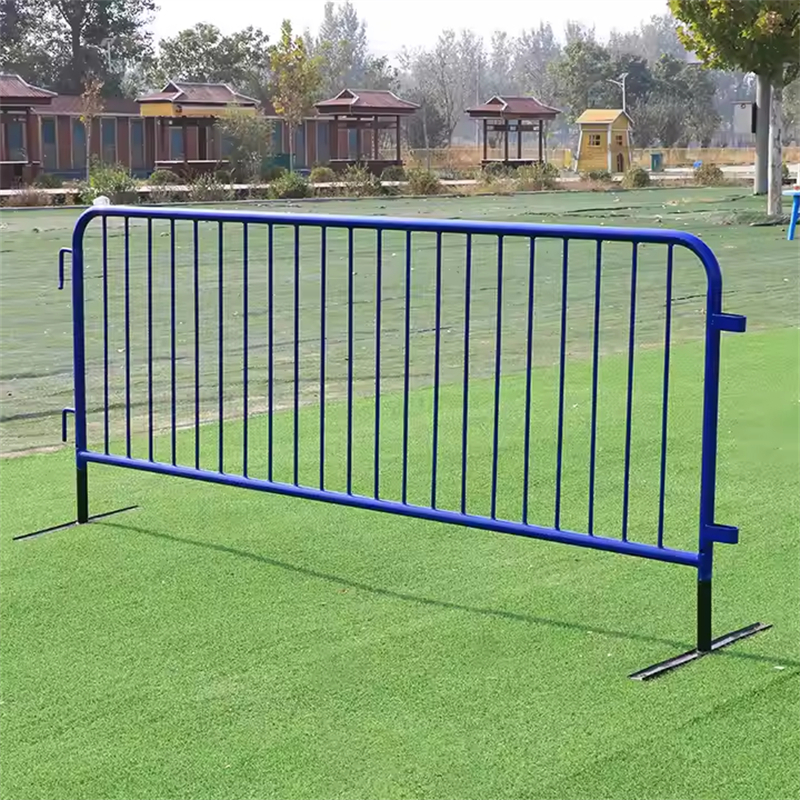
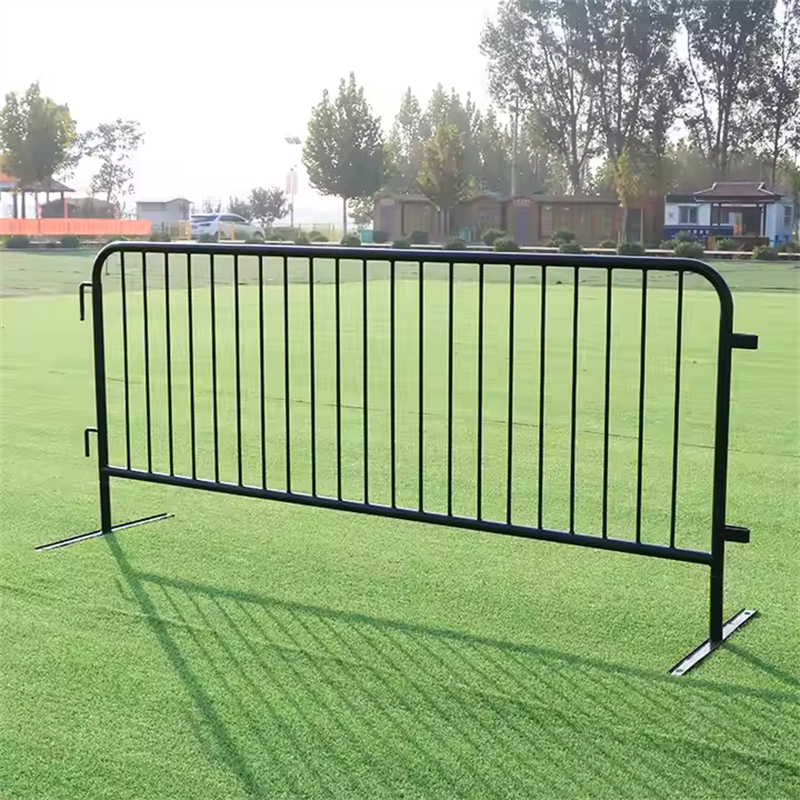
Custom Crowd Control Barriers are made of heavy-duty Hot Dip galvanized steel. Powder-coated steel barricades are a great alternative to standard galvanized barrier finishes. Add a colourful powder coat finish to your steel barriers that will be in high profile areas or where you need them to stand out. Many high-end special events will use crowd control barricades with a Black Powder Coated finish in the high traffic areas of their venue.

Crowd Control Barriers Specification:
| Model No | Length | Total Height | Barrier Body Height | Base Width | Outer Pipe | Inner Pipe |
| BS-SCCB-C-10 | 1 Meter | 1090mm | 1000mm | 400mm | Φ35*1.5mm | Φ16*1.2mm |
| BS-SCCB-C-20 | 2 Meter | 1090mm | 1000mm | 400mm | Φ35*1.5mm | Φ16*1.2mm |
| BS-SCCB-C-20E | 2 Meter | 1220mm | 1130mm | 520mm | Φ32*1.5mm | Φ22.5*1.2mm |
| BS-SCCB-C-25 | 2.5 Meter | 1100mm | 1010mm | 400mm | Φ35*1.5mm | Φ16*1.2mm |
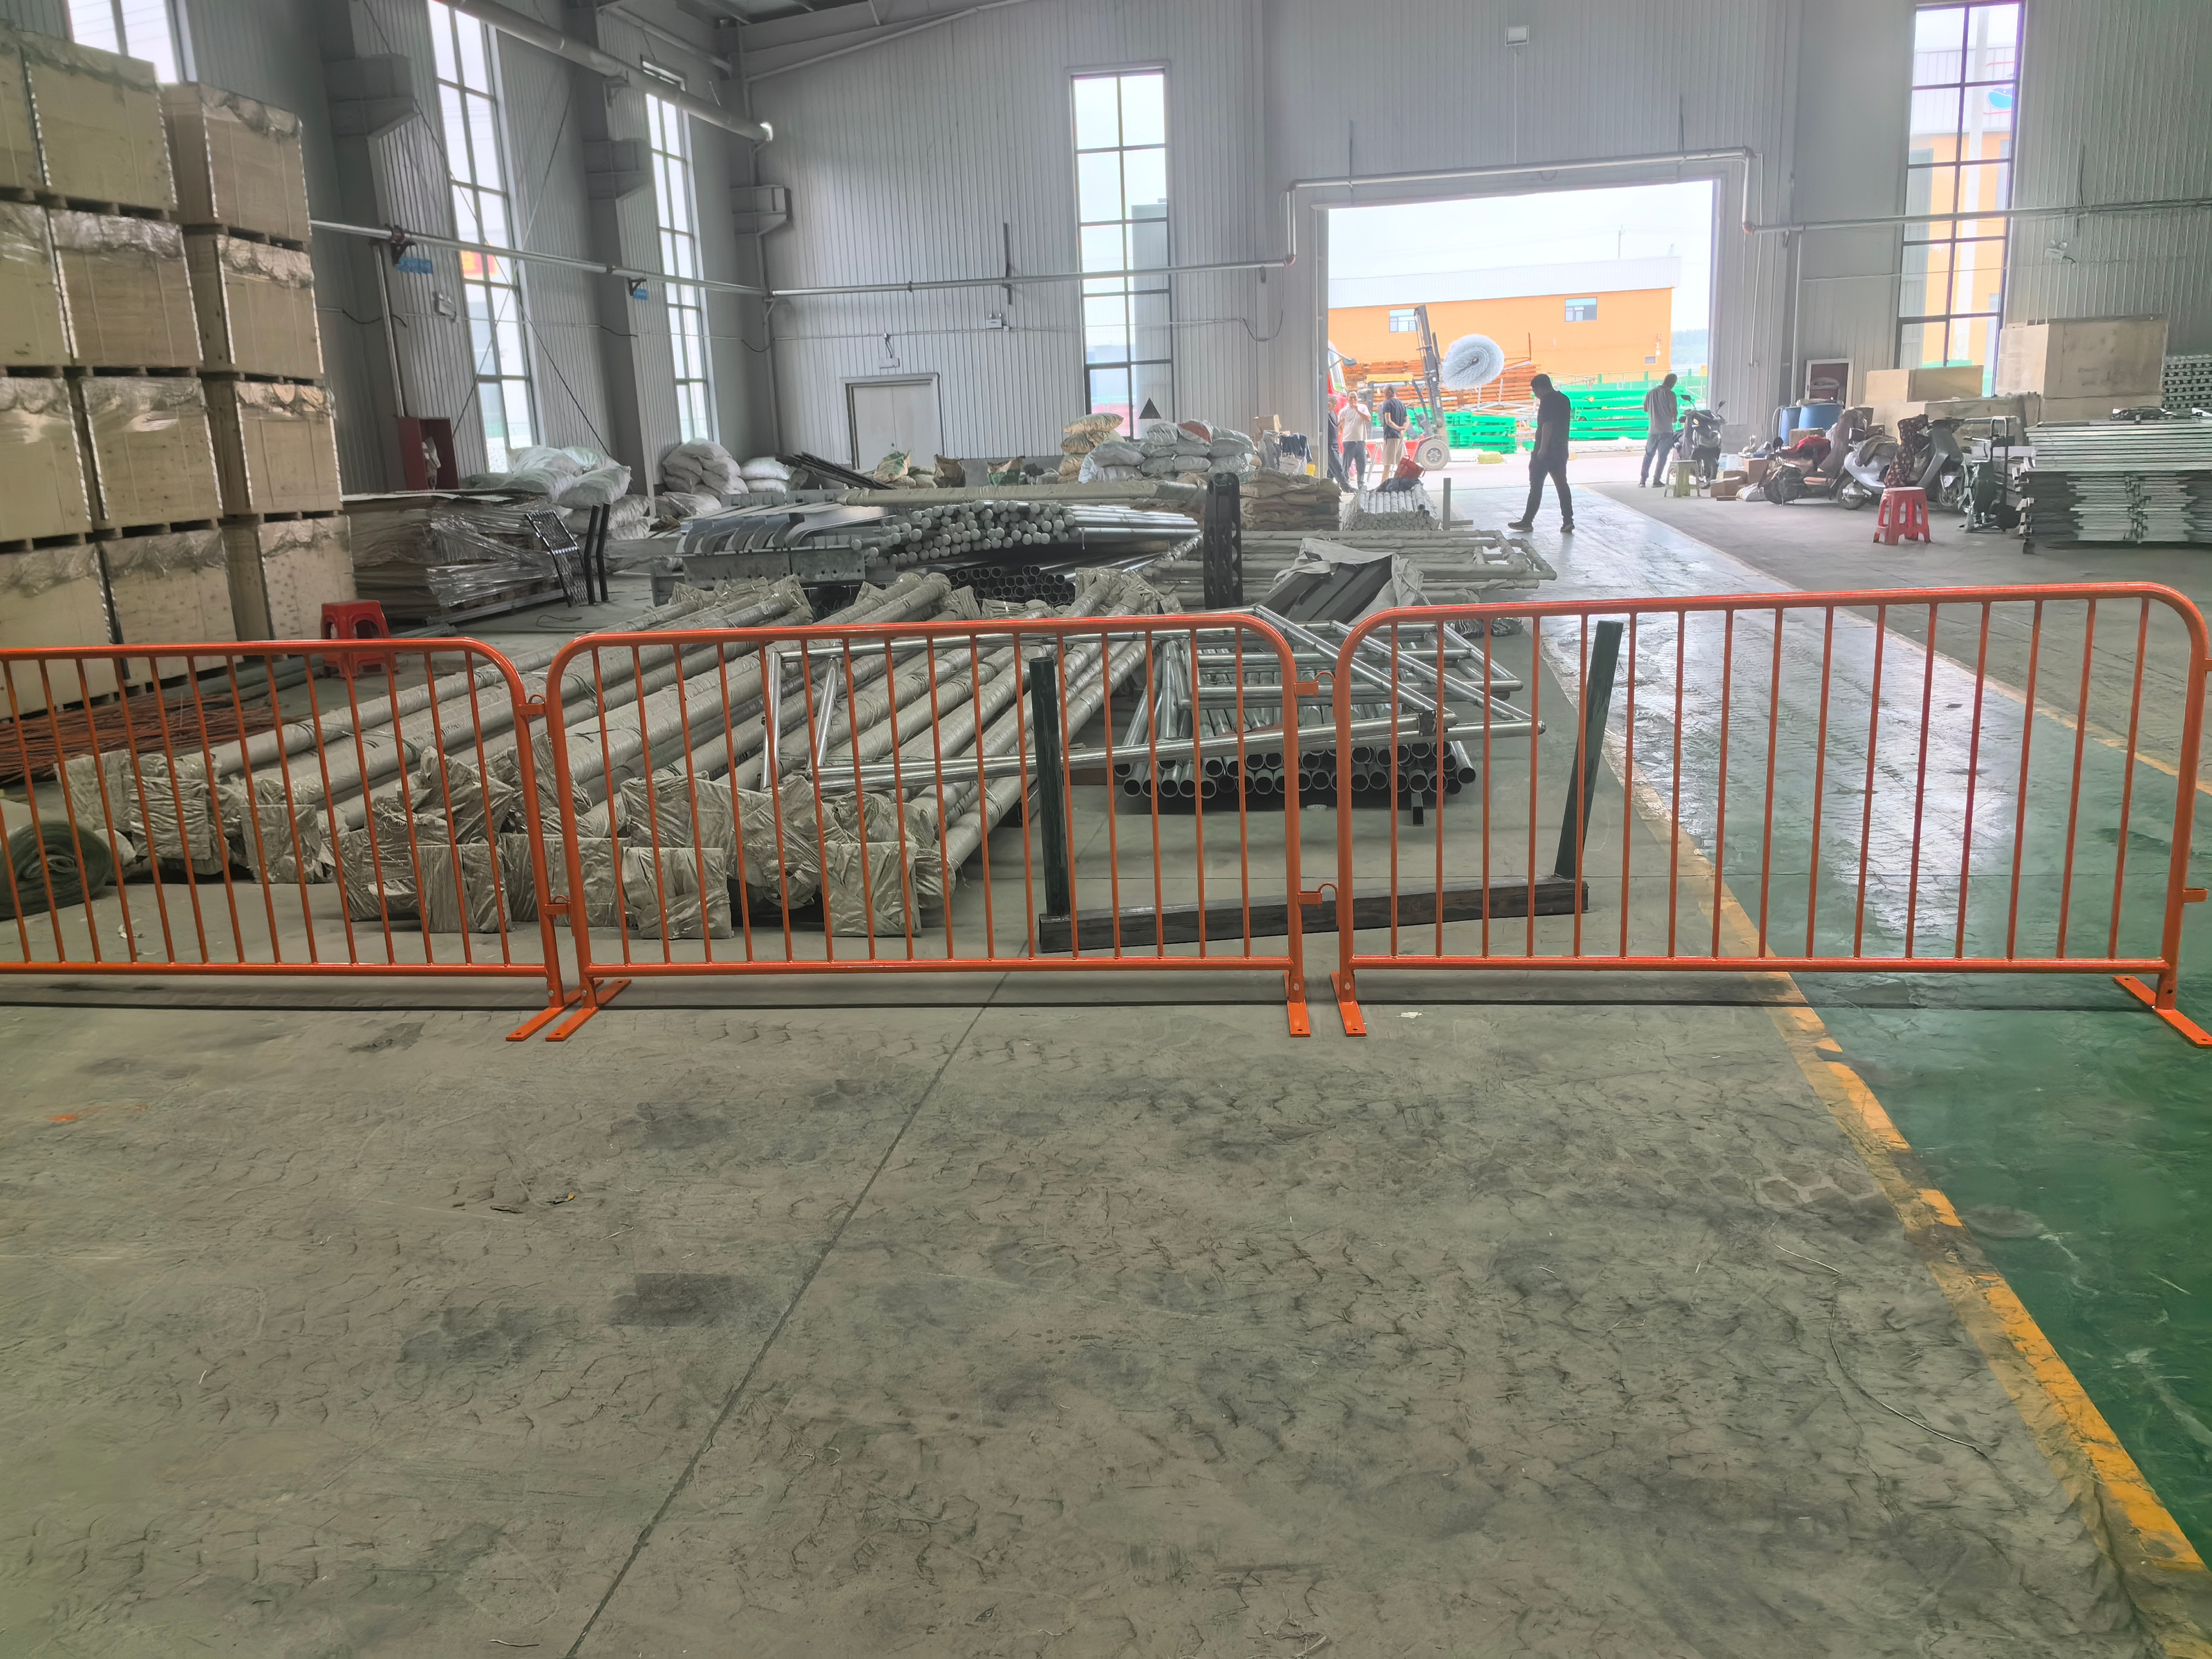
Crowd Control Barriers Application
- 1) Safety and safety protection
- 2) Traffic control and flow control
- 3) Special events
- 4) The concert
- 5) Stadium/conference/conference center
- 6) Exhibitions/carnivals/festivals
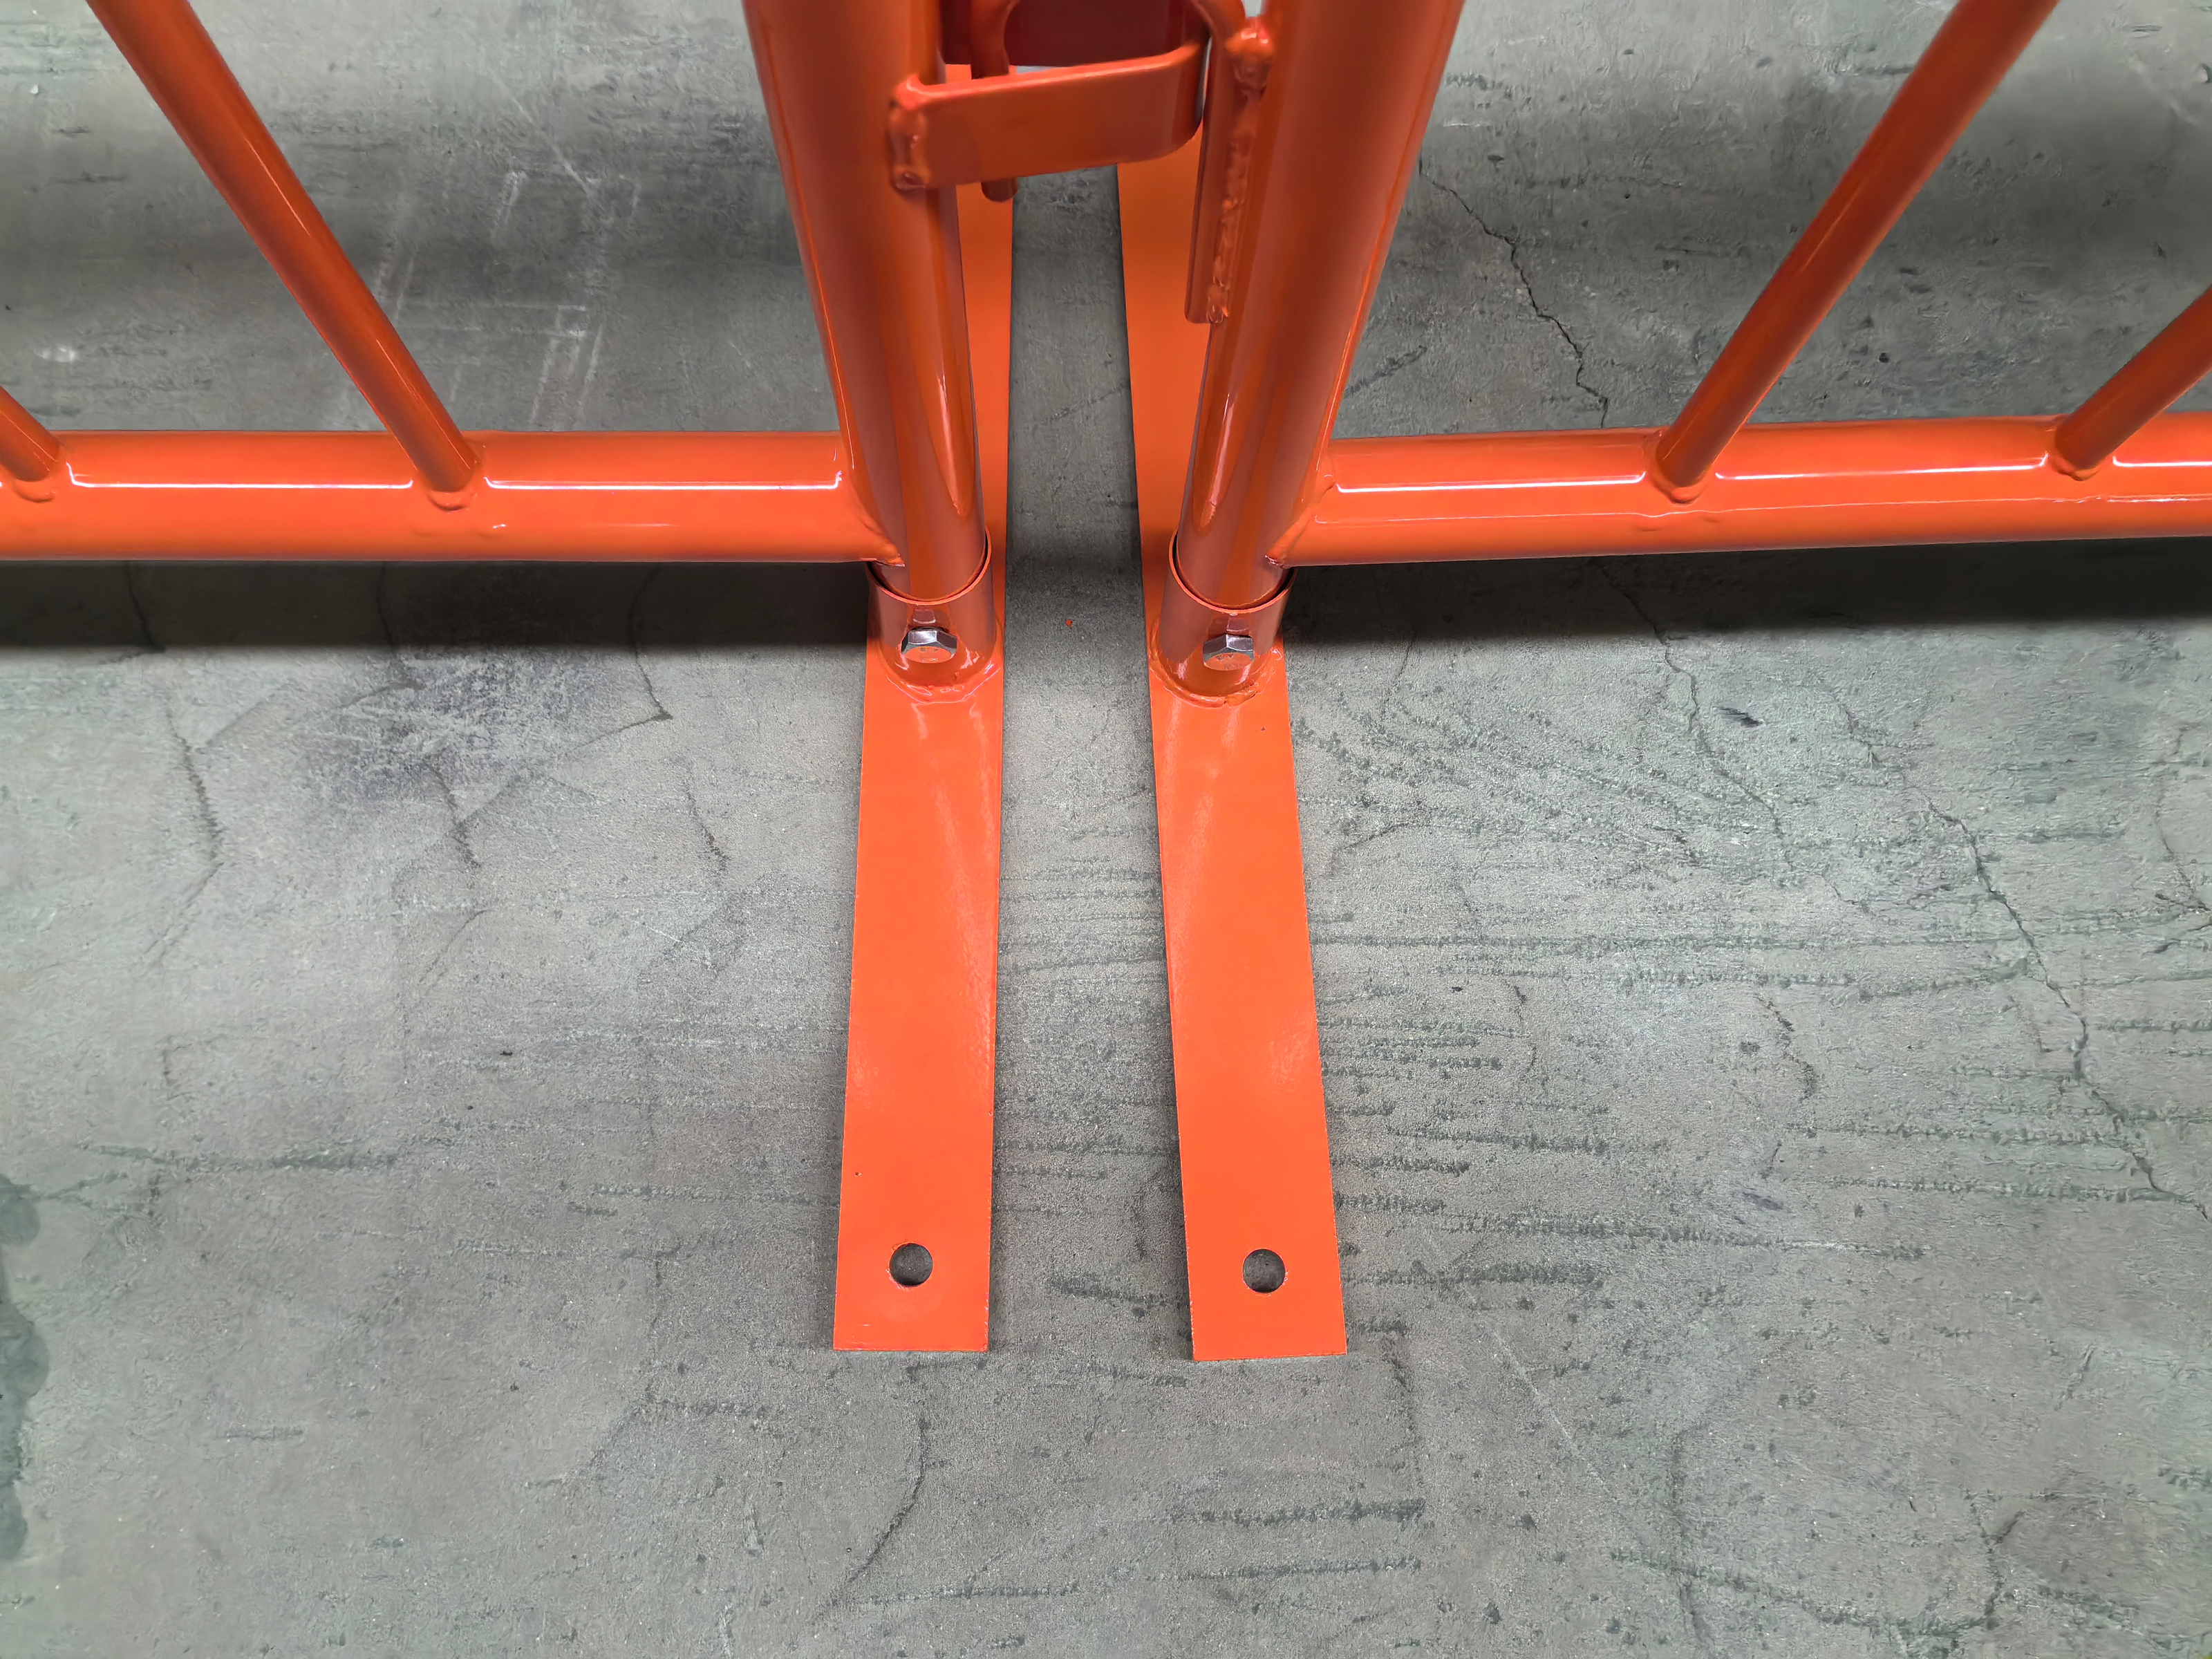
Custom Crowd Control Barriers Foot
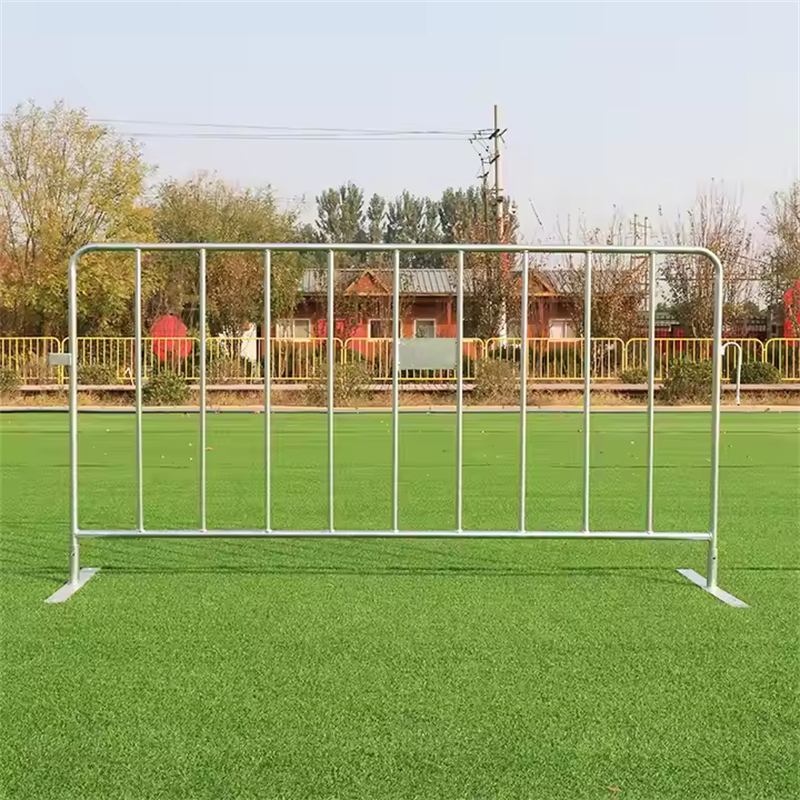
- 1). Crowd control barriers – bridge foot; The foot design provides maximum stability for the guardrail, making the product an ideal choice for grassy, soft or uneven surfaces. The foot of the bridge provides the best resistance and is good for blocking and diverting people. So if you have a parade, a rally or a concert, a sports event, plan and choose crowd control obstacles – the bridge is sufficient to meet your needs fully.
- 2). Crowd control barrier with the flat-style foot; In places where special events occur or in public places, the flat-foot custom crowd control barriers is the best choice for rationally planning crowd and traffic behaviour. The flat foot design reduces the risk of pedestrians tripping. Car tyres can easily roll on the feet without damaging the roadblocks. Evenly distribute the weight on the flat foot, adding a rubber washer with two holes for each screw to be screwed to the ground.
- 3). Custom Crowd control barrier with V type foot; The brackets make the system more stable and withstand the greater weight. The product is more convenient to move, and the package is simpler. It can be quickly combined into a solid isolation zone to form an effective flow control barrier.
POLYMETAL Custom Crowd Control Barriers Specification Matrix (4 Tables, 10 Specs Each)

Table 1: Standard Event Configurations (10 Specs)
| Spec | Length | Total Height | Body Height | Base Width | Frame Tube (OD) | Wall Thickness | Upright Tube (OD) | Upright Thickness | Spacing | Feet Type / Size |
|---|---|---|---|---|---|---|---|---|---|---|
| E1 | 1.0m | 1000mm | 910mm | 400mm | 25MM | 1.5mm | 12MM | 0.80mm | 100mm | Flat steel (580×50×10mm) |
| E2 | 1.0m | 1090mm | 1000mm | 400mm | 32MM | 1.5mm | 16MM | 1.0mm | 100mm | Bridge foot (500mm span) |
| E3 | 2.0m | 1090mm | 1000mm | 400mm | 35MM | 1.5mm | 16MM | 1.2mm | 100mm | Bridge foot (500mm span) |
| E4 | 2.0m | 1100mm | 1010mm | 400mm | 35MM | 1.6mm | 12MM | 1.0mm | 150mm | Flat steel (580×50×10mm) |
| E5 | 2.0m | 1220mm | 1130mm | 520mm | 32MM | 1.6mm | 19MM | 1.2mm | 90mm | Bridge foot (600mm span) |
| E6 | 2.5m | 1100mm | 1010mm | 400mm | 35MM | 1.5mm | 16MM | 1.0mm | 100mm | V foot (standard) |
| E7 | 2.5m | 1090mm | 1000mm | 400mm | 38MM | 1.5mm | 16MM | 1.2mm | 150mm | Bridge foot (600mm span) |
| E8 | 2.0m | 1000mm | 920mm | 400mm | 25MM | 1.6mm | 12MM | 0.80mm | 200mm | Flat steel (580×50×10mm) |
| E9 | 2.0m | 1150mm | 1060mm | 520mm | 32MM | 1.5mm | 19MM | 1.0mm | 100mm | Bridge foot (750mm span) |
| E10 | 1.0m | 1220mm | 1130mm | 520mm | 35MM | 1.6mm | 19MM | 1.2mm | 90mm | Bridge foot (750mm span) |
Table 2: Heavy-Duty Crowd Pressure Configurations (10 Specs)
| Spec | Length | Total Height | Body Height | Base Width | Frame Tube (OD) | Wall Thickness | Upright Tube (OD) | Upright Thickness | Spacing | Feet Type / Size |
|---|---|---|---|---|---|---|---|---|---|---|
| HD1 | 2.0m | 1090mm | 1000mm | 400mm | 38MM | 2.00mm | 16MM | 1.2mm | 100mm | Bridge foot (600mm span) |
| HD2 | 2.0m | 1220mm | 1130mm | 520mm | 35MM | 2.00mm | 19MM | 1.2mm | 90mm | Bridge foot (750mm span) |
| HD3 | 2.5m | 1100mm | 1010mm | 400mm | 38MM | 2.00mm | 16MM | 1.2mm | 150mm | V foot (reinforced) |
| HD4 | 2.5m | 1220mm | 1130mm | 520mm | 38MM | 2.00mm | 19MM | 1.2mm | 100mm | Bridge foot (750mm span) |
| HD5 | 1.0m | 1090mm | 1000mm | 400mm | 35MM | 2.00mm | 16MM | 1.2mm | 100mm | Flat steel (580×50×10mm) |
| HD6 | 2.0m | 1100mm | 1010mm | 400mm | 35MM | 1.6mm | 19MM | 1.0mm | 150mm | Bridge foot (600mm span) |
| HD7 | 2.0m | 1150mm | 1060mm | 520mm | 32MM | 2.00mm | 19MM | 1.2mm | 100mm | Bridge foot (750mm span) |
| HD8 | 1.0m | 1000mm | 910mm | 400mm | 32MM | 1.6mm | 16MM | 1.2mm | 200mm | Flat steel (580×50×10mm) |
| HD9 | 2.5m | 1090mm | 1000mm | 400mm | 35MM | 2.00mm | 12MM | 1.0mm | 100mm | V foot (reinforced) |
| HD10 | 2.0m | 1220mm | 1130mm | 520mm | 38MM | 1.6mm | 19MM | 1.2mm | 90mm | Bridge foot (600mm span) |
Table 3: Premium Venue / High-Profile Finish Configurations (10 Specs)
| Spec | Length | Total Height | Body Height | Base Width | Frame Tube (OD) | Wall Thickness | Upright Tube (OD) | Upright Thickness | Spacing | Feet Type / Size |
|---|---|---|---|---|---|---|---|---|---|---|
| PV1 | 2.0m | 1090mm | 1000mm | 400mm | 35MM | 1.5mm | 16MM | 1.2mm | 100mm | Flat steel (580×50×10mm) |
| PV2 | 2.0m | 1220mm | 1130mm | 520mm | 32MM | 1.5mm | 19MM | 1.2mm | 90mm | Flat steel (580×50×10mm) |
| PV3 | 1.0m | 1100mm | 1010mm | 400mm | 32MM | 1.6mm | 16MM | 1.0mm | 150mm | Flat steel (580×50×10mm) |
| PV4 | 2.5m | 1100mm | 1010mm | 400mm | 35MM | 1.6mm | 16MM | 1.0mm | 100mm | V foot (standard) |
| PV5 | 2.0m | 1000mm | 920mm | 400mm | 25MM | 1.5mm | 12MM | 0.80mm | 200mm | Flat steel (580×50×10mm) |
| PV6 | 2.0m | 1090mm | 1000mm | 400mm | 38MM | 1.5mm | 16MM | 1.2mm | 150mm | Bridge foot (500mm span) |
| PV7 | 2.0m | 1150mm | 1060mm | 520mm | 35MM | 1.6mm | 19MM | 1.0mm | 100mm | Bridge foot (600mm span) |
| PV8 | 1.0m | 1220mm | 1130mm | 520mm | 38MM | 1.6mm | 19MM | 1.2mm | 90mm | Bridge foot (750mm span) |
| PV9 | 2.5m | 1090mm | 1000mm | 400mm | 32MM | 1.6mm | 12MM | 1.0mm | 100mm | V foot (standard) |
| PV10 | 2.0m | 1100mm | 1010mm | 400mm | 35MM | 1.5mm | 16MM | 1.2mm | 100mm | Flat steel (580×50×10mm) |
Table 4: Outdoor / Uneven Ground & Flow-Control Configurations (10 Specs)
| Spec | Length | Total Height | Body Height | Base Width | Frame Tube (OD) | Wall Thickness | Upright Tube (OD) | Upright Thickness | Spacing | Feet Type / Size |
|---|---|---|---|---|---|---|---|---|---|---|
| OG1 | 2.0m | 1090mm | 1000mm | 400mm | 35MM | 1.5mm | 16MM | 1.2mm | 100mm | Bridge foot (500mm span) |
| OG2 | 2.0m | 1100mm | 1010mm | 400mm | 32MM | 1.6mm | 16MM | 1.0mm | 150mm | Bridge foot (600mm span) |
| OG3 | 2.5m | 1100mm | 1010mm | 400mm | 38MM | 2.00mm | 16MM | 1.2mm | 100mm | Bridge foot (750mm span) |
| OG4 | 1.0m | 1090mm | 1000mm | 400mm | 25MM | 1.5mm | 12MM | 0.70mm | 200mm | Bridge foot (500mm span) |
| OG5 | 2.0m | 1220mm | 1130mm | 520mm | 32MM | 1.6mm | 19MM | 1.2mm | 90mm | Bridge foot (750mm span) |
| OG6 | 2.5m | 1090mm | 1000mm | 400mm | 35MM | 1.6mm | 16MM | 1.0mm | 150mm | V foot (standard) |
| OG7 | 2.0m | 1000mm | 910mm | 400mm | 25MM | 1.6mm | 12MM | 0.80mm | 100mm | Bridge foot (600mm span) |
| OG8 | 2.0m | 1150mm | 1060mm | 520mm | 38MM | 1.6mm | 19MM | 1.0mm | 100mm | Bridge foot (750mm span) |
| OG9 | 1.0m | 1100mm | 1010mm | 400mm | 32MM | 1.5mm | 16MM | 1.0mm | 90mm | Bridge foot (500mm span) |
| OG10 | 2.5m | 1220mm | 1130mm | 520mm | 35MM | 2.00mm | 19MM | 1.2mm | 150mm | Bridge foot (750mm span) |
Final Insight: How to Use This Article to Avoid Expensive Mistakes
Custom crowd control barriers only become a “set and forget” solution when they’re specified as a complete system—not just a cheap panel. Use the 15 traps above as your on-site checklist: confirm frame tube OD and wall thickness, match upright OD/thickness and spacing to the control level you need, choose the correct foot type and span for the surface, and protect the finish through packing, handling, and stacking. When you specify custom crowd control barriers this way, you reduce wobble, noise, trip risk, rust points, and rework—while keeping a clean, professional perimeter line that performs under real crowd pressure.
POLYMETAL builds custom crowd control barriers for practical event realities—fast deployment, repeatable alignment, and durable finishes—so you get stable flow control that looks premium from first setup to long-term reuse. If your site needs a more open-visibility containment style in certain zones, you can also compare options like x tend cable mesh alongside barriers for a complete perimeter strategy, or step up perimeter deterrence with Hercules security fencing.