Your One-Stop Wire Mesh Fence Supplier | POLYMETAL


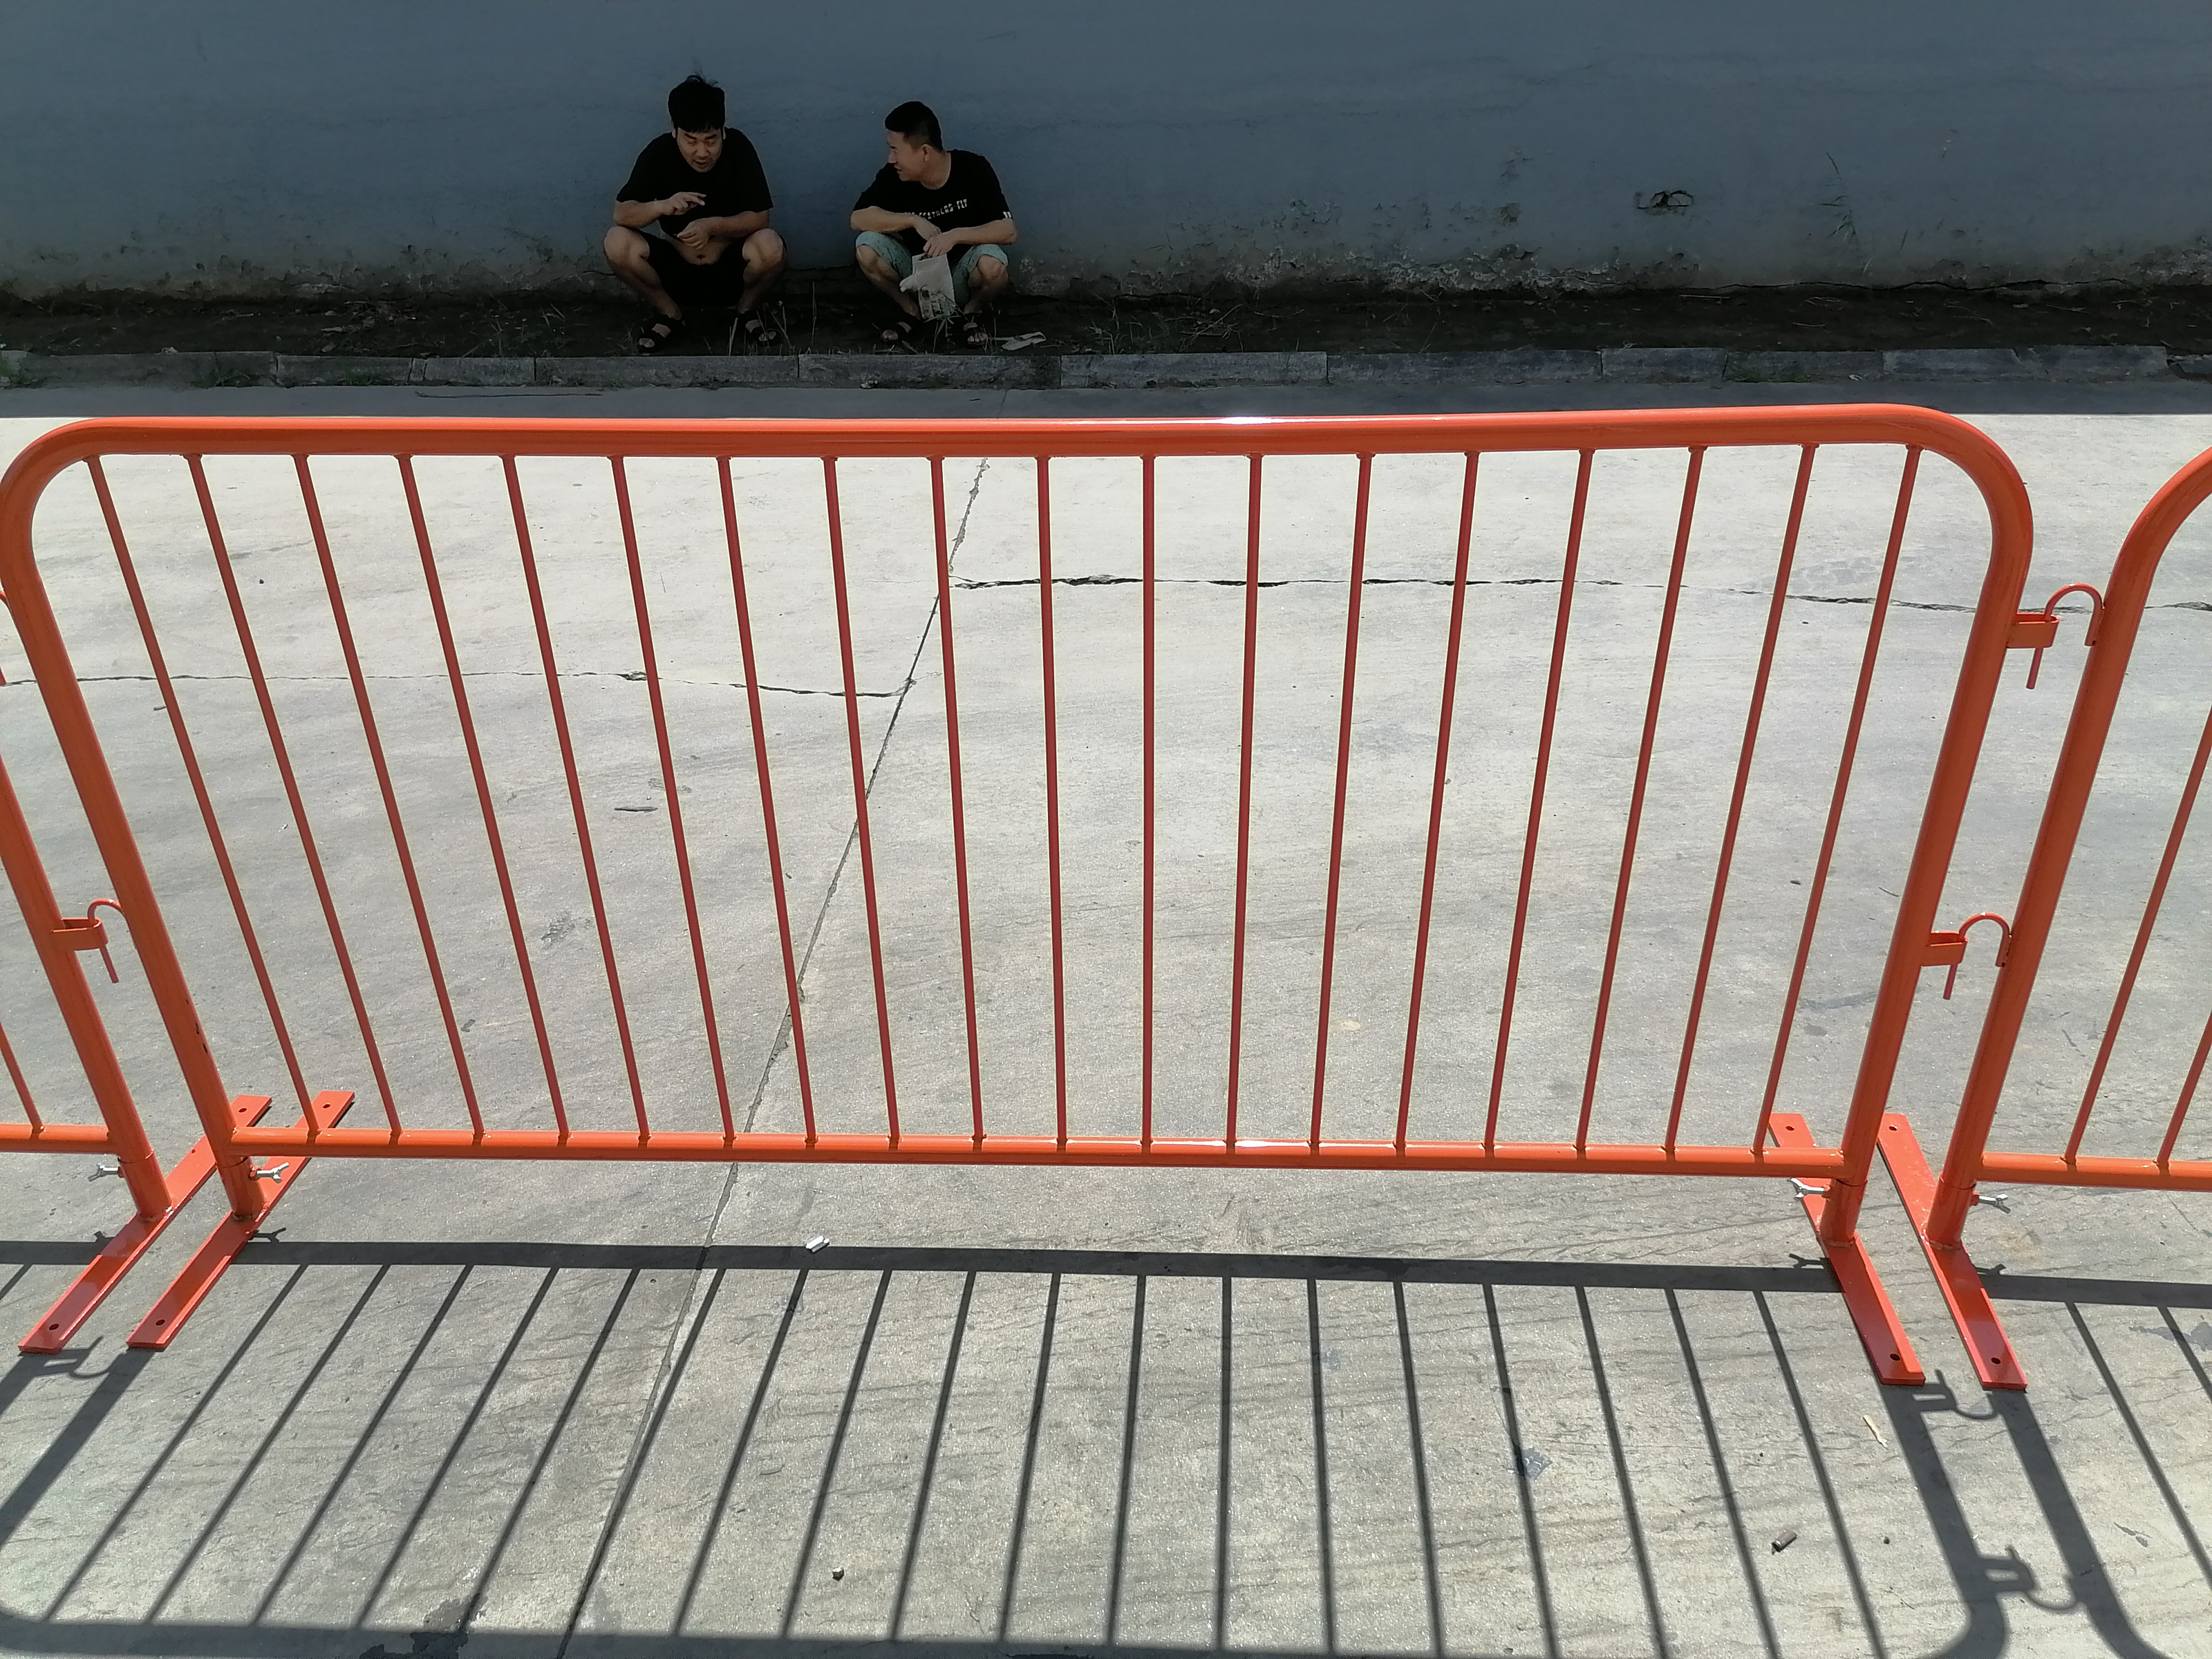
If you are sourcing orange crowd control barriers for events, roadworks, queues, public areas, or site safety zones, the biggest risk is not the unit price. The real danger is buying barriers that look identical but fail where it matters: tube strength, upright rigidity, weld stability, foot design, and repeatable linking that keeps a line straight when crowds lean, push, or surge.
POLYMETAL focuses on practical, high-visibility orange crowd control barriers engineered for busy handling cycles, fast deployment, and reliable perimeter control. Correct spec choices—height, width, frame tube size, wall thickness, upright tube selection, spacing control, and stable feet—are what separate a professional barrier line from a weak line that wobbles, spreads, and triggers safety complaints. For buyers comparing steel grades used in barrier frames and uprights, this reference on Q235 steel helps explain why consistent material selection matters for weld stability and repeated handling strength.

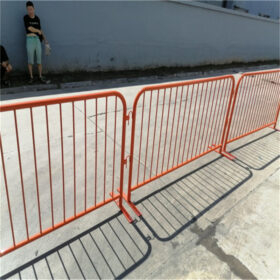
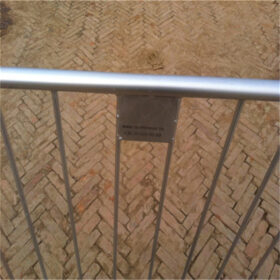
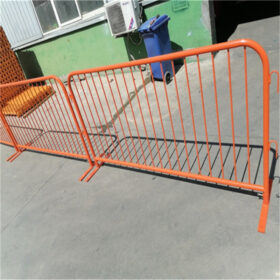
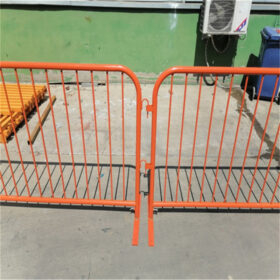
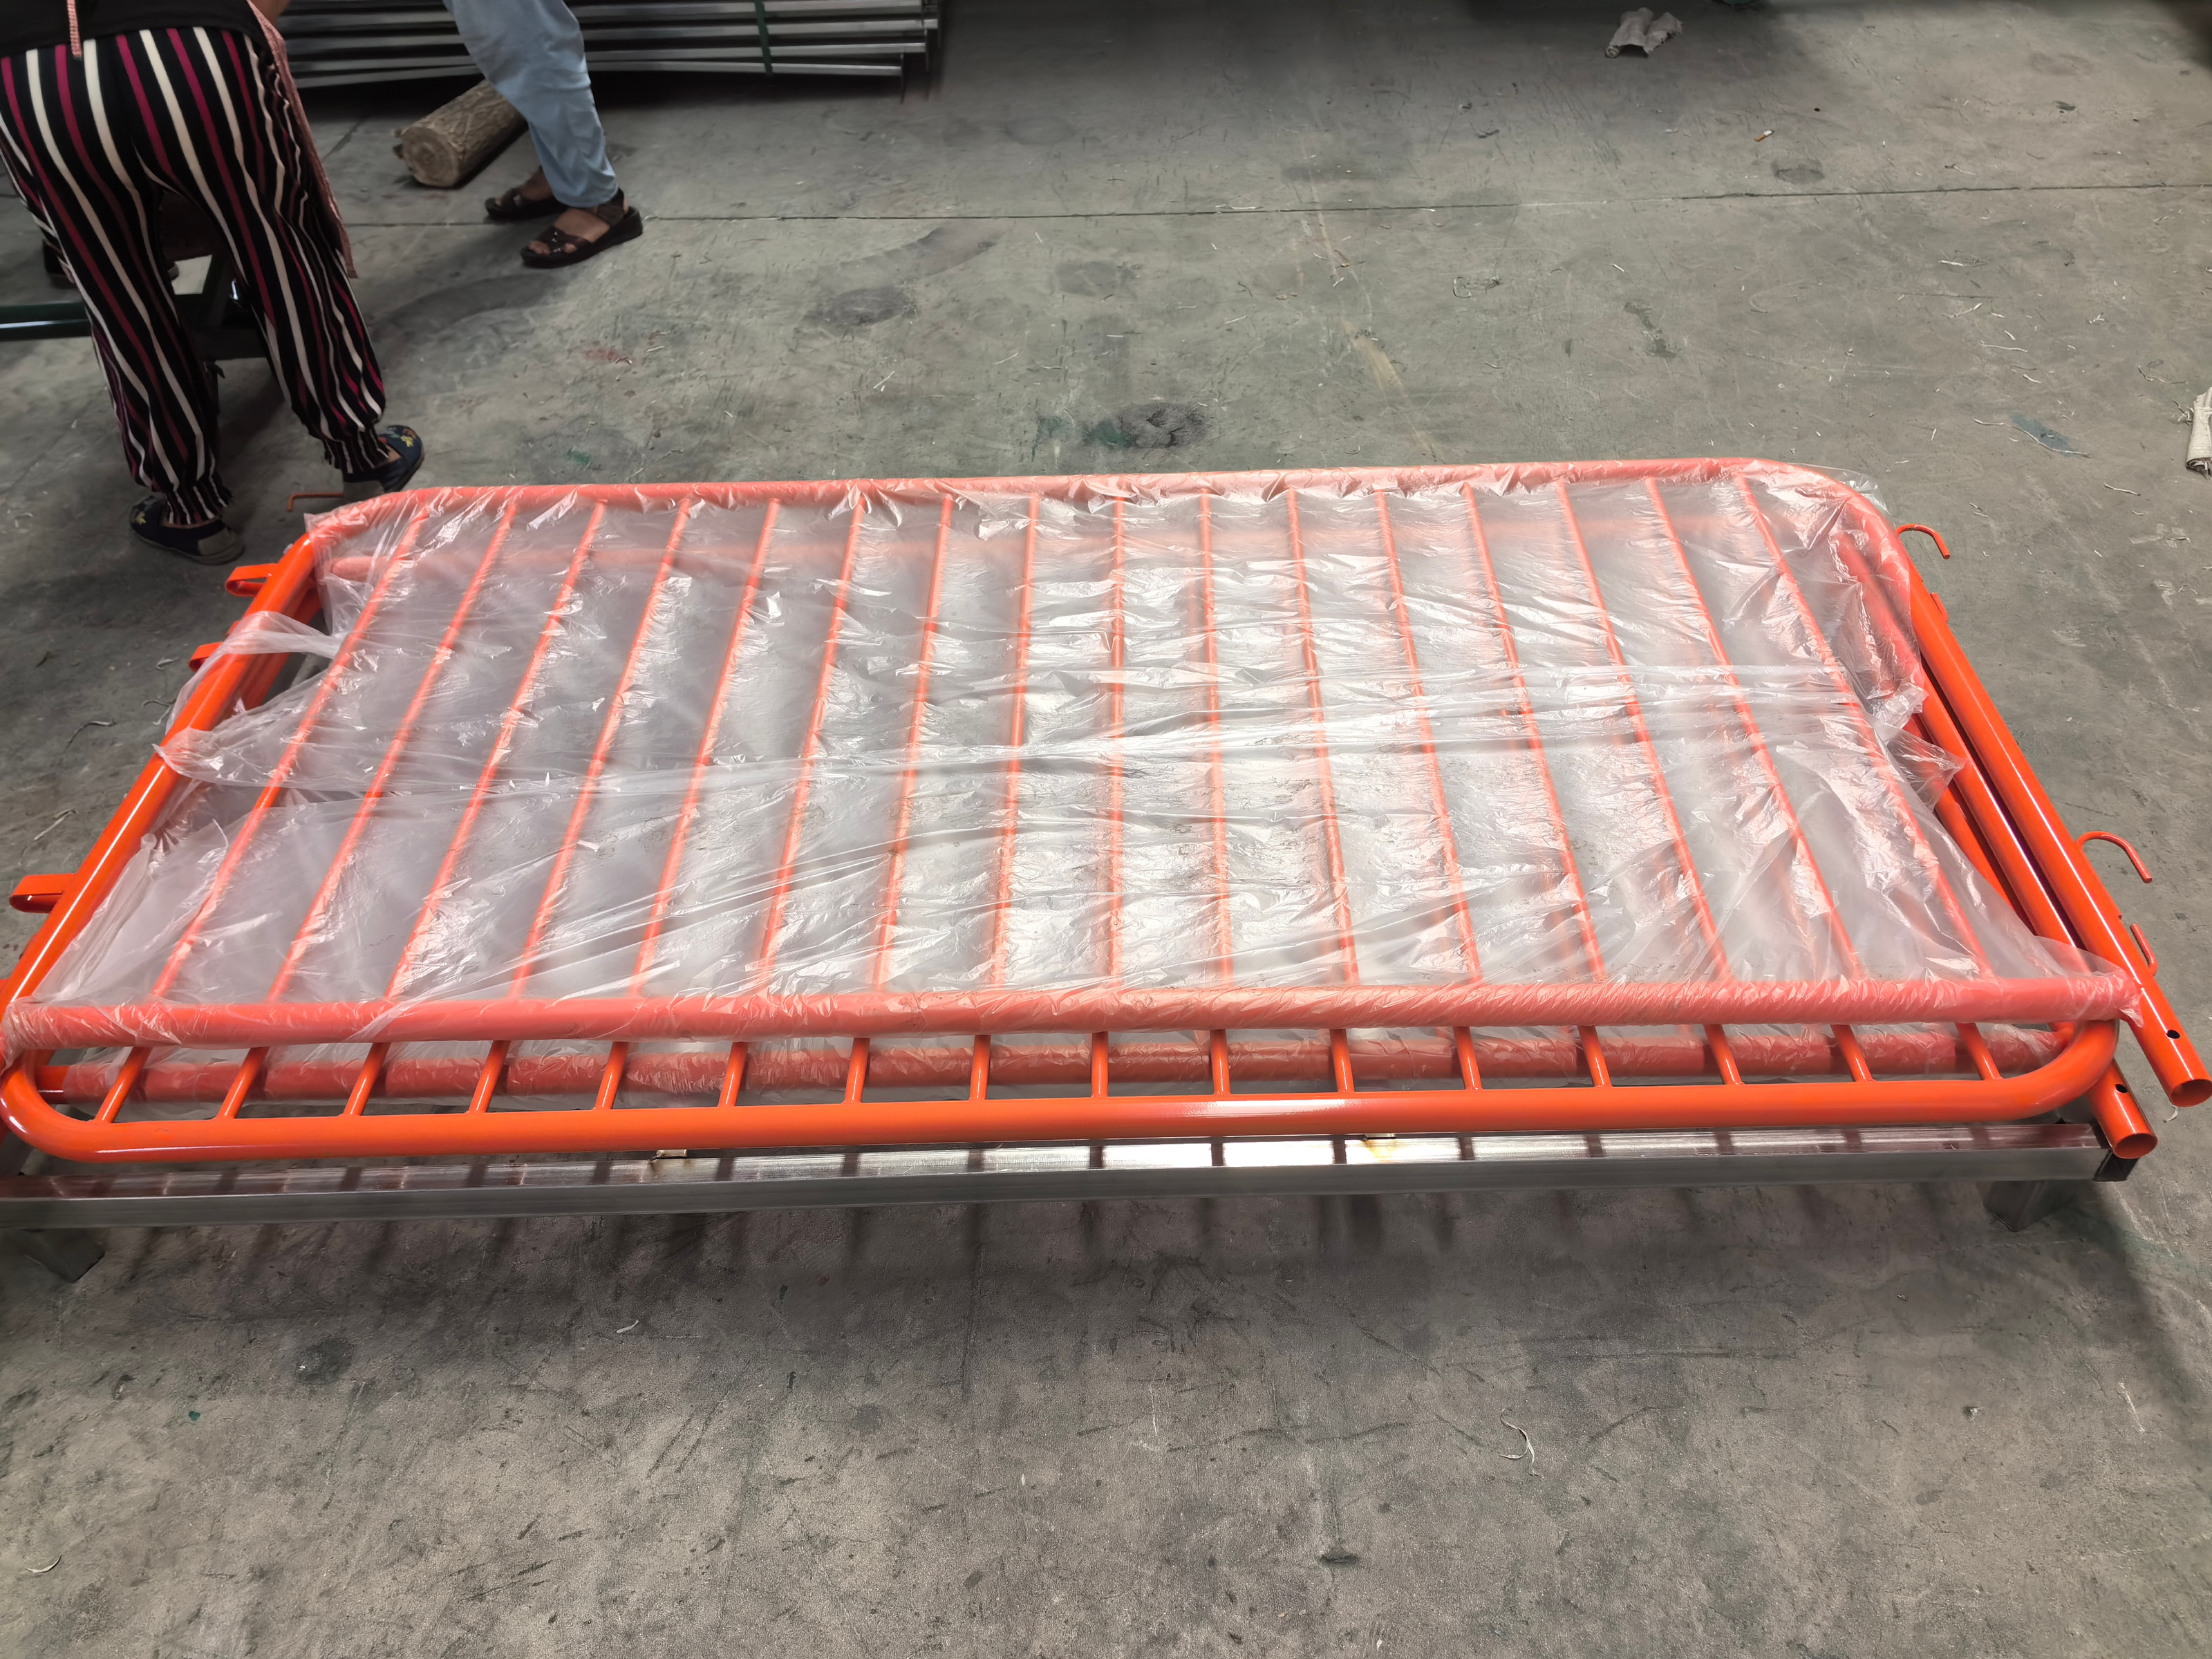
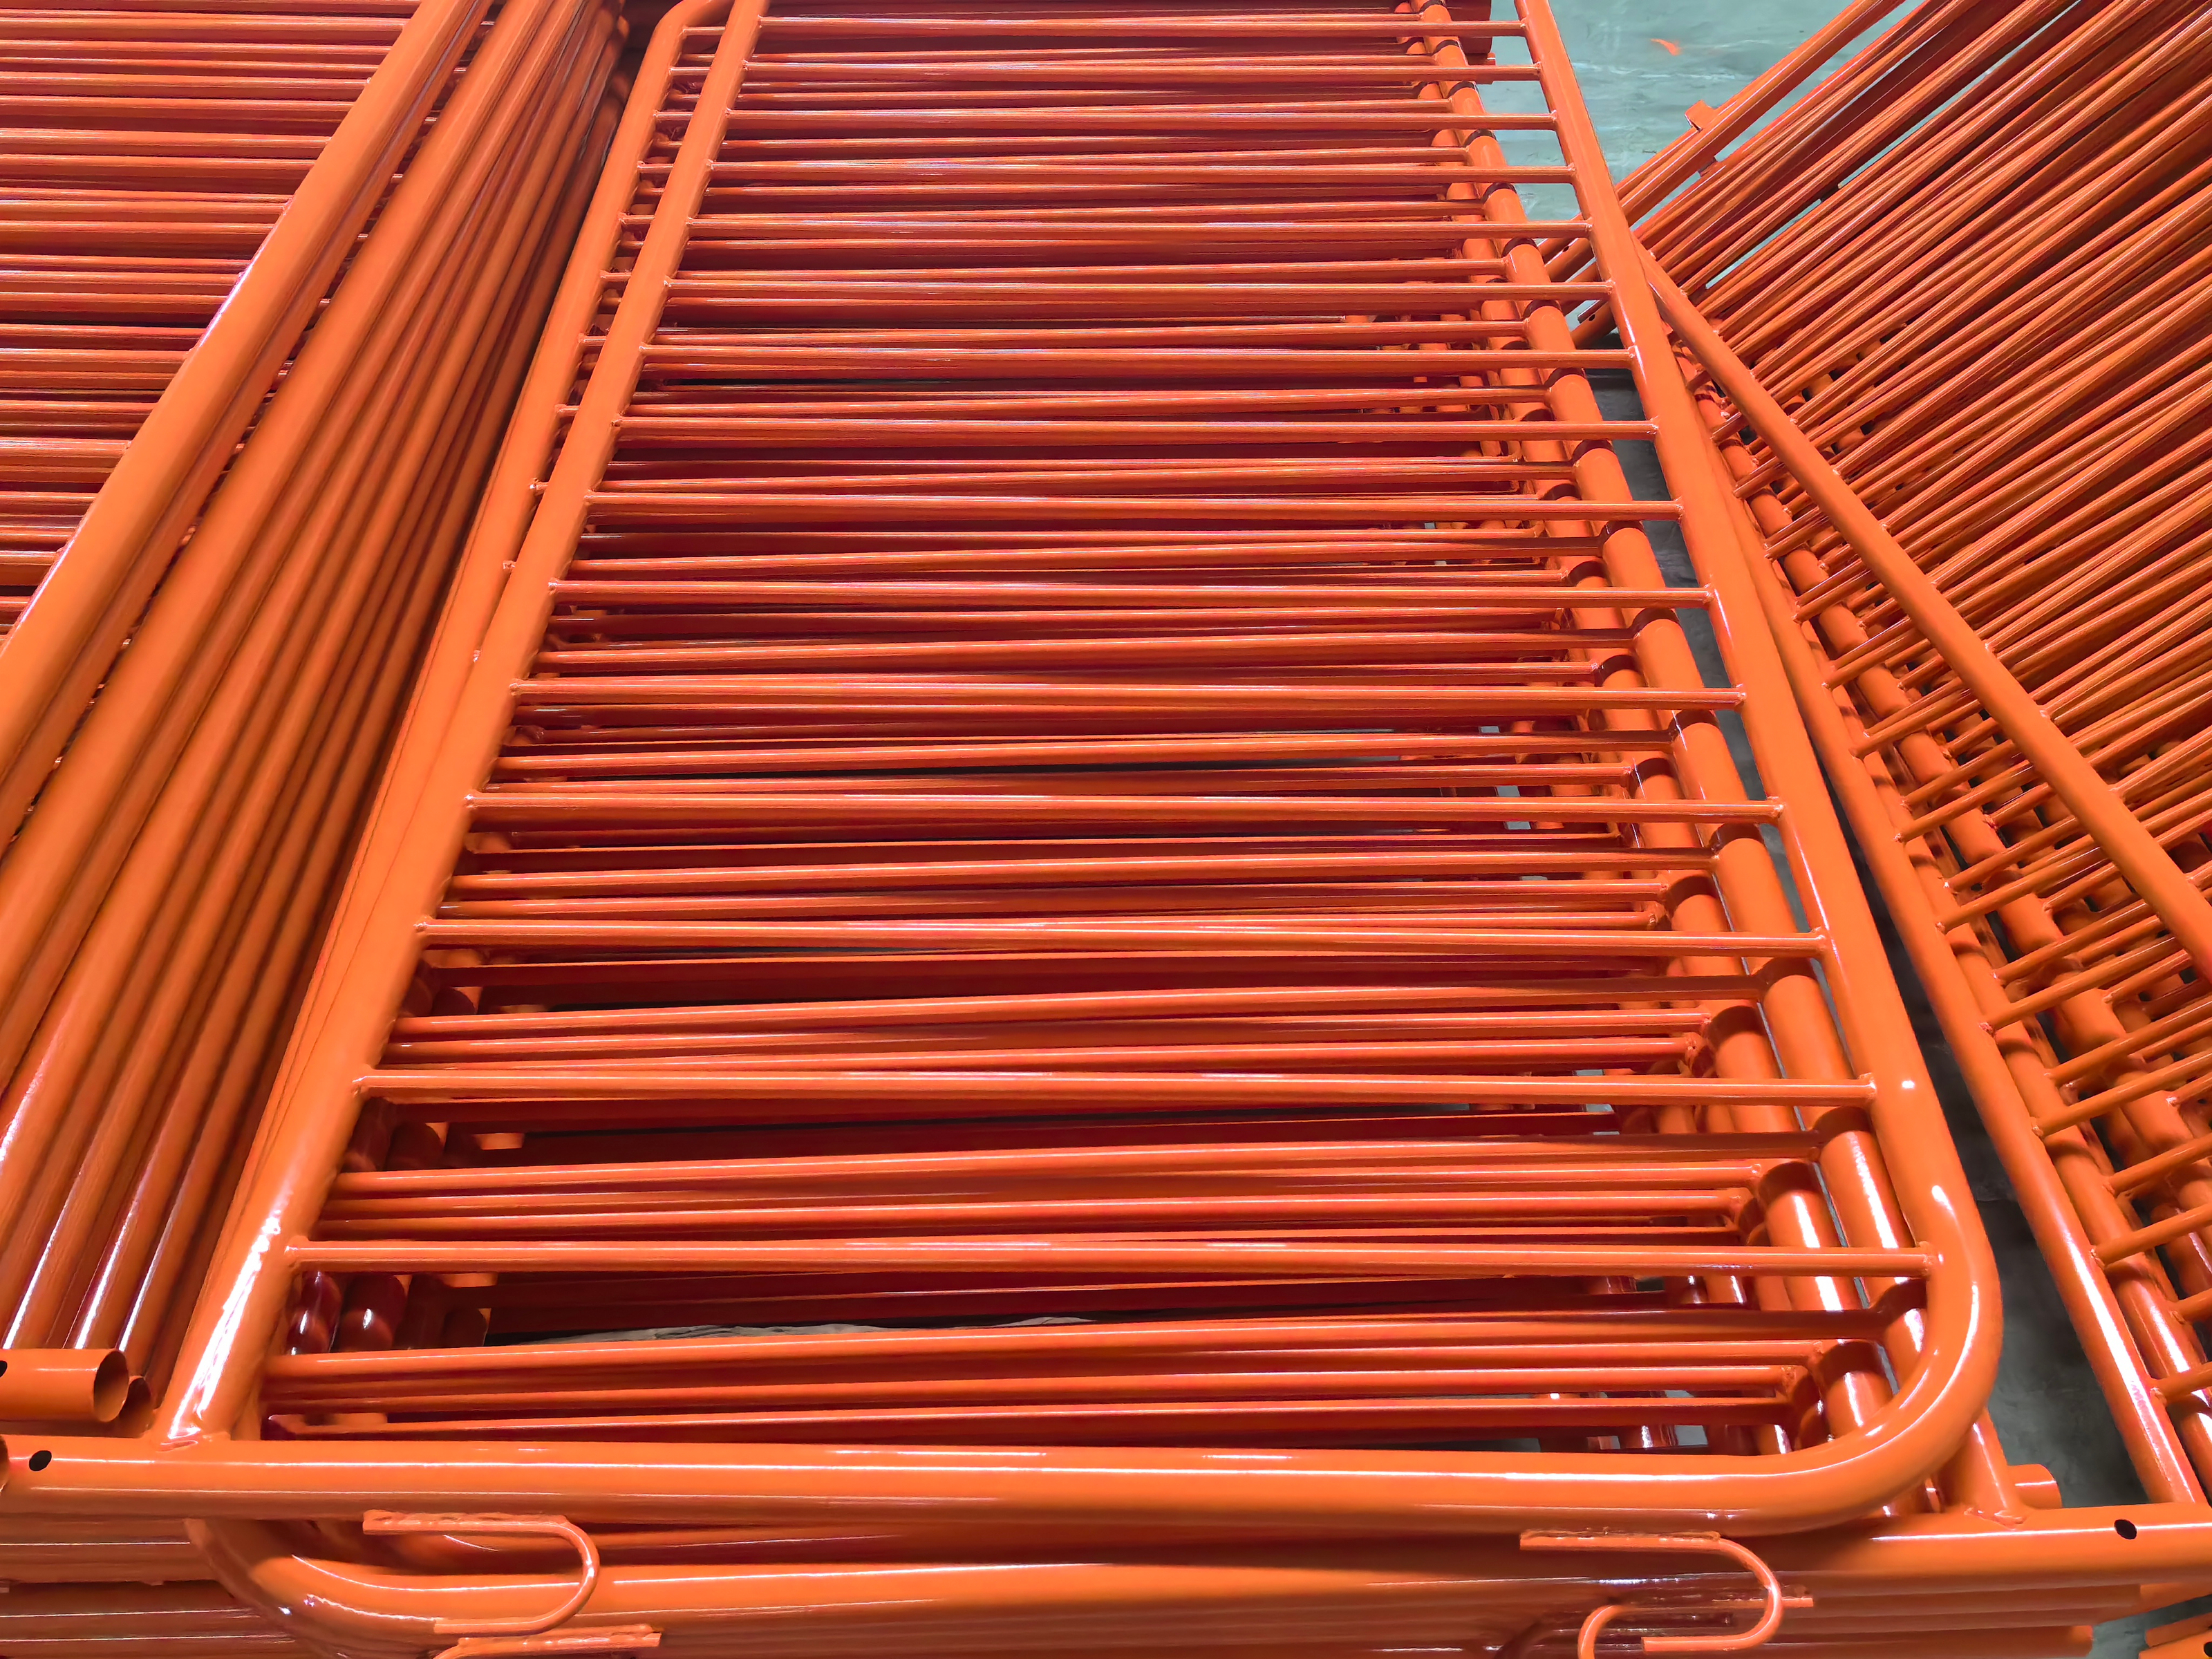
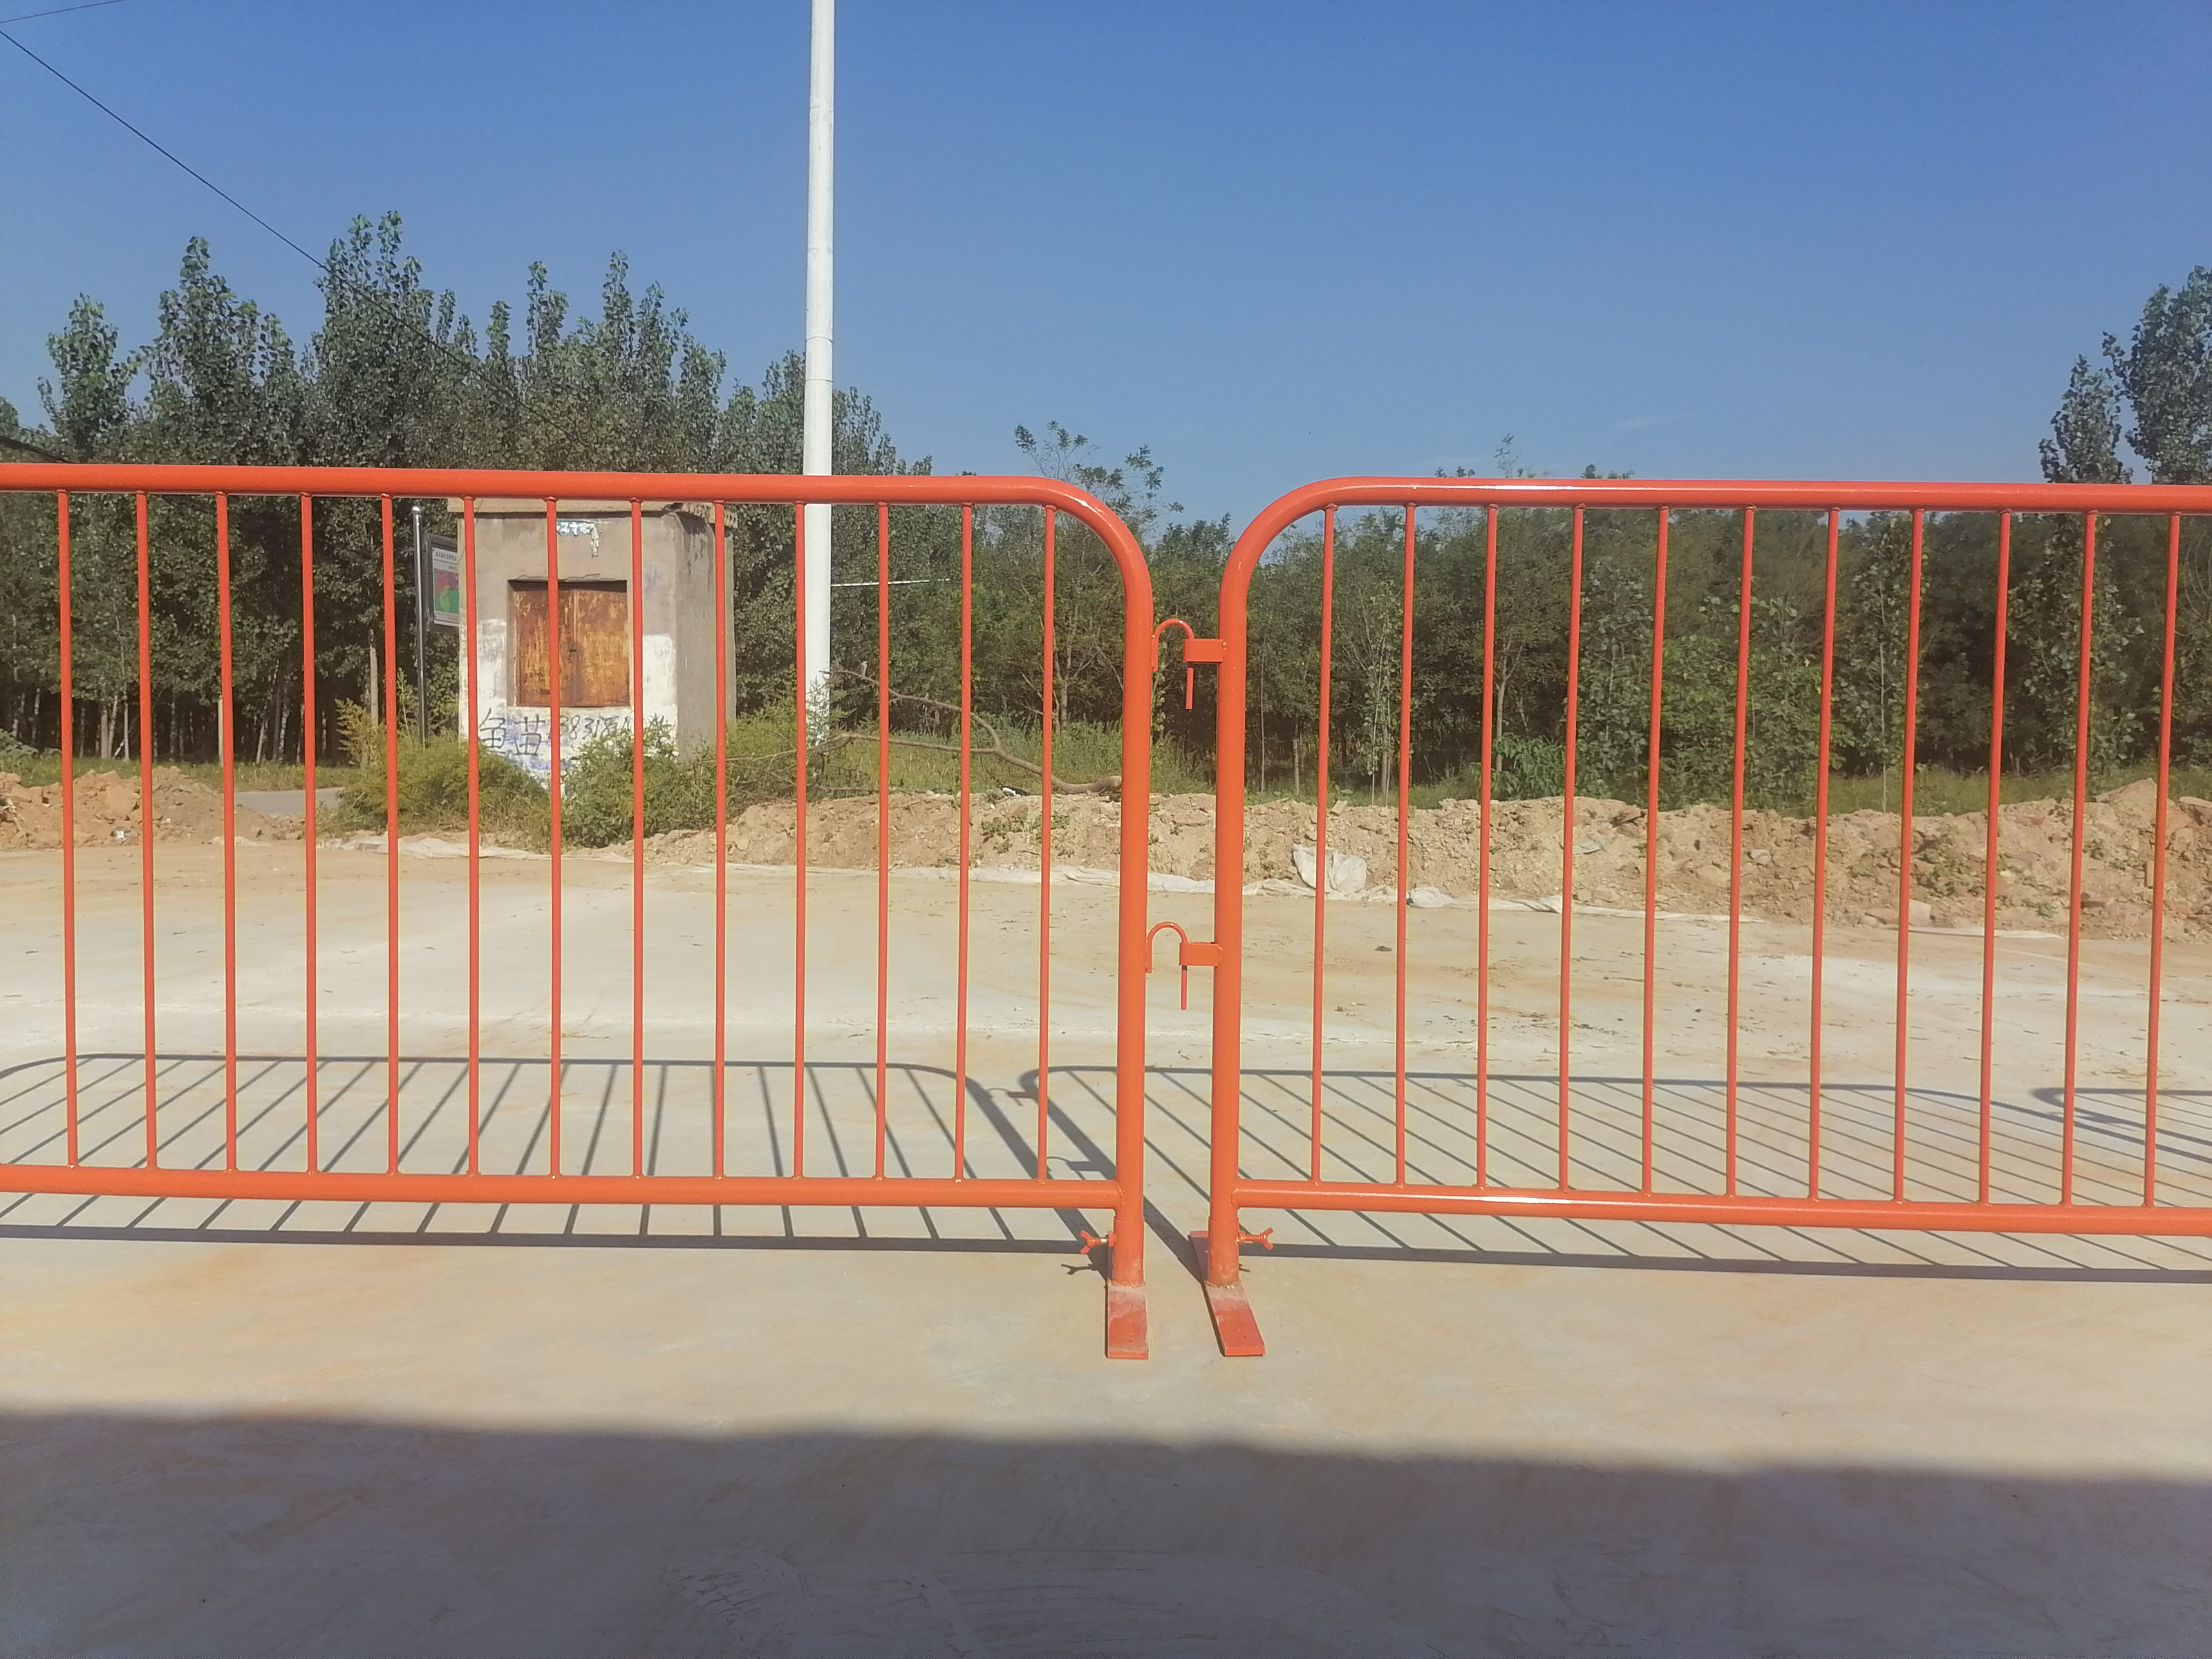
Visual Reference: Orange Crowd Control Barriers
 |  |
Product Description (POLYMETAL Orange Crowd Control Barriers)
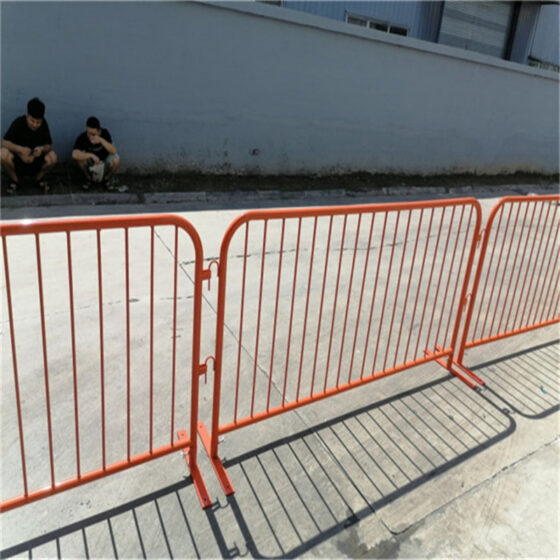
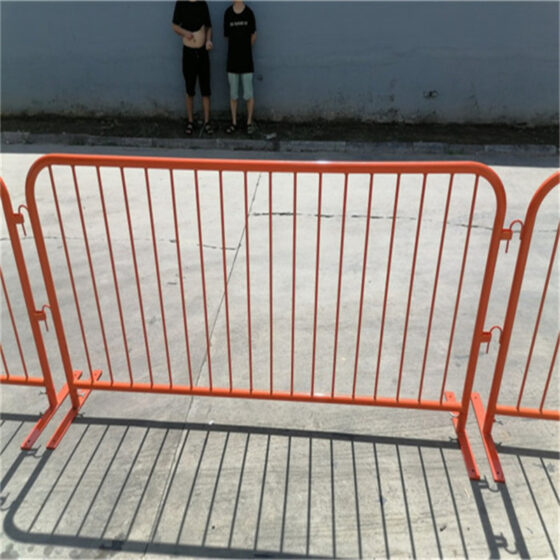
POLYMETAL orange crowd control barriers are designed as a high-visibility control system for fast-moving environments where safety teams must create clean lanes, controlled entry points, and reliable temporary boundaries. Barrier heights commonly include 1.0m, 1.06m, 1.1m, and 1.2m, with widths such as 2.0m, 2.2m, 2.5m, and 2.6m to match crowd flow and site layout. The frame is built with round frame tube options including 25mm, 32mm, 35mm, and 38mm, with wall thickness selections such as 1.5mm, 1.6mm, and 2.00mm for different impact and handling needs.
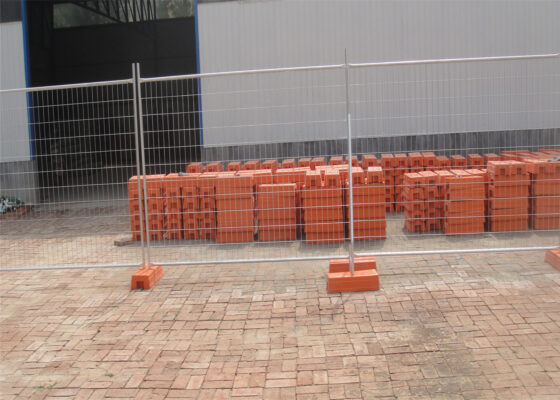
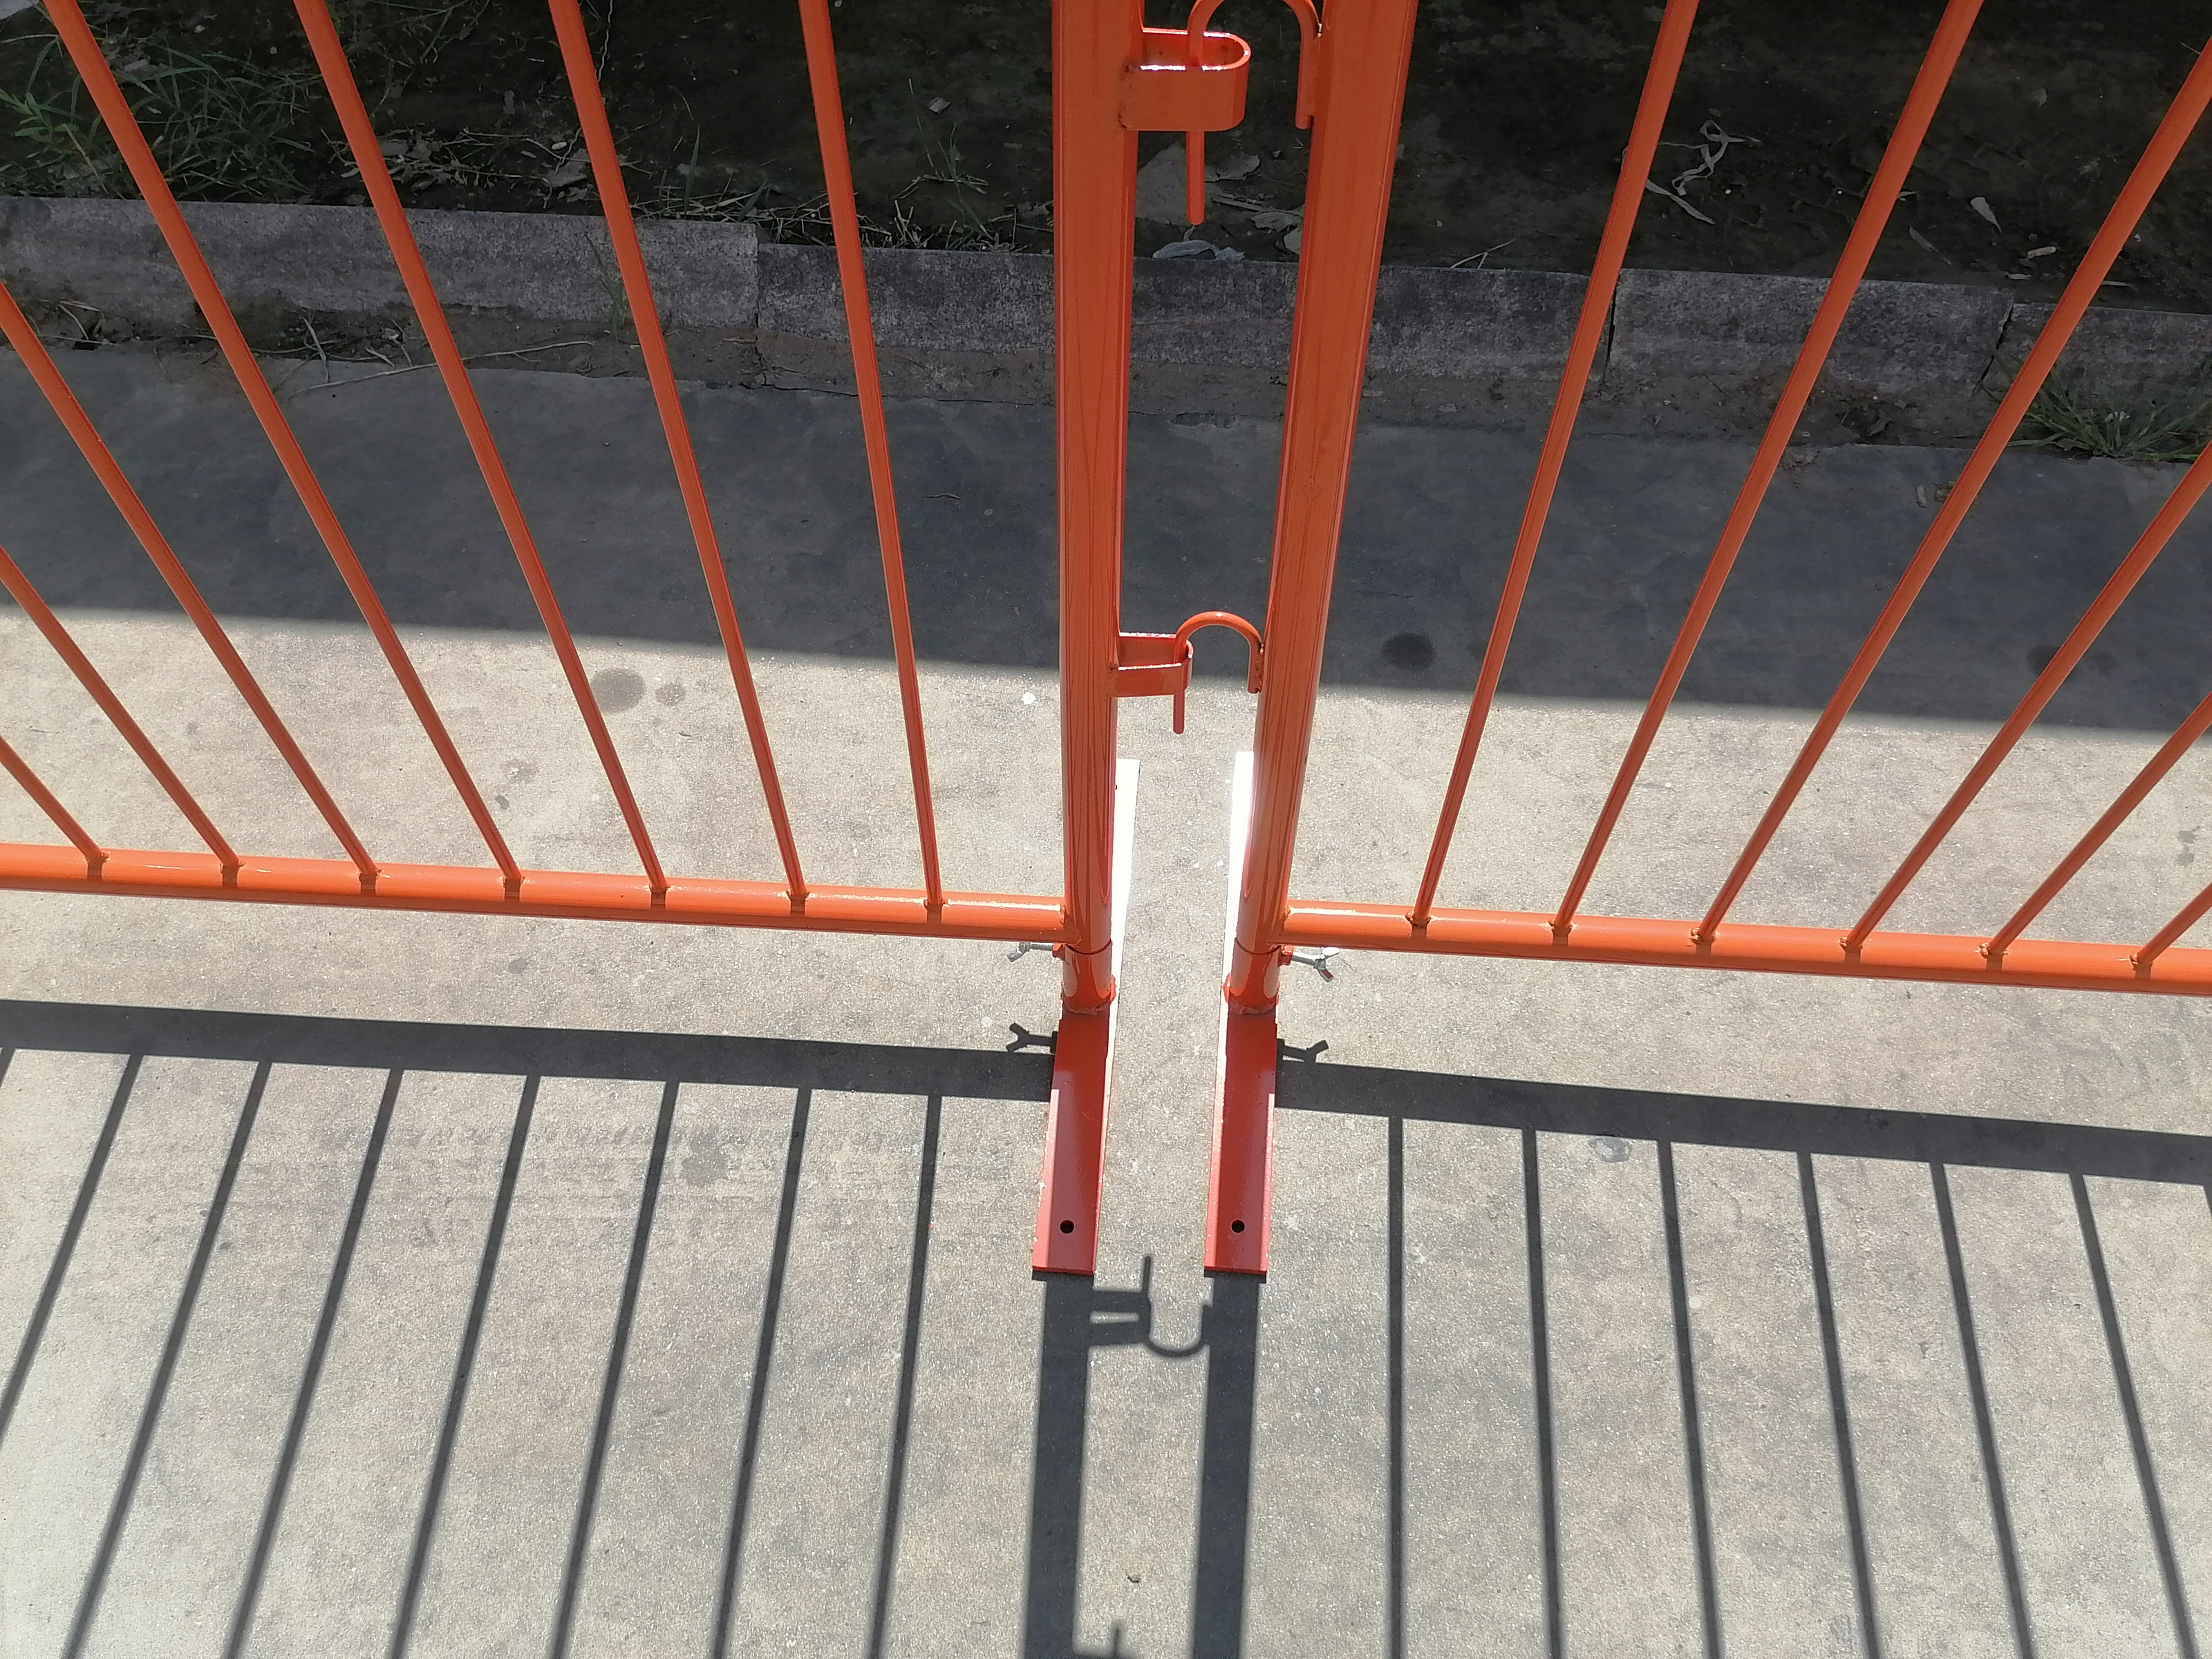
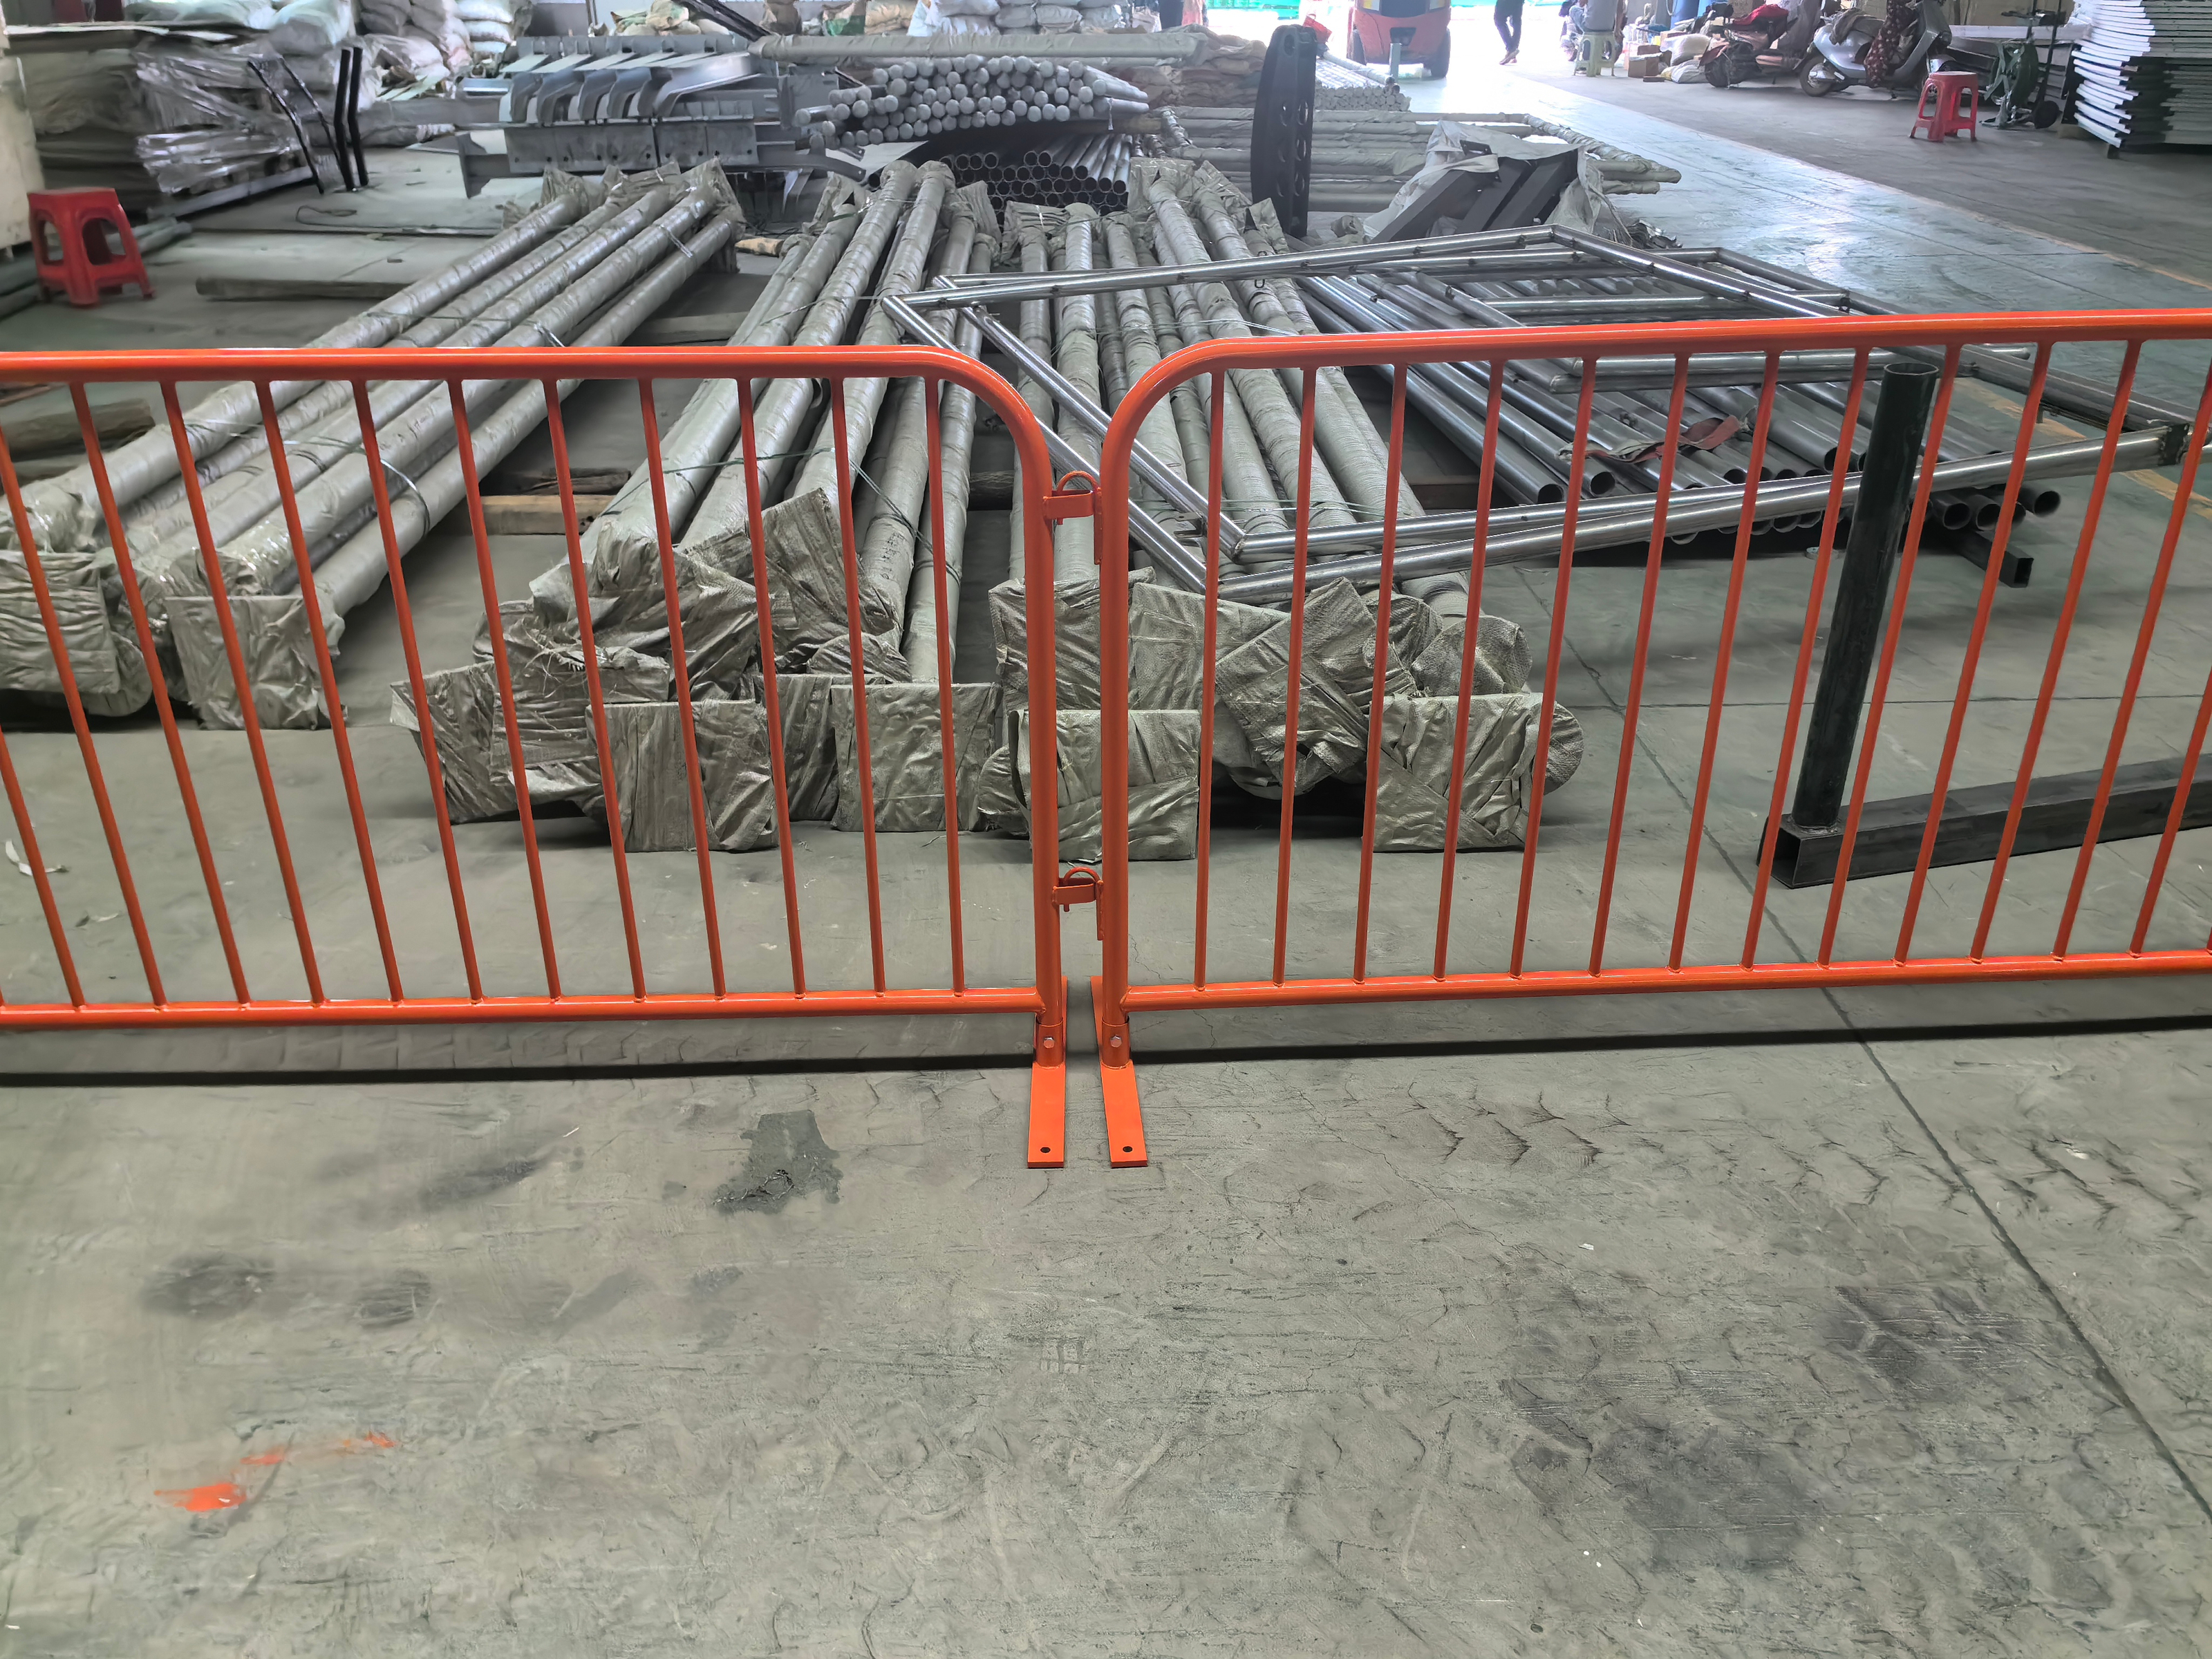
Upright tubes are available in OD 12mm, OD 16mm, and OD 19mm with thickness options of 0.7mm, 0.80mm, 1.0mm, and 1.2mm so the barrier face can be tuned for rigidity while maintaining practical weight. Spacing options such as 90mm, 100mm, 150mm, and 200mm help balance control, visibility, and anti-squeeze performance. For stable ground contact, the system can be configured with flat steel feet (580×50×10mm) or alternative base styles, including wheel feet, bridge feet, and V feet, depending on whether the priority is mobility, heavy-duty stability, or stacking efficiency.
Specifications Orange crowd control barriers
Table 1: POLYMETAL Orange Crowd Control Barriers — Popular Configuration Sheet (10+ Specs)
| Barrier Height | Barrier Width | Frame Tube | Frame Wall | Upright Tube | Upright Thick. | Spacing | Foot Type | Flat Steel Foot | Finish Color |
|---|---|---|---|---|---|---|---|---|---|
| 1.0m | 2.0m | Ø25mm | 1.5mm | Ø12mm | 0.7mm | 150mm | Flat | 580×50×10mm | Orange |
| 1.0m | 2.2m | Ø32mm | 1.5mm | Ø16mm | 0.80mm | 100mm | V Feet | 580×50×10mm | Orange |
| 1.0m | 2.5m | Ø35mm | 1.6mm | Ø16mm | 1.0mm | 150mm | Bridge | 580×50×10mm | Orange |
| 1.06m | 2.0m | Ø32mm | 1.6mm | Ø12mm | 0.80mm | 100mm | Flat | 580×50×10mm | Orange |
| 1.06m | 2.2m | Ø35mm | 1.6mm | Ø19mm | 0.80mm | 90mm | V Feet | 580×50×10mm | Orange |
| 1.06m | 2.6m | Ø38mm | 2.00mm | Ø19mm | 1.0mm | 100mm | Bridge | 580×50×10mm | Orange |
| 1.1m | 2.0m | Ø35mm | 1.6mm | Ø16mm | 1.0mm | 100mm | Wheel Feet | 580×50×10mm | Orange |
| 1.1m | 2.5m | Ø38mm | 2.00mm | Ø19mm | 1.0mm | 150mm | Flat | 580×50×10mm | Orange |
| 1.2m | 2.2m | Ø38mm | 2.00mm | Ø19mm | 1.2mm | 100mm | Bridge | 580×50×10mm | Orange |
| 1.2m | 2.6m | Ø38mm | 2.00mm | Ø19mm | 1.2mm | 90mm | V Feet | 580×50×10mm | Orange |
Table 2: Frame Tube & Wall Thickness Matrix (Strength Control for Orange Crowd Control Barriers)
| Frame Tube | Wall Thickness | Typical Use | Impact Resistance | Weight Level | Best Height Range | Best Width Range | Handling Cycle Fit | Recommended Foot | Notes |
|---|---|---|---|---|---|---|---|---|---|
| Ø25mm | 1.5mm | Light crowd control | Medium | Light | 1.0m | 2.0–2.2m | Moderate | Flat | Budget-friendly lines |
| Ø25mm | 1.6mm | Entry lanes | Medium | Light | 1.0–1.06m | 2.0–2.2m | Moderate | V Feet | Cleaner stability |
| Ø32mm | 1.5mm | General events | Medium+ | Medium | 1.0–1.1m | 2.0–2.5m | High | Flat | Balanced spec |
| Ø32mm | 1.6mm | Roadworks control | High | Medium | 1.06–1.2m | 2.2–2.6m | High | Bridge | More rigid line |
| Ø35mm | 1.5mm | Public queue systems | High | Medium | 1.0–1.1m | 2.2–2.6m | High | V Feet | Stable linking |
| Ø35mm | 1.6mm | Stadium edges | High | Medium+ | 1.06–1.2m | 2.2–2.6m | Very High | Bridge | Strong resale/rental |
| Ø35mm | 2.00mm | High-pressure zones | Very High | Heavy | 1.1–1.2m | 2.0–2.6m | Very High | Flat | Built for leaning load |
| Ø38mm | 1.6mm | Long runs | Very High | Heavy | 1.06–1.2m | 2.2–2.6m | Very High | Bridge | Preferred for reuse |
| Ø38mm | 2.00mm | Critical crowd control | Extreme | Heavy+ | 1.1–1.2m | 2.2–2.6m | Extreme | Bridge/V | Maximum rigidity |
| Ø38mm | 2.00mm | Police / emergency lanes | Extreme | Heavy+ | 1.2m | 2.6m | Extreme | Wheel Feet | Fast reposition |
Table 3: Upright Tube, Thickness & Spacing (Barrier Face Rigidity Control)
| Upright Tube OD | Thickness | Spacing | Typical Upright Count (2.0m) | Typical Upright Count (2.2m) | Typical Upright Count (2.5m) | Typical Upright Count (2.6m) | Rigidity Level | Best Fit Use | Notes |
|---|---|---|---|---|---|---|---|---|---|
| Ø12mm | 0.7mm | 200mm | 10–11 | 11–12 | 13 | 13–14 | Low | Light queue lanes | Max visibility, lower stiffness |
| Ø12mm | 0.80mm | 150mm | 13–14 | 15 | 17 | 17–18 | Medium | General events | Better face control |
| Ø12mm | 1.0mm | 100mm | 19–20 | 21–22 | 25 | 25–26 | High | Busy walkways | Higher picket density |
| Ø16mm | 0.7mm | 150mm | 13–14 | 15 | 17 | 17–18 | Medium | Queue barriers | Balanced weight |
| Ø16mm | 0.80mm | 100mm | 19–20 | 21–22 | 25 | 25–26 | High | Public control lines | Common choice |
| Ø16mm | 1.0mm | 90mm | 22 | 24–25 | 28 | 29 | High+ | Higher push zones | Tighter spacing control |
| Ø19mm | 0.80mm | 150mm | 13–14 | 15 | 17 | 17–18 | High | Roadworks edges | Stiffer upright |
| Ø19mm | 1.0mm | 100mm | 19–20 | 21–22 | 25 | 25–26 | Very High | Stadium lanes | Strong face integrity |
| Ø19mm | 1.2mm | 100mm | 19–20 | 21–22 | 25 | 25–26 | Extreme | Critical crowd control | Max reuse stability |
| Ø19mm | 1.2mm | 90mm | 22 | 24–25 | 28 | 29 | Extreme+ | High-pressure entries | Dense barrier face |
Table 4: Feet & Base Options (Flat Steel, Wheel Feet, Bridge Feet, V Feet)
| Foot Type | Standard Foot Spec | Best Surface | Stability Level | Mobility Level | Stacking Efficiency | Typical Use | Risk Controlled | Optional Add-On | Notes |
|---|---|---|---|---|---|---|---|---|---|
| Flat Steel Feet | Flat steel 580×50×10mm | Concrete/asphalt | High | Low | Good | Standard lines | Wobble | Rubber pad | Most common, simple |
| Bridge Feet | Bridge-style base pair | Mixed site ground | Very High | Low | Medium | High-pressure edges | Line spread | Extra cross brace | Stronger anti-tip |
| V Feet | V-profile feet | Concrete/asphalt | High | Low | High | Rental fleets | Twist | Anti-scratch caps | Great stacking |
| Wheel Feet | Wheel base assembly | Flat floors | Medium | Very High | Medium | Fast reposition | Slow setup | Brake wheel | Ideal for indoor |
| Wheel Feet (Braked) | Wheel + brake lock | Flat floors | High | High | Medium | Queue control | Roll-away | Double brake | Stops drift |
| Heavy Flat Feet | Thicker plate option | Outdoor | Very High | Low | Good | Wind-exposed areas | Topple | Longer plate | Extra mass |
| Bridge Feet (Wide) | Wider bridge footprint | Outdoor | Extreme | Low | Medium | High crowd load | Lean collapse | Anchoring holes | Maximum control |
| V Feet (Compact) | Compact V base | Indoor/outdoor | High | Low | Very High | Transport-heavy | Stack damage | Corner protectors | Fleet friendly |
| Foot + Reflector | Foot with reflector zone | Roadworks | High | Low | Good | Night control | Low visibility | Reflective tape | Higher awareness |
| Foot + Anchor Plate | Anchor-ready foot | Outdoor | Extreme | Low | Medium | Critical perimeters | Push shift | Bolts/pegs | Strong fixing |
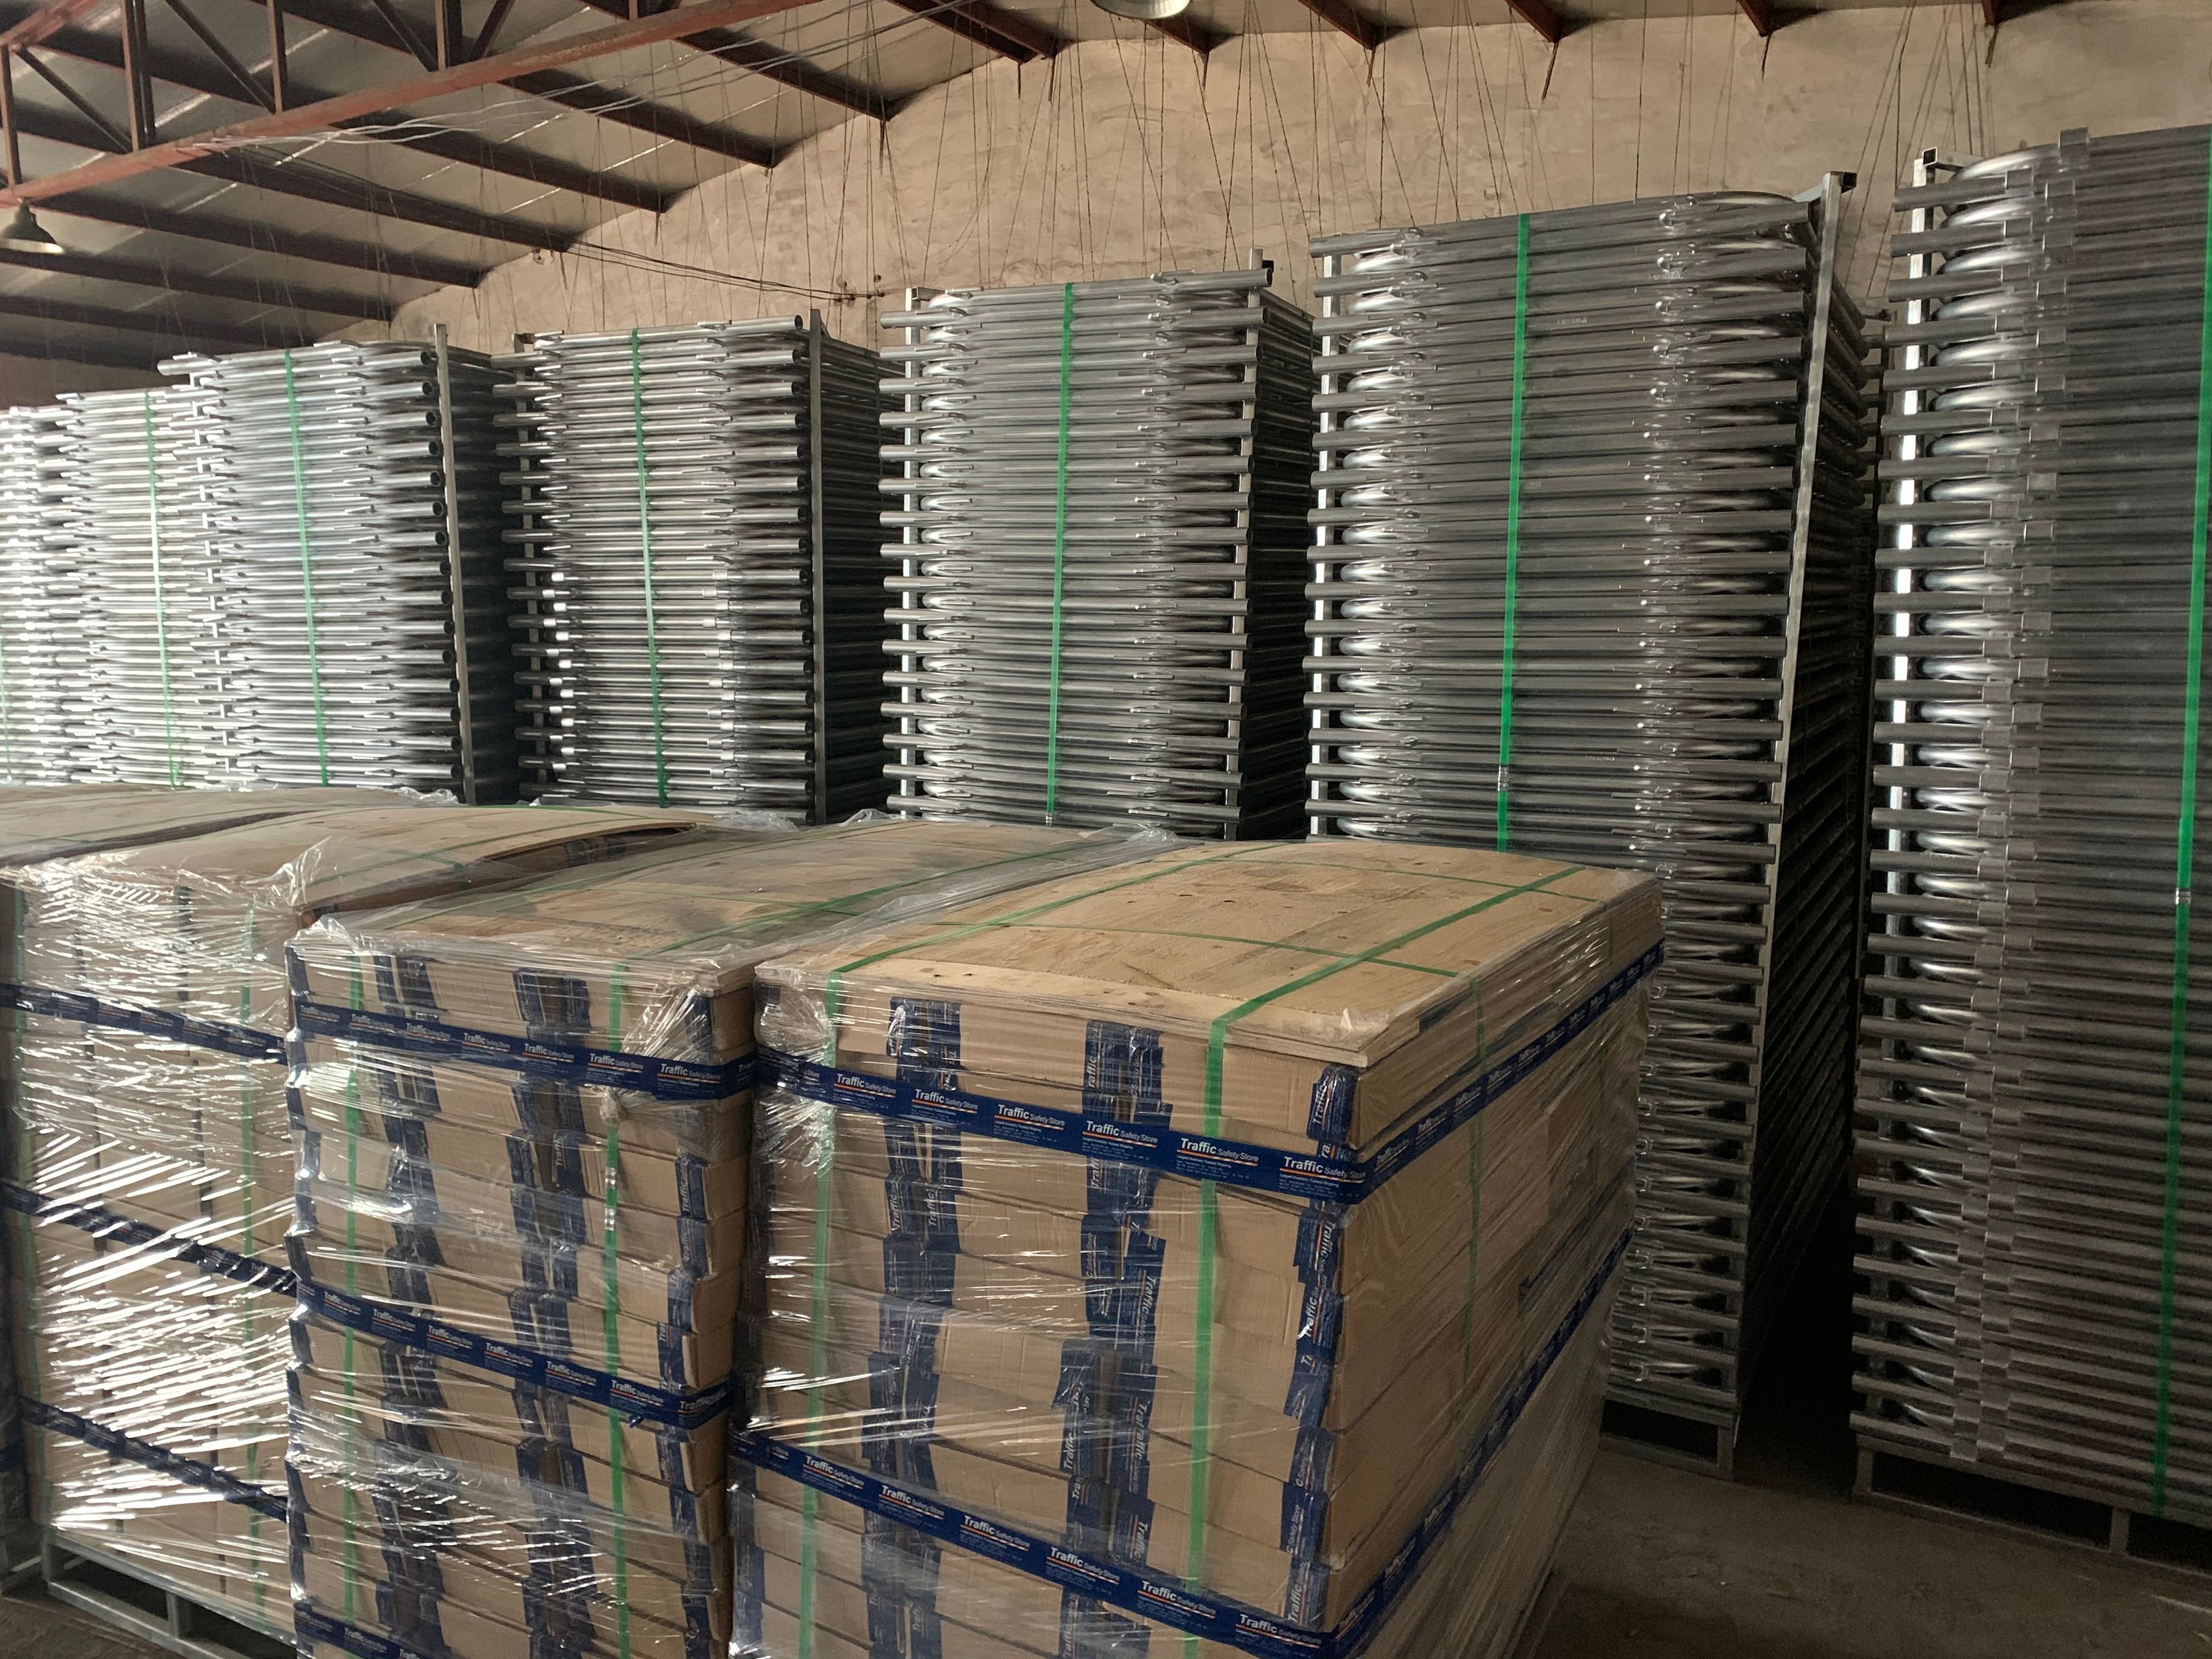
Table 5: Packing & Shipping Specifications (Export / Project Delivery Control)
| Item | Packing Method | Primary Protection | Typical Bundle Qty | Strapping | Edge Protection | Labeling | Loading | Damage Reduced | Notes |
|---|---|---|---|---|---|---|---|---|---|
| Barrier Panels | Plastic film + pallet | Scratch control | 20–50 pcs | Metal straps | Corner guards | Bundle ID | Forklift | High | Fast site check |
| Barrier Panels | Steel pallet + straps | Impact control | 20–40 pcs | Metal straps | Edge guards | Bundle ID | Forklift | High | Rental fleet ready |
| Feet (Flat) | Bundled + carton/pallet | Loss control | 50–200 pcs | Plastic straps | Inner dividers | Foot type label | Manual/Fork | High | Sorted by type |
| Feet (Bridge) | Carton + pallet | Shape protection | 20–80 pcs | Plastic straps | Foam layer | Foot type label | Forklift | Medium | Avoid denting |
| Feet (V) | Bundled + pallet | Stack control | 30–120 pcs | Plastic straps | Edge pads | Foot type label | Forklift | High | Stack friendly |
| Wheel Feet | Carton + pallet | Wheel protection | 10–40 sets | Carton tape | Inner foam | Set label | Manual/Fork | High | Keep bearings safe |
| Connectors / Hooks | Small bags + carton | Missing parts | By order | Carton tape | Inner bag | Part code | Manual | High | Pre-counted sets |
| Mixed Shipment | Separated zones | Rubbing prevention | Project-based | Mixed straps | Dividers | Pack list | Container | High | Cleaner unloading |
| Export Pallets | Fumigation-ready | Customs flow | Project-based | Metal straps | Corner guards | Pallet ID | Container | Medium | Better clearance |
| Project Delivery | Batch labeling | Wrong item risk | By zone | Straps | Edge pads | Area label | Truck | High | Install faster |
Buying Guide: The Fastest Way to Choose the Right Orange Crowd Control Barriers
Start with three decisions that prevent the most expensive failures: the frame tube size and wall thickness, the upright tube and spacing, and the foot type. If you choose a heavier frame but weak uprights, the barrier face flexes and looks “cheap” after the first event. If you choose dense spacing but the wrong feet, the line still slides under crowd pressure. A stable barrier system is always a complete configuration: barrier panel, linking method, and foot design that matches the surface and expected push load.

Applications
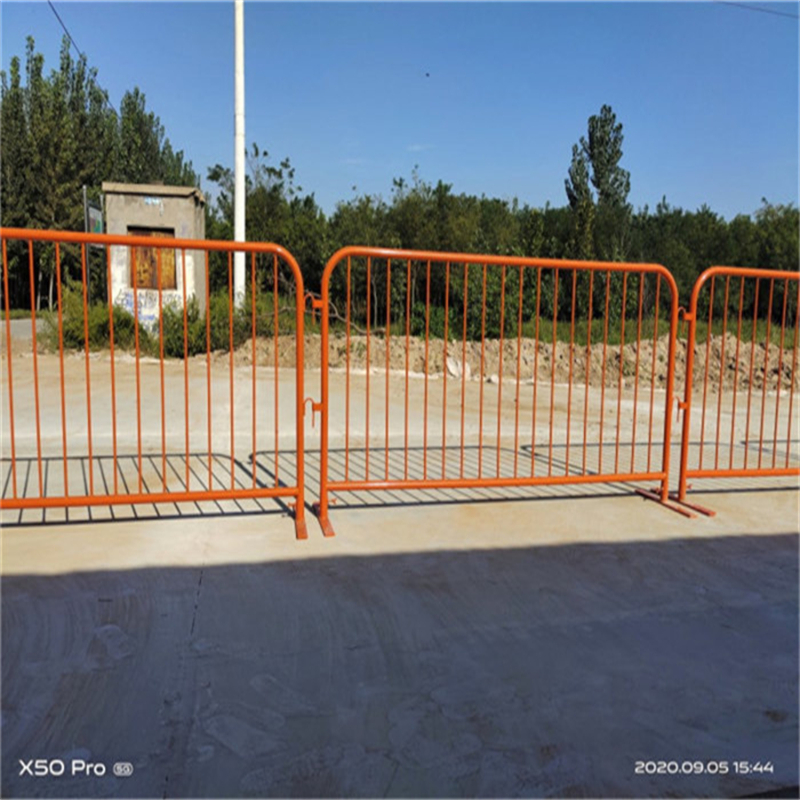
POLYMETAL orange crowd control barriers are used for event queue management, concert and stadium lane control, roadworks and pedestrian diversion, emergency access corridors, public works safety zones, retail crowd flow, ticketing lines, transport hubs, school and campus control, and industrial sites where temporary access restriction and clear guidance are required.
Benefits
The primary benefits of orange crowd control barriers are fast deployment, high visibility, and predictable linking that keeps people moving safely. Strong frame tube options improve durability under repeated transport cycles, while controlled upright spacing improves barrier face integrity. Stable feet choices reduce rocking and line spread, and a consistent orange finish improves hazard awareness in busy, fast-changing environments.
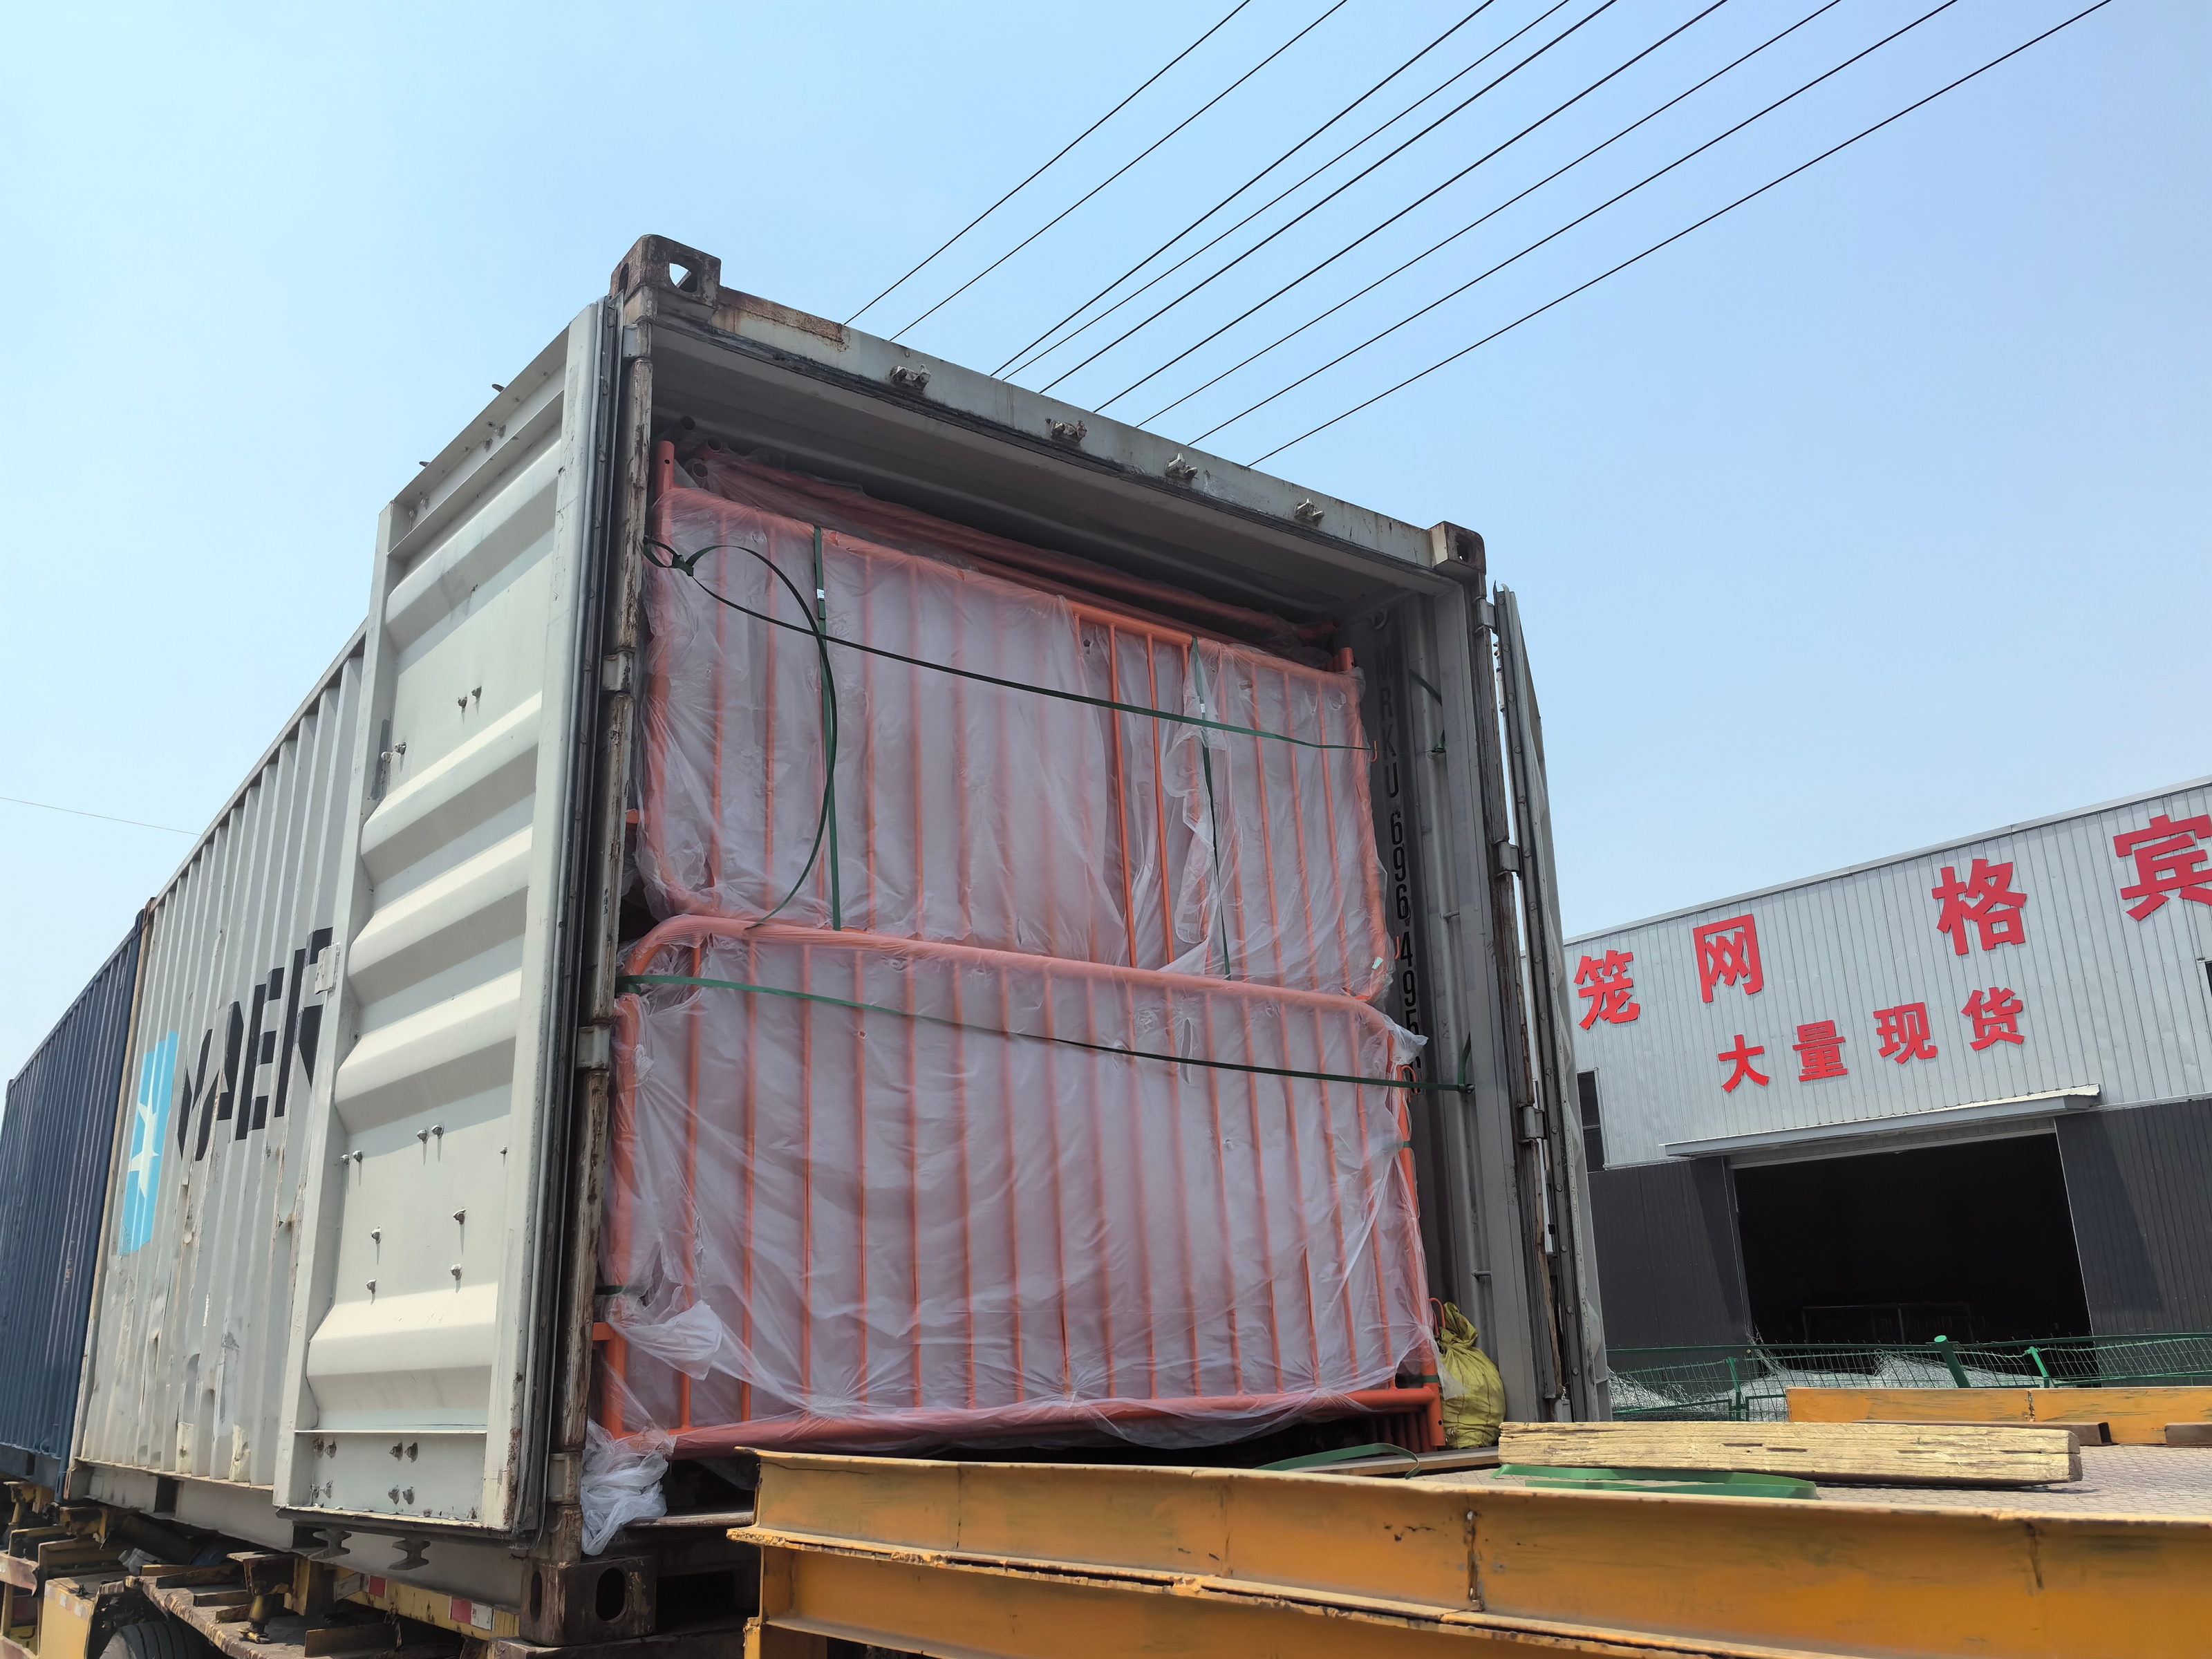
Packing
POLYMETAL packing is designed to protect barrier finish and reduce transit damage. Panels are commonly stacked and strapped on pallets with plastic film wrapping and edge protection to minimize scratches and hook damage. Feet and wheel assemblies are packed separately in labeled cartons or palletized bundles to prevent missing items and speed up site deployment.

Standard and Quality Notes
POLYMETAL orange crowd control barriers are manufactured as a system specification, where height, width, tube sizes, wall thickness, upright spacing, and foot type are matched to the project environment and handling cycles. Production control focuses on stable weld consistency, repeatable linking geometry, and durable coating performance so barrier lines remain straight, aligned, and safe during real use.

Top 18 Trap Headings You Must Check Before You Buy Orange Crowd Control Barriers (Especially #15)
Trap #1: Buying “Same Height” Barriers Without Checking Real Height (1.0m vs 1.06m vs 1.1m vs 1.2m)
Height differences change line control, lean-over behavior, and safety outcomes in dense crowds.
Trap #2: Choosing Width Wrong (2.0m vs 2.2m vs 2.5m vs 2.6m) and Creating Weak Joints
Wrong width increases joints, increases wobble points, and makes lanes harder to keep straight.
Trap #3: Treating Frame Tube Size Like a Decoration
Ø25mm and Ø38mm do not behave the same under repeated lean loads and transport cycles.
Trap #4: Under-Specifying Frame Wall Thickness
1.5mm, 1.6mm, and 2.00mm walls create very different rigidity and dent resistance.
Trap #5: Ignoring Upright Tube OD (Ø12 vs Ø16 vs Ø19) and Getting a Flexible Barrier Face
Thin uprights can bend after one bad unload and never look straight again.
Trap #6: Forgetting Upright Thickness (0.7 / 0.80 / 1.0 / 1.2mm)
Thickness decides whether uprights stay rigid or deform under handling and pressure.
Trap #7: Picking the Wrong Spacing (90 / 100 / 150 / 200mm) and Triggering Control Gaps
Spacing changes how well the barrier face guides people and reduces squeeze-through risk.
Trap #8: Using Weak Feet on Strong Barriers
A strong panel on a weak foot still fails when crowds push and the line slides.
Trap #9: Choosing Wheel Feet Without Brake Control
Uncontrolled wheels can drift and create sudden gaps during peak flow.
Trap #10: Skipping Flat Steel Foot Quality (580×50×10mm) and Losing Stability
Foot mass and geometry are critical for anti-tip behavior on hard surfaces.
Trap #11: Buying Barriers That Don’t Stack Cleanly
Bad stacking geometry increases damage in transport and shortens service life.
Trap #12: Ignoring Hook/Link Geometry and Creating “Chain Rework”
Poor linking creates misalignment, widening lanes and causing line drift.
Trap #13: Choosing Coating That Scratches Too Easily
A scratched barrier looks old fast and becomes a safety-image problem for venues.
Trap #14: Assuming Every “Orange” Has the Same Visibility
Color consistency impacts visibility, especially under night lighting and rain.
Trap #15: The Downtime Loss—When a Barrier Line Fails During Peak Flow
This is the trap that causes painful losses. A barrier line may look fine during setup, then fail when pressure rises: feet slide, panels flex, hooks spread, and gaps open. The result is emergency rework, delayed entry, safety incidents, and downtime that costs more than the entire barrier order.
If you want orange crowd control barriers that don’t collapse into chaos, lock the correct frame tube, wall thickness, upright spec, spacing, and foot type for the real load.
For projects exposed to coastal air, chemical splash, or wet cleaning cycles, you can also explore material-upgrade thinking in Stainless Steel 316: Top 9 Reasons to Choose and apply the same corrosion-resistance logic to barrier hardware, feet, and fasteners where long-life performance matters.
Trap #16: Buying Without Matching Spare Feet and Connectors
Small parts control line integrity; missing spares creates instant operational failures.
Trap #17: Ordering Mixed Specs That Cannot Link Cleanly
Mixed heights and widths can create uneven lines and weak connection points.
Trap #18: Treating Barriers Like “One-Time Items” Instead of a Reuse System
Transport, stacking, and finish durability decide the real cost per event.
FAQs

FAQ 1: Which height is most common for orange crowd control barriers?
Common choices include 1.0m for general lane control, and 1.06m–1.2m when stronger crowd separation is needed.
FAQ 2: What width should I choose for fast deployment?
2.2m and 2.5m are popular for quick coverage, while 2.0m fits tighter site geometry and 2.6m reduces panel count on long runs.
FAQ 3: How do I choose the frame tube?
Ø32mm to Ø38mm with thicker walls is preferred for higher handling cycles and stronger push zones, while Ø25mm targets lighter duty lanes.
FAQ 4: Which spacing is better for control?
100mm spacing is commonly selected for better face control, while 150mm–200mm increases visibility but reduces “containment feel.”
FAQ 5: What foot type should I use?
Flat steel feet (580×50×10mm) are a stable default; bridge feet add extra anti-tip stability; V feet improve stacking; wheel feet improve rapid repositioning.
FAQ 6: Can barriers be supplied as a complete set?
Yes. POLYMETAL can supply panels with matched feet options so teams deploy a consistent, aligned barrier line.
FAQ 7: What packing is used for shipping?
Panels are palletized with film wrap and metal strapping; feet and wheel sets are packed separately in labeled cartons or pallet bundles for fast site counting.
FAQ 8: Why is #15 the most expensive trap?
Because failure during peak flow triggers rework, delays, and safety fallout at the worst possible time, turning “cheap” barriers into expensive downtime.