Your One-Stop Wire Mesh Fence Supplier | POLYMETAL
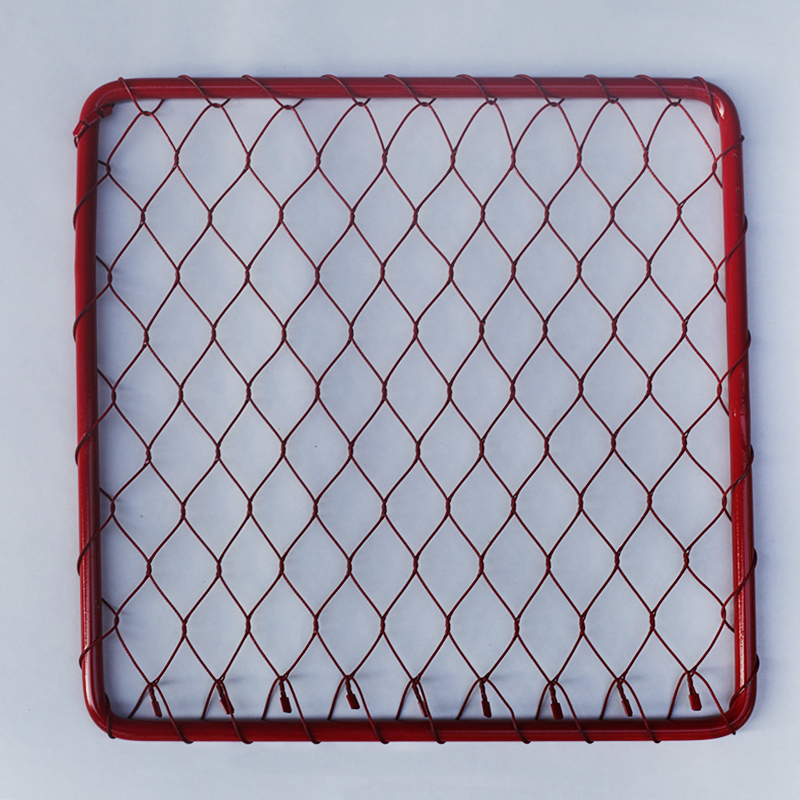
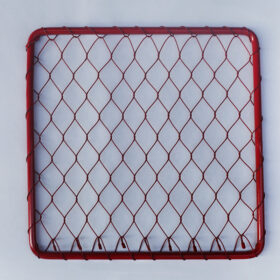
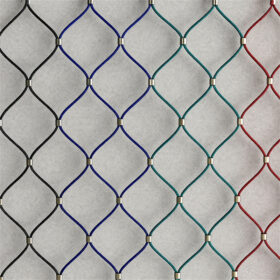
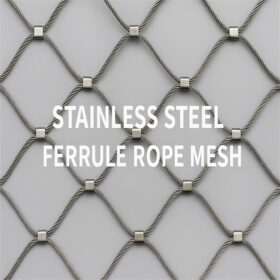
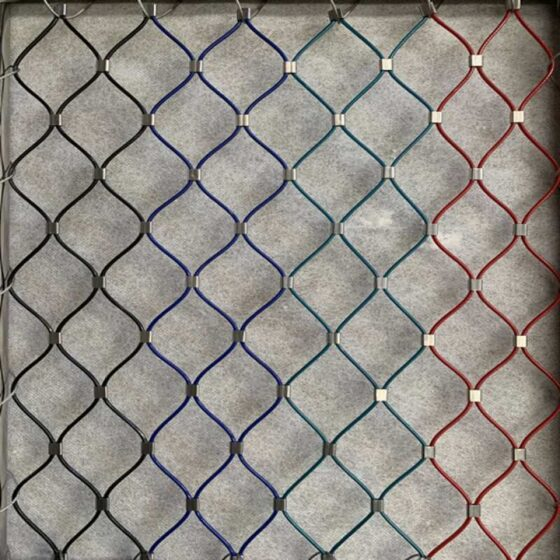
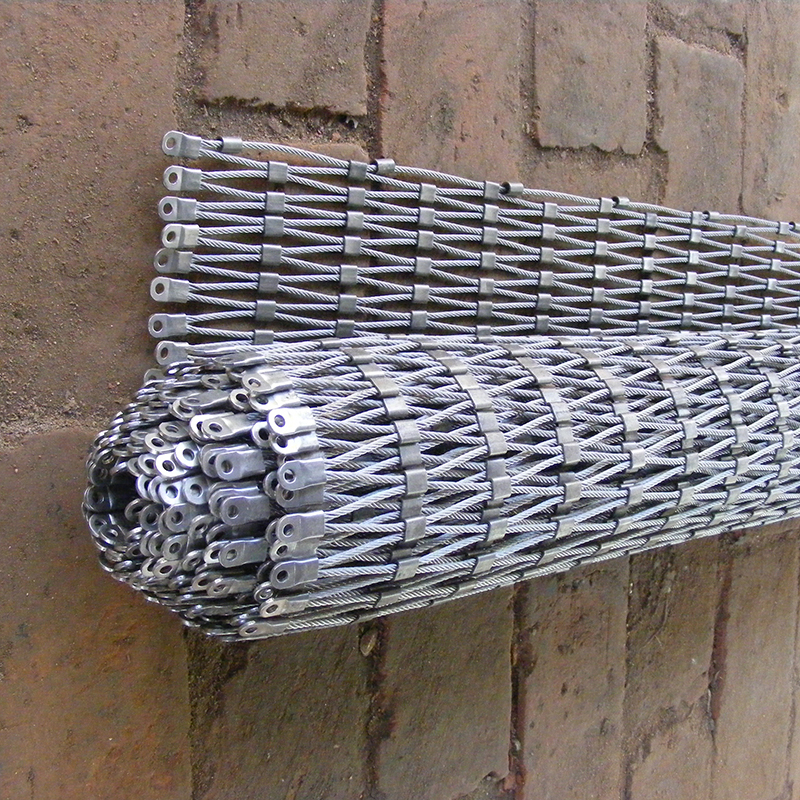
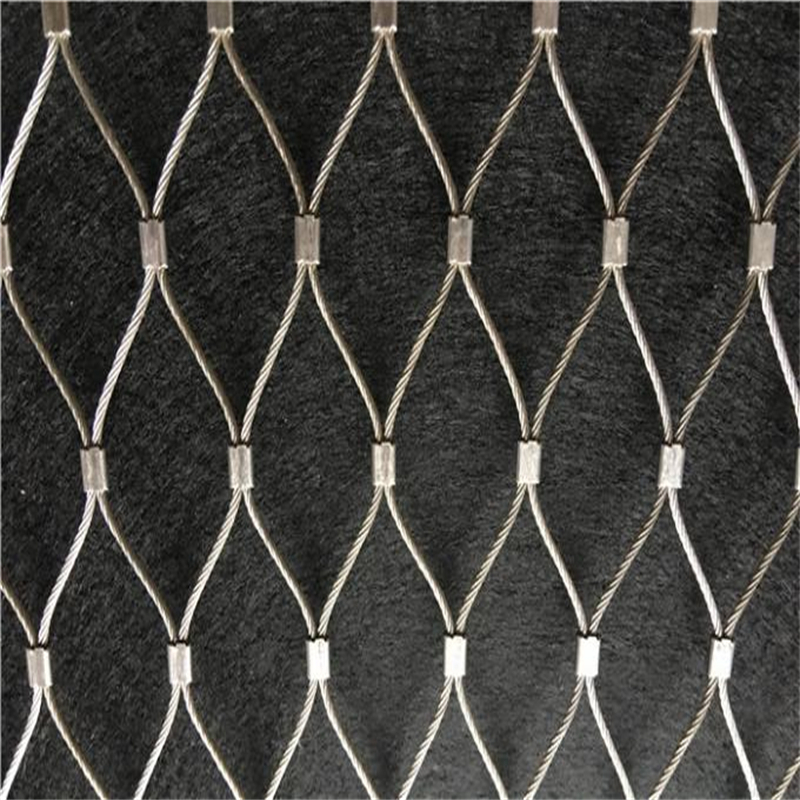
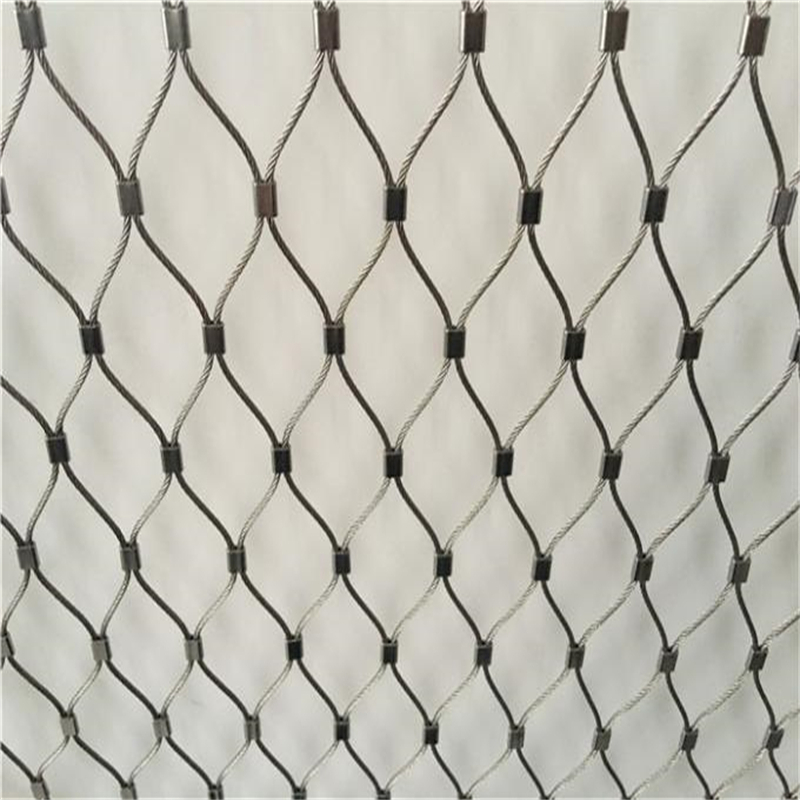
Stainless steel x tend mesh is a flexible, high-strength architectural mesh made from crimped stainless steel wire ropes that are mechanically swaged together to form rhombus (diamond) openings. It combines the strength of wire rope with the transparency of a net, creating a lightweight but extremely robust barrier system.
Each panel of stainless steel x tend mesh is produced from:
- AISI 316 stainless steel wire rope
- Stainless steel ferrules that permanently join the cables
- A precisely calculated mesh aperture
- Defined installation angle and open area
- Edge reinforcement cables designed for tensioning
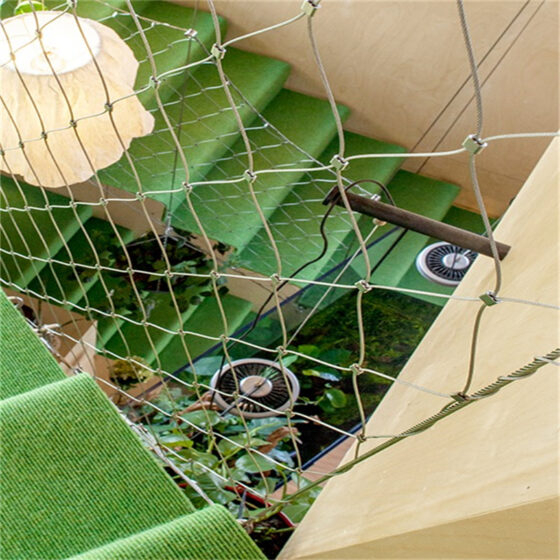
This structure makes stainless steel x tend mesh ideal for balustrades, façades, green walls, zoo enclosures, stadium safety nets and many other architectural applications.
Secret Detail #1 – Mesh Aperture Controls Real Safety, Not Just Rope Diameter
Many buyers focus only on wire rope diameter, believing “thicker is always safer”. In practice, the mesh aperture size is what limits head, hand or object passage. When we design stainless steel x tend mesh, we lock each aperture to the correct rope diameter so that visual appearance, safety testing and load performance all match the project’s requirements.


Technical Advantages and Performance
Stainless steel x tend mesh delivers a set of performance advantages that ordinary welded mesh or glass cannot match:
- High strength with low weight – multi-strand ropes provide excellent load capacity with minimal dead load on the structure.
- Superior corrosion resistance – AISI 316 stainless steel resists coastal, urban and humid environments.
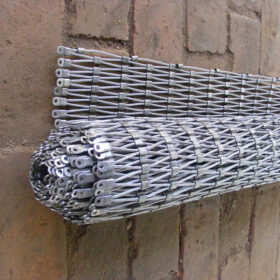
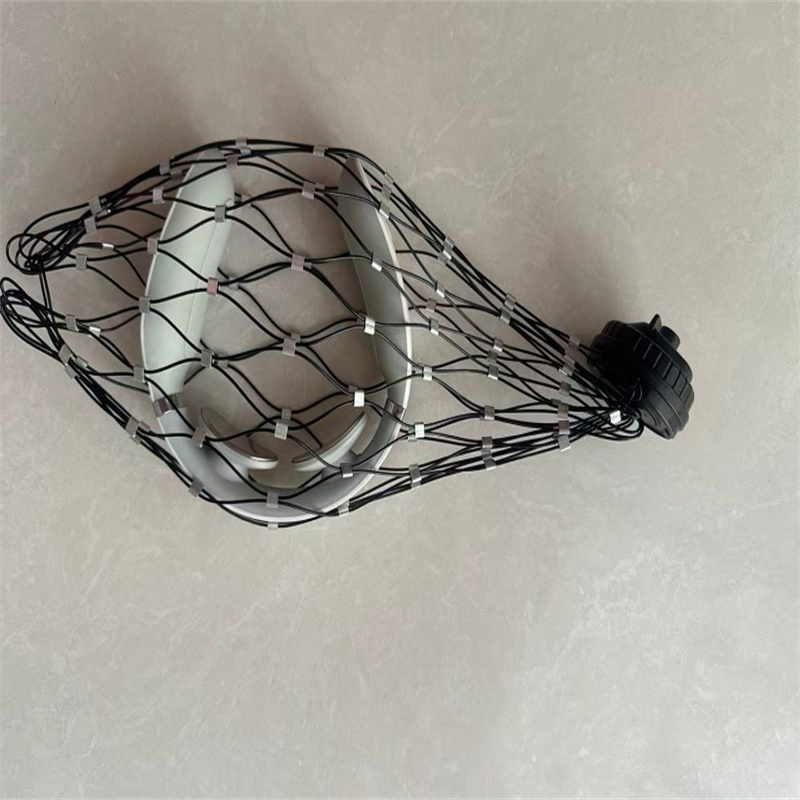
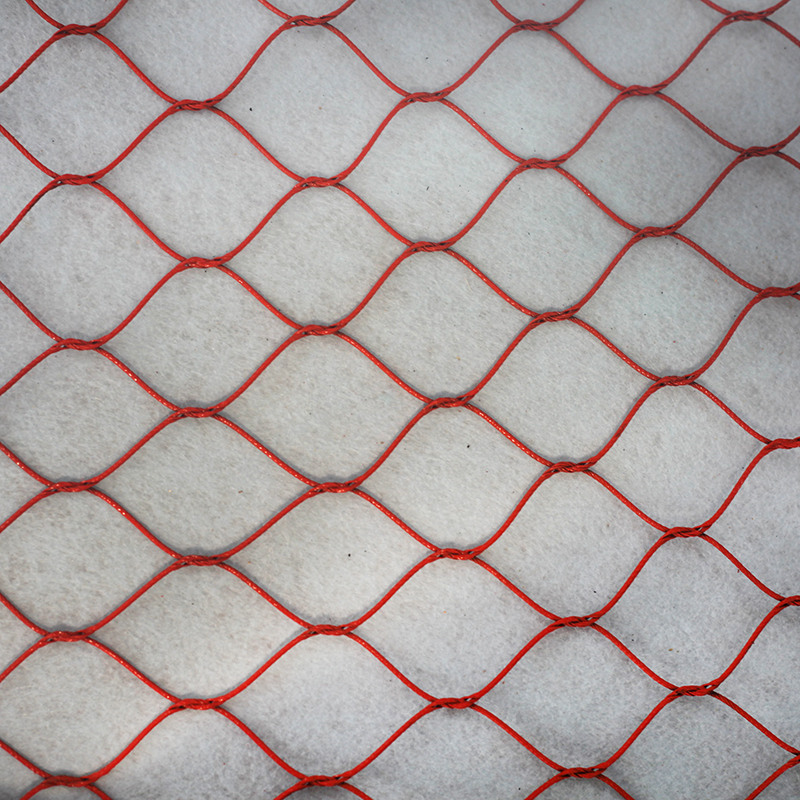
- Exceptional flexibility – the mesh can be shaped into flat, cylindric, conical or free-form surfaces.
- Excellent transparency – high open area keeps daylight and views almost unobstructed.
- Long service life – no painting, no coating repairs, almost zero maintenance.
Secret Detail #2 – Installation Angle Quietly Changes the Effective Aperture
The same stainless steel x tend mesh looks and behaves differently if you install it at 60°, 70° or 90° relative to the frame. The visible diamond opening becomes “wider” or “taller”, which influences safety tests and visual density. We always define our mesh aperture at a controlled reference angle and design the panel to deliver the intended appearance on your structure.
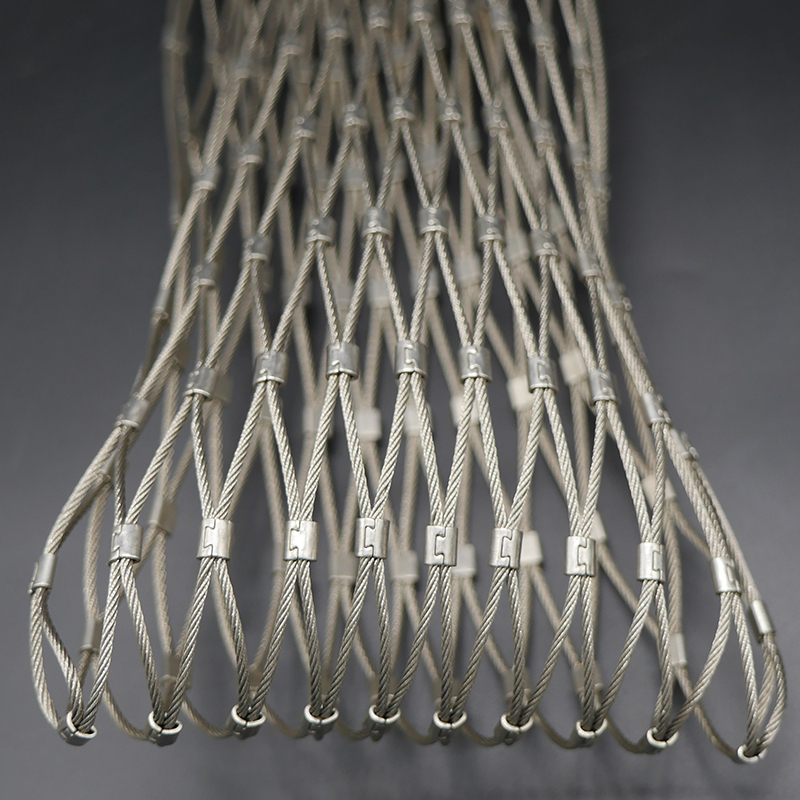
Secret Detail #3 – Rope Structure Defines Flexibility and Deflection
Two panels can both use 2.0 mm wire ropes but feel completely different. A 7×7 rope structure is stiffer and more architectural; a 7×19 rope structure is more flexible and absorbs impact better. For each stainless steel x tend mesh specification, we select the rope structure to balance rigidity, deflection and comfort for the actual application.
Specification Options for Different Applications
Below are our standard specification series. Each table shows real production data that you can use directly in your design and quotation.
Table 1 – Fine Stainless Steel X Tend Mesh for Balustrades and Interior Use
| WIRE ROPE DIAMETER (mm) | MESH APERTURE (mm) | ANGLE (degrees) | OPEN AREA (%) | MATERIAL | NOMINAL BREAKING LOAD (lbs) | WIRE ROPE STRUCTURE |
|---|---|---|---|---|---|---|
| 1.2 | 20 × 34 | 60 | 70 | AISI 316 | 480 | 7×7 |
| 1.2 | 25 × 43 | 60 | 74 | AISI 316 | 480 | 7×7 |
| 1.5 | 25 × 43 | 60 | 72 | AISI 316 | 920 | 7×7 |
| 1.5 | 30 × 52 | 60 | 76 | AISI 316 | 920 | 7×7 |
| 1.5 | 35 × 60 | 60 | 79 | AISI 316 | 920 | 7×7 |
| 1.5 | 40 × 69 | 60 | 82 | AISI 316 | 920 | 7×7 |
| 1.8 | 30 × 52 | 60 | 74 | AISI 316 | 1,380 | 7×7 |
| 1.8 | 35 × 60 | 60 | 77 | AISI 316 | 1,380 | 7×7 |
| 1.8 | 40 × 69 | 60 | 80 | AISI 316 | 1,380 | 7×7 |
| 1.8 | 50 × 87 | 60 | 84 | AISI 316 | 1,380 | 7×7 |
| 2.0 | 35 × 60 | 60 | 76 | AISI 316 | 1,760 | 7×7 |
| 2.0 | 40 × 69 | 60 | 79 | AISI 316 | 1,760 | 7×7 |
| 2.0 | 50 × 87 | 60 | 83 | AISI 316 | 1,760 | 7×7 |
| 2.0 | 60 × 104 | 60 | 86 | AISI 316 | 1,760 | 7×7 |
| 2.0 | 70 × 121 | 60 | 88 | AISI 316 | 1,760 | 7×7 |
These fine-aperture specifications are ideal for balcony infill, stair balustrades, pedestrian bridges and other areas where child safety and comfortable hand contact are important.
Secret Detail #4 – The Steel Grade Decides Whether Your Mesh Stains in the First Year
If the wrong stainless grade is used, tea staining and pitting corrosion can appear quickly, especially near the coast. Our stainless steel x tend mesh uses AISI 316 for all exterior grades, including ropes and ferrules, to guarantee long-term appearance and structural reliability.
Table 2 – Medium Stainless Steel X Tend Mesh for Façades and Green Walls
| WIRE ROPE DIAMETER (mm) | MESH APERTURE (mm) | ANGLE (degrees) | OPEN AREA (%) | MATERIAL | NOMINAL BREAKING LOAD (lbs) | WIRE ROPE STRUCTURE |
|---|---|---|---|---|---|---|
| 2.0 | 80 × 139 | 60 | 90 | AISI 316 | 1,760 | 7×7 |
| 2.0 | 90 × 156 | 60 | 91 | AISI 316 | 1,760 | 7×7 |
| 2.0 | 100 × 173 | 60 | 92 | AISI 316 | 1,760 | 7×7 |
| 2.5 | 80 × 139 | 60 | 88 | AISI 316 | 3,080 | 7×7 |
| 2.5 | 90 × 156 | 60 | 89 | AISI 316 | 3,080 | 7×7 |
| 2.5 | 100 × 173 | 60 | 90 | AISI 316 | 3,080 | 7×7 |
| 2.5 | 120 × 208 | 60 | 92 | AISI 316 | 3,080 | 7×7 |
| 3.0 | 100 × 173 | 60 | 88 | AISI 316 | 4,400 | 7×19 |
| 3.0 | 120 × 208 | 60 | 90 | AISI 316 | 4,400 | 7×19 |
| 3.0 | 150 × 260 | 60 | 92 | AISI 316 | 4,400 | 7×19 |
| 3.2 | 100 × 173 | 60 | 87 | AISI 316 | 5,050 | 7×19 |
| 3.2 | 120 × 208 | 60 | 89 | AISI 316 | 5,050 | 7×19 |
| 3.2 | 150 × 260 | 60 | 91 | AISI 316 | 5,050 | 7×19 |
| 3.2 | 180 × 312 | 60 | 93 | AISI 316 | 5,050 | 7×19 |
| 3.2 | 200 × 346 | 60 | 94 | AISI 316 | 5,050 | 7×19 |
These medium meshes are perfect for green façades, vertical gardens, safety barriers on high levels and transparent external envelopes.
Secret Detail #5 – Open Area Changes How Safe and Comfortable Users Feel
A very high open area can look light and elegant, but on high floors it can also create a strong sense of exposure for users. We design stainless steel x tend mesh with open area values that balance transparency and psychological comfort, especially for balconies, skywalks and viewing platforms.
Table 3 – Heavy Stainless Steel X Tend Mesh for Stadiums and Safety Nets
| WIRE ROPE DIAMETER (mm) | MESH APERTURE (mm) | ANGLE (degrees) | OPEN AREA (%) | MATERIAL | NOMINAL BREAKING LOAD (lbs) | WIRE ROPE STRUCTURE |
|---|---|---|---|---|---|---|
| 3.2 | 80 × 139 | 60 | 84 | AISI 316 | 5,050 | 7×19 |
| 3.2 | 100 × 173 | 60 | 88 | AISI 316 | 5,050 | 7×19 |
| 3.2 | 120 × 208 | 60 | 90 | AISI 316 | 5,050 | 7×19 |
| 4.0 | 80 × 139 | 60 | 82 | AISI 316 | 8,800 | 7×19 |
| 4.0 | 100 × 173 | 60 | 86 | AISI 316 | 8,800 | 7×19 |
| 4.0 | 120 × 208 | 60 | 88 | AISI 316 | 8,800 | 7×19 |
| 4.0 | 150 × 260 | 60 | 91 | AISI 316 | 8,800 | 7×19 |
| 4.0 | 180 × 312 | 60 | 93 | AISI 316 | 8,800 | 7×19 |
| 4.0 | 200 × 346 | 60 | 94 | AISI 316 | 8,800 | 7×19 |
| 4.5 | 100 × 173 | 60 | 84 | AISI 316 | 11,000 | 7×19 |
| 4.5 | 120 × 208 | 60 | 87 | AISI 316 | 11,000 | 7×19 |
| 4.5 | 150 × 260 | 60 | 90 | AISI 316 | 11,000 | 7×19 |
| 4.5 | 180 × 312 | 60 | 92 | AISI 316 | 11,000 | 7×19 |
| 4.5 | 200 × 346 | 60 | 93 | AISI 316 | 11,000 | 7×19 |
| 4.5 | 230 × 399 | 60 | 94 | AISI 316 | 11,000 | 7×19 |
These heavy-duty specifications are engineered for stadium fall protection, high-rise safety nets, bridge barriers and other high-load applications.
Secret Detail #6 – Nominal Breaking Load Alone Cannot Protect Your Project
High cable breaking load looks impressive, but real safety depends on complete panel geometry, edge reinforcement and tensioning method. Our stainless steel x tend mesh panels are designed as full systems, not just as loose cables, so the installed barrier carries the design loads you expect.
How to choose zoo wire x tend mesh for birds
| Bird species | Cable diameter (inch / mm) | Mesh opening size (inch / mm) | Normal break (lbs) |
|---|---|---|---|
| Small birds | 1/16″ (1.6 mm) | 1″ × 1″ (25 mm × 25 mm) | 480 |
| Small birds | 3/64″ (1.2 mm) | 1″ × 1″ (25 mm × 25 mm) | 270 |
| Small birds | 3/64″ (1.2 mm) | 0.8″ × 0.8″ (20 mm × 20 mm) | 270 |
| Eagle | 3/32″ (2.4 mm) | 3″ × 3″ (76 mm × 76 mm) | 920 |
| Eagle | 1/8″ (3.2 mm) | 3″ × 3″ (76 mm × 76 mm) | 1600 |
| Ostrich | 3/32″ (2.4 mm) | 2″ × 2″ (51 mm × 51 mm) | 920 |
| Ostrich | 5/64″ (2.0 mm) | 2″ × 2″ (51 mm × 51 mm) | 676 |
| Flamingo | 5/64″ (2.0 mm) | 3″ × 3″ (76 mm × 76 mm) | 676 |
| Flamingo | 5/64″ (2.0 mm) | 2.4″ × 2.4″ (60 mm × 60 mm) | 676 |
| Flamingo | 5/64″ (2.0 mm) | 2″ × 2″ (51 mm × 51 mm) | 676 |
| Parrot | 3/32″ (2.4 mm) | 2″ × 2″ (51 mm × 51 mm) | 920 |
| Parrot | 5/64″ (2.0 mm) | 2″ × 2″ (51 mm × 51 mm) | 676 |
| Parrot | 1/16″ (1.6 mm) | 1.5″ × 1.5″ (38 mm × 38 mm) | 480 |
| Parrot | 1/16″ (1.6 mm) | 1″ × 1″ (25.4 mm × 25.4 mm) | 480 |
| Parrot | 3/64″ (1.2 mm) | 1″ × 1″ (25.4 mm × 25.4 mm) | 270 |
| Crane | 3/32″ (2.4 mm) | 3″ × 3″ (76 mm × 76 mm) | 920 |
| Crane | 3/32″ (2.4 mm) | 2″ × 2″ (51 mm × 51 mm) | 920 |
| Crane | 5/64″ (2.0 mm) | 3″ × 3″ (76 mm × 76 mm) | 676 |
| Crane | 5/64″ (2.0 mm) | 2.4″ × 2.4″ (60 mm × 60 mm) | 676 |
| Crane | 5/64″ (2.0 mm) | 2″ × 2″ (51 mm × 51 mm) | 676 |
Key Applications of Stainless Steel X Tend Mesh
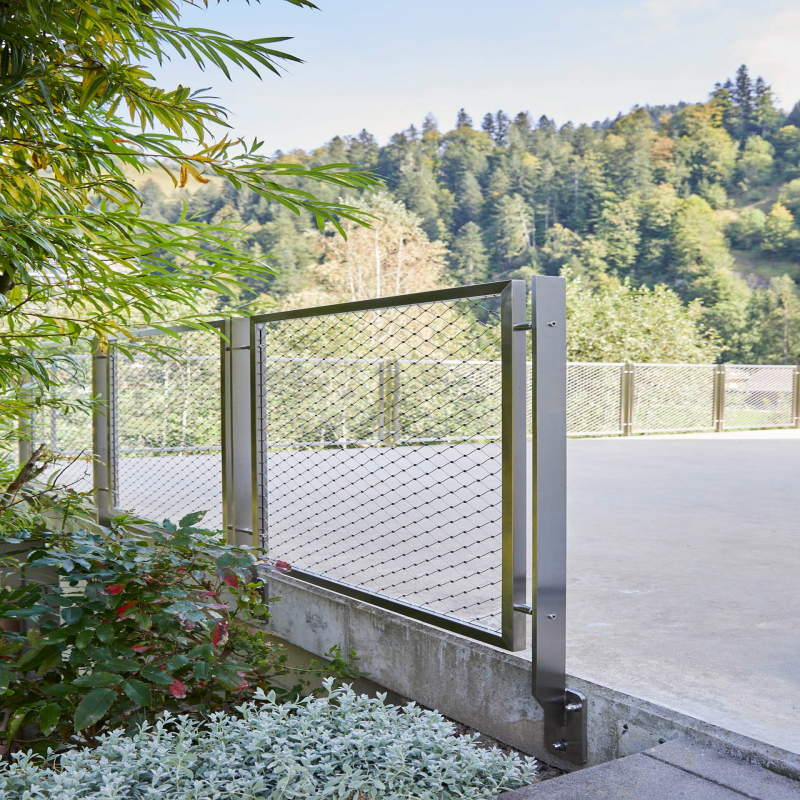
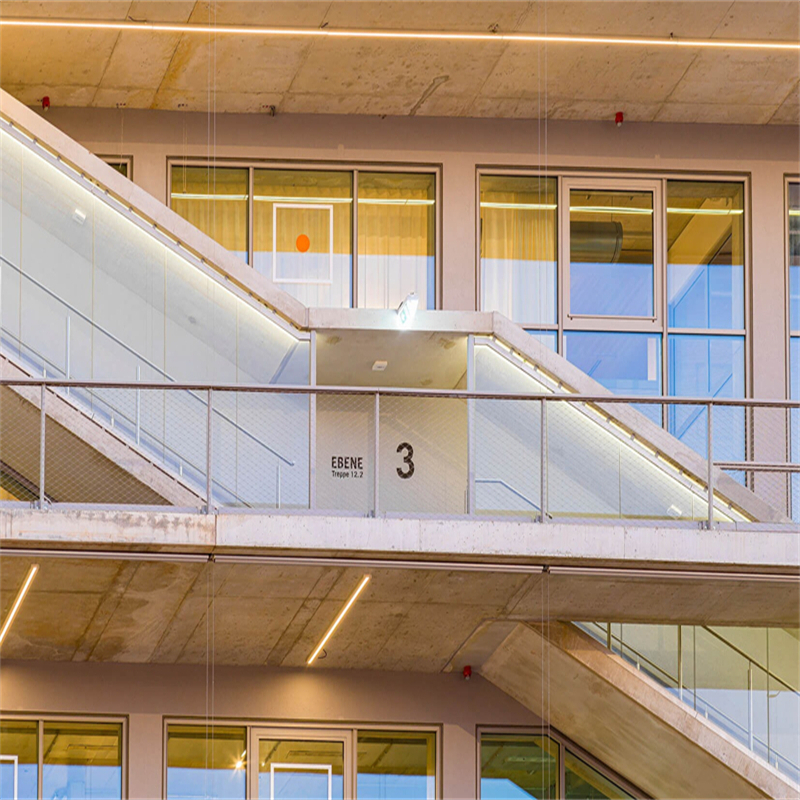
Balustrades, Bridges and Guardrails
For modern balustrades and bridge guardrails, stainless steel x tend mesh provides a slim, elegant infill instead of heavy bars or opaque panels. It preserves views, reduces wind load on the structure and offers a comfortable hand contact surface.
Typical uses include:
- Residential and commercial balcony infill
- Staircase balustrades in malls, offices and hotels
- Pedestrian bridges and skywalks
- Viewing platforms and rooftop terraces
Secret Detail #7 – Copying “Standard” Mesh Sizes Can Destroy Your Budget
If you simply copy a mesh size from another project without checking span, loads and deflection, you risk excessive sagging or failed inspections. This often leads to re-ordering and double installation costs. Our specification tables give you proven stainless steel x tend mesh combinations so your first choice is already safe and economical.
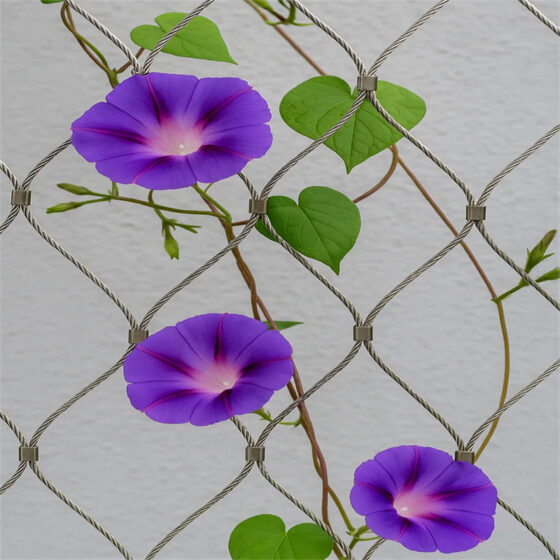
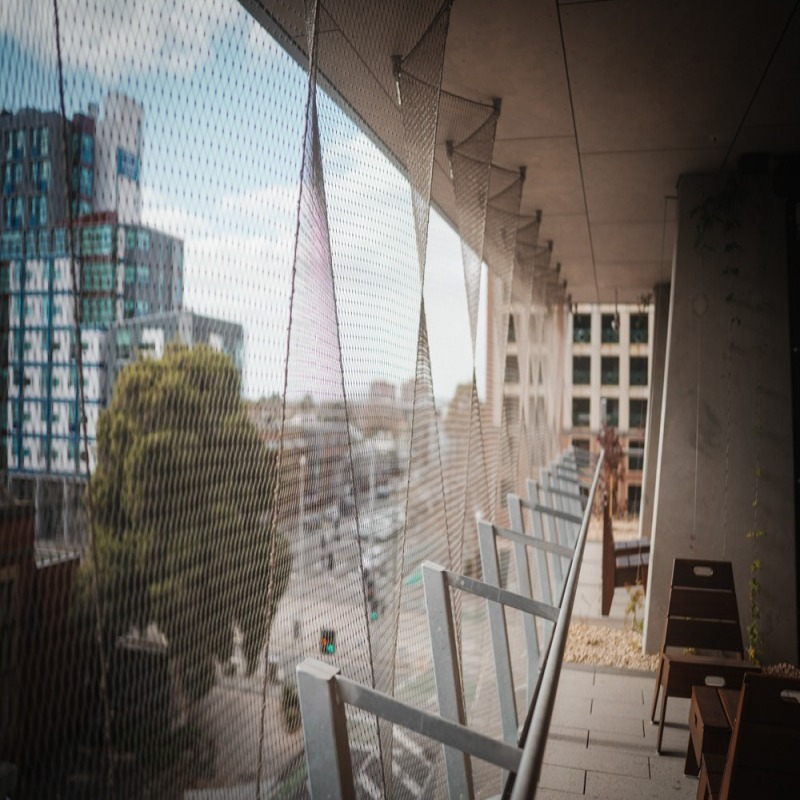
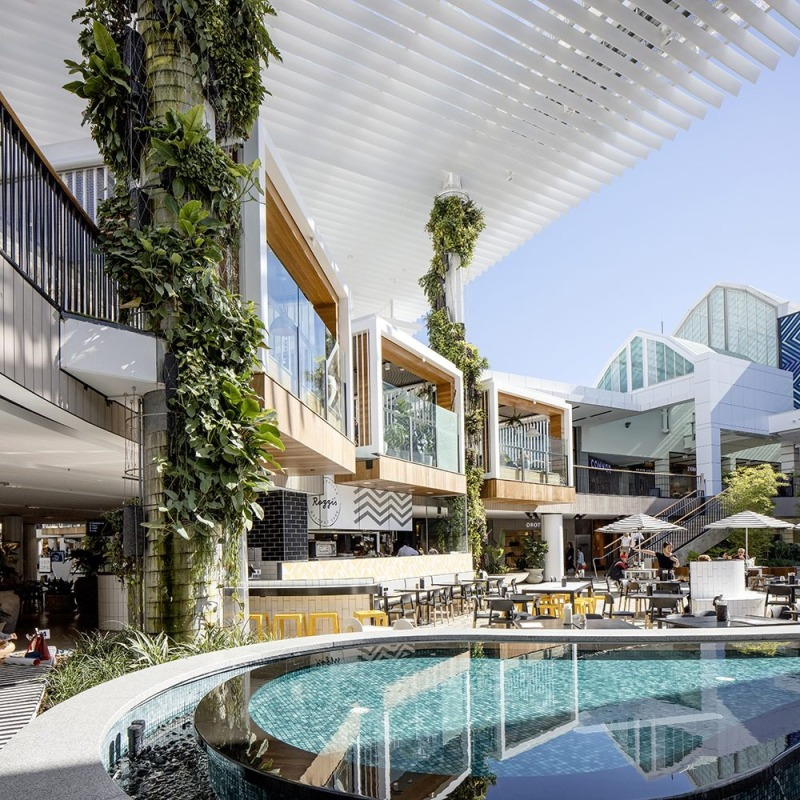
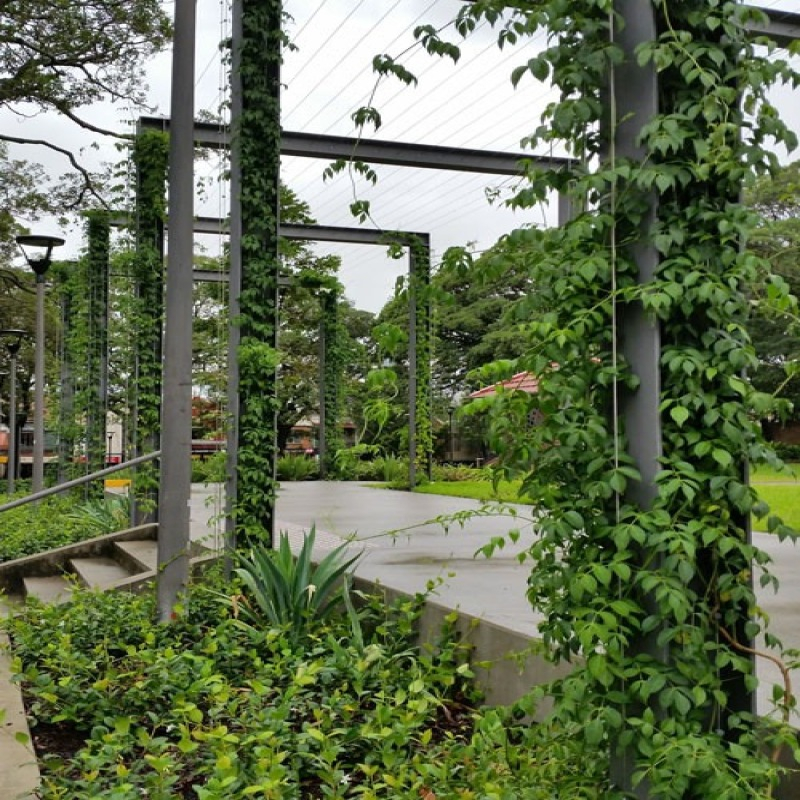
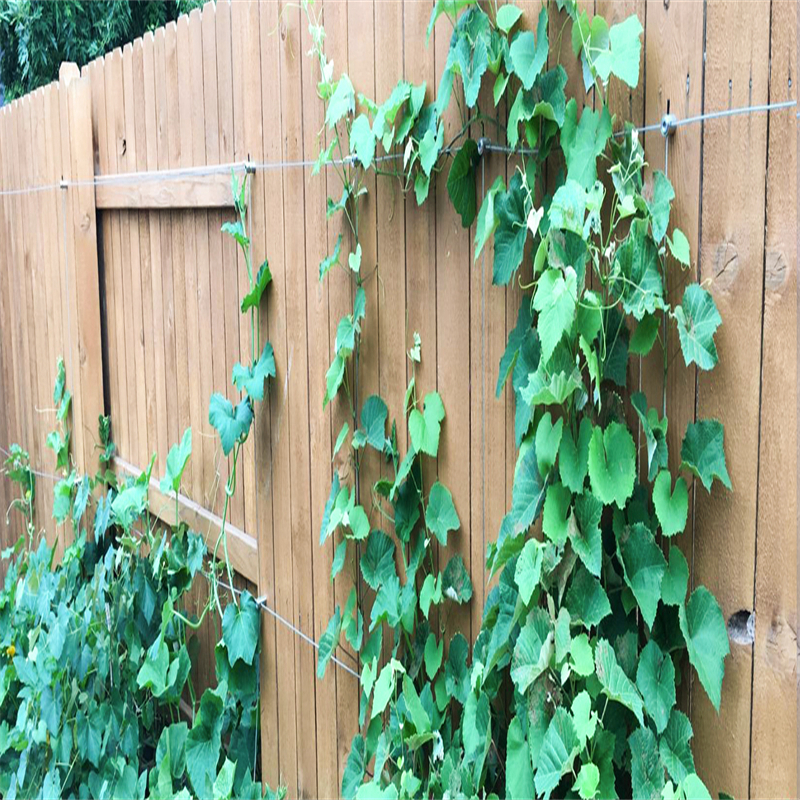
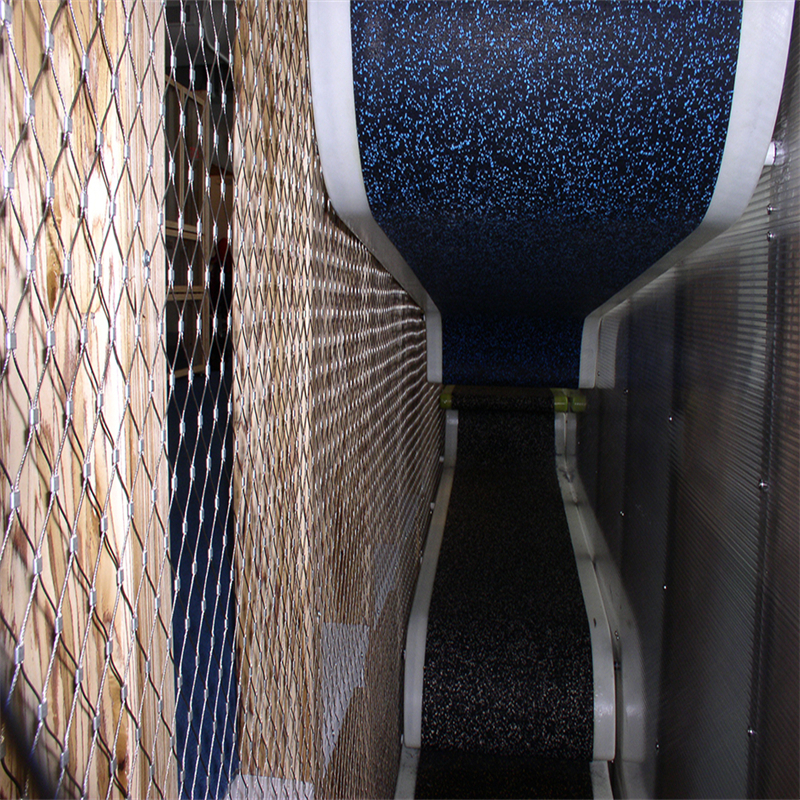
Façades, Green Walls and Building Envelopes
On façades, stainless steel x tend mesh works as a lightweight secondary skin that can support climbing plants or act as a transparent protection layer. It allows air and light to pass while shaping the appearance of the building.
Advantages on façades:
- High open area reduces wind pressure
- Mesh supports vine growth for natural shading
- Creates dynamic shadows and modern architectural lines
- Can integrate with balconies and openings as one continuous system

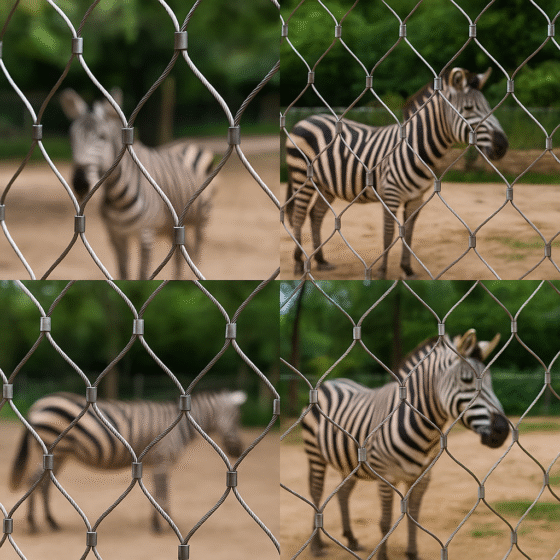
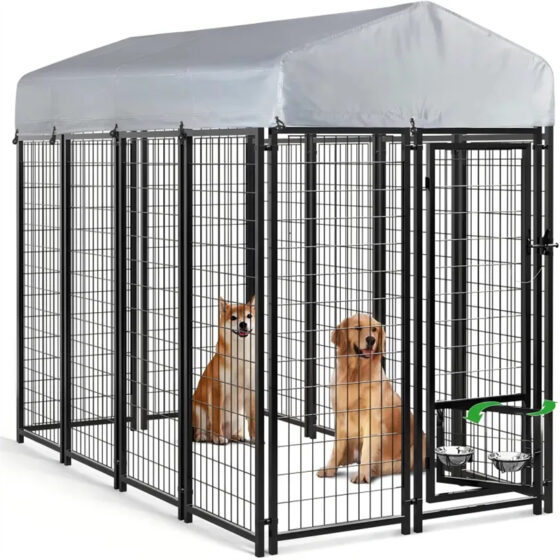
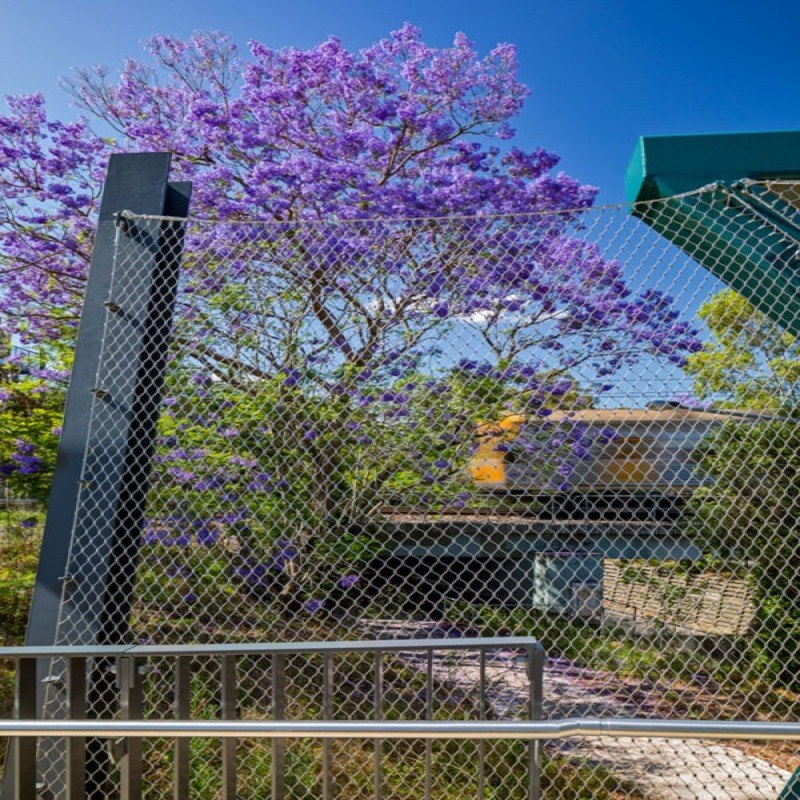
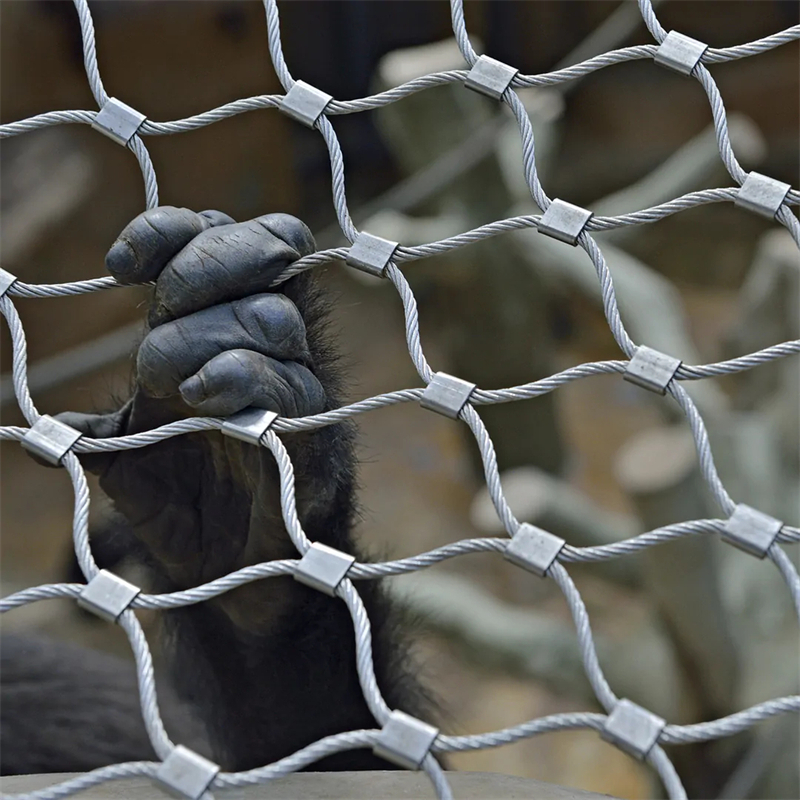
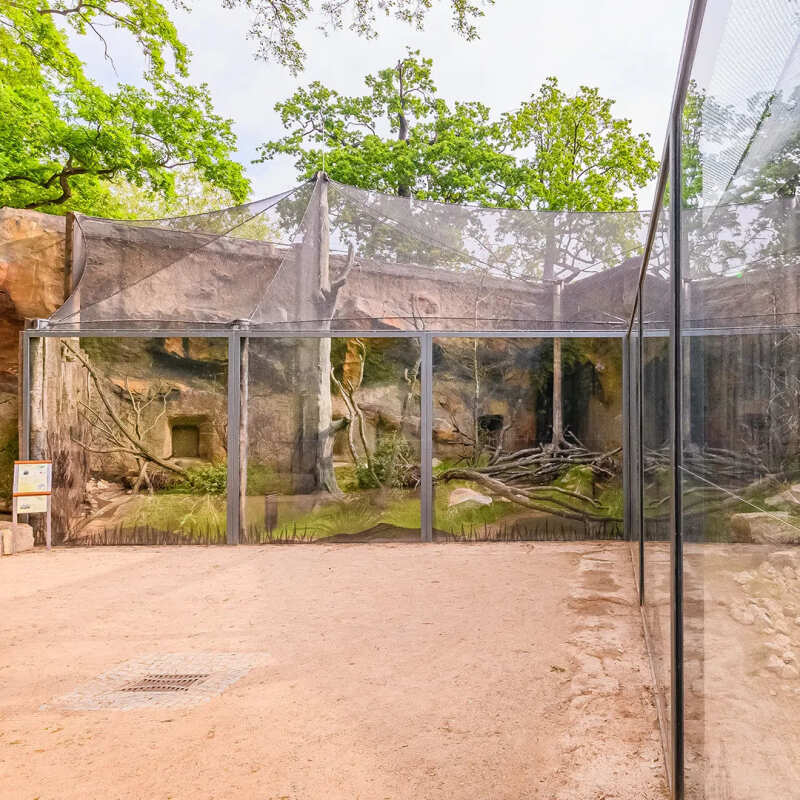
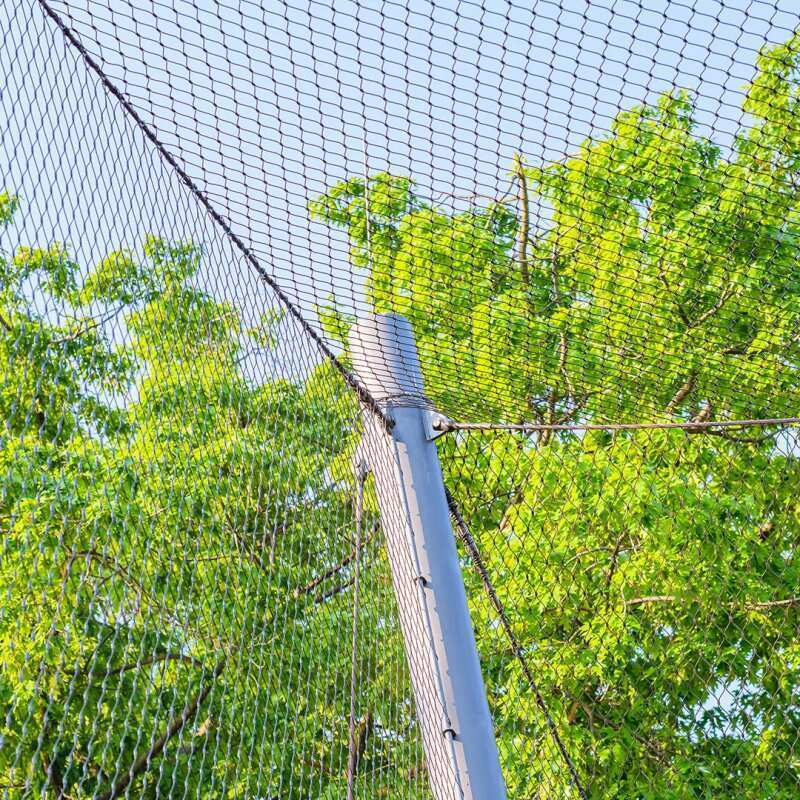
Zoo, Aviary and Animal Enclosures
Stainless steel x tend mesh is widely used for enclosures of birds, monkeys, big cats and many other species. It is strong enough for claws and teeth, yet soft enough to protect animals from injury on impact.
Typical advantages:
- Very high visibility for visitors
- Long service life even with animal contact
- Flexible geometry for large-span, free-form enclosures
- Minimal visual barrier between visitors and animals
Secret Detail #8 – Aperture Size Influences Animal Behaviour, Not Only Escape Risk
If the mesh aperture is too small, animals may feel visually trapped; if too large, they may feel exposed and stressed. Our stainless steel x tend mesh aperture ranges are selected to balance visibility, ventilation and animal comfort for each species.
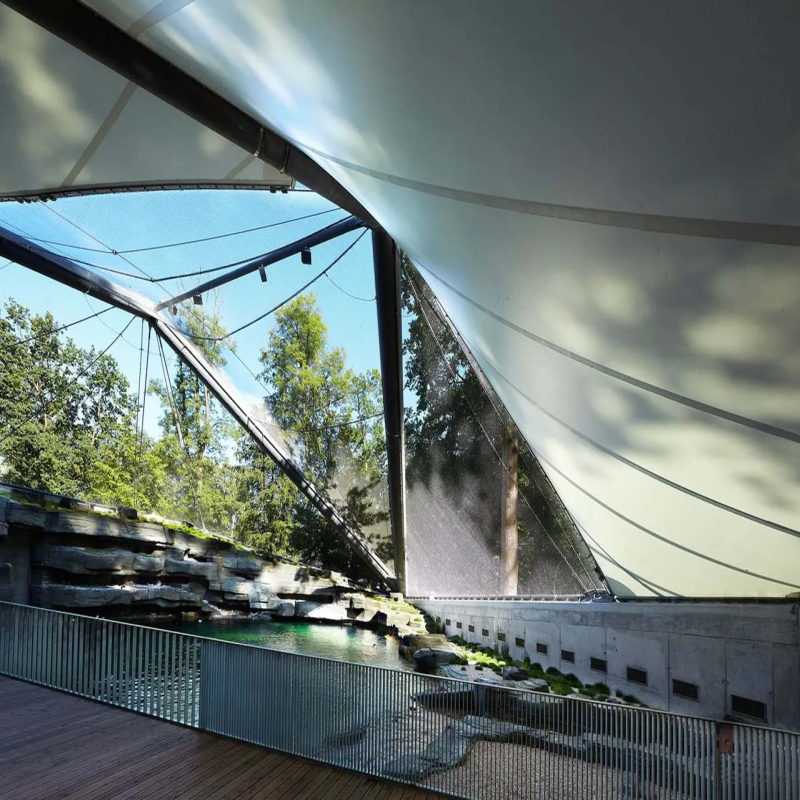
Stadiums, Arenas and High-Rise Safety Nets
For stadiums and arenas, stainless steel x tend mesh acts as a secure fall-protection barrier that still keeps spectators’ views clear. On high-rise projects, it can form vertical safety nets along atriums and façades.
Secret Detail #9 – Uneven Tension Slowly Deforms Panels and Damages Appearance
If one side of a panel is tensioned more than the others, load concentrates and the mesh slowly develops permanent “bellies” and distortions. We specify anchor spacing, turnbuckle positions and pretension values so stainless steel x tend mesh stays flat and stable over many years.
Installation, Framing and Accessories
To achieve perfect results, stainless steel x tend mesh must be combined with a correctly engineered frame and accessories.
Typical framing solutions:
- Stainless steel flat bars or angle frames
- Round tubular frames
- Cable perimeter frames for lightweight structures
Typical accessories:
- Tensioning turnbuckles or tension rods
- Terminal fittings and threaded studs
- Edge cables and special corner ferrules
Installation steps usually include:
- Fixing the perimeter frame strongly to the main structure.
- Attaching tension hardware and edge cables.
- Installing the stainless steel x tend mesh panel.
- Tensioning and adjusting to remove sag and keep equal diamond geometry.
Secret Detail #10 – Factory-Swaged Panels Are Far Safer Than “Hand-Made” Mesh On Site
Attempting to crimp and assemble mesh by hand on site creates uncontrolled aperture sizes, weak swages and visible irregularities. Our stainless steel x tend mesh is pressed in the factory on calibrated machines, guaranteeing consistent geometry, high strength and a clean, premium appearance.
Secret Detail #11 – Correct Pretension Makes Future Inspections Simple
When pretension is too low, inspectors see sagging mesh and question its safety; when too high, frames are overloaded. By installing stainless steel x tend mesh to our defined pretension range, you ensure the mesh feels firm, looks flat and passes inspection smoothly, avoiding any expensive rework.
Manufacturing and Quality Control
As a dedicated manufacturer, we control every detail of stainless steel x tend mesh production:
- Wire rope drawing and stranding – precise diameter control and uniform surface finish.
- Ferrule pressing – high-pressure swaging with calibrated dies for each rope size.
- Panel geometry – cable count, aperture and dimensions are monitored in production.
- Edge finishing – border cables and perimeter ferrules strengthen all sides.
- Final inspection – visual checks, dimensional checks and load-related verification.
This end-to-end control guarantees that every stainless steel x tend mesh panel you receive matches your drawings and performs as designed.
How to Choose the Right Stainless Steel X Tend Mesh
When you design a new project, you can follow these practical steps:
- Define the function – balustrade, façade, zoo enclosure, stadium barrier, safety net, etc.
- Set safety requirements – required loads, object sizes, fall heights and test standards.
- Pick the aperture range – small for child safety, medium for façades, larger for stadiums.
- Select rope diameter – in combination with aperture and span from our tables.
- Choose rope structure – stiffer (7×7) or more flexible (7×19) depending on deflection needs.
- Confirm material – AISI 316 stainless steel for all exterior and demanding environments.
- Determine panel shape – rectangular, triangular or special shapes according to your frame.
By using our specification tables together with these steps, you always get a stainless steel x tend mesh solution that is safe, durable and visually impressive.
Ordering and Customization Service
We supply stainless steel x tend mesh as customized panels ready to install:
- Panel sizes exactly according to your drawings
- Aperture, rope diameter and rope structure chosen from our specification range
- Pre-installed edge cables and corner details
- Matching tension hardware and end fittings
Whether your project is a small interior staircase or a large stadium façade, our stainless steel x tend mesh is produced to deliver reliable performance, strong visual impact and long-term value—with clearly defined data that you can use directly in your design and marketing.