Your One-Stop Wire Mesh Fence Supplier | POLYMETAL
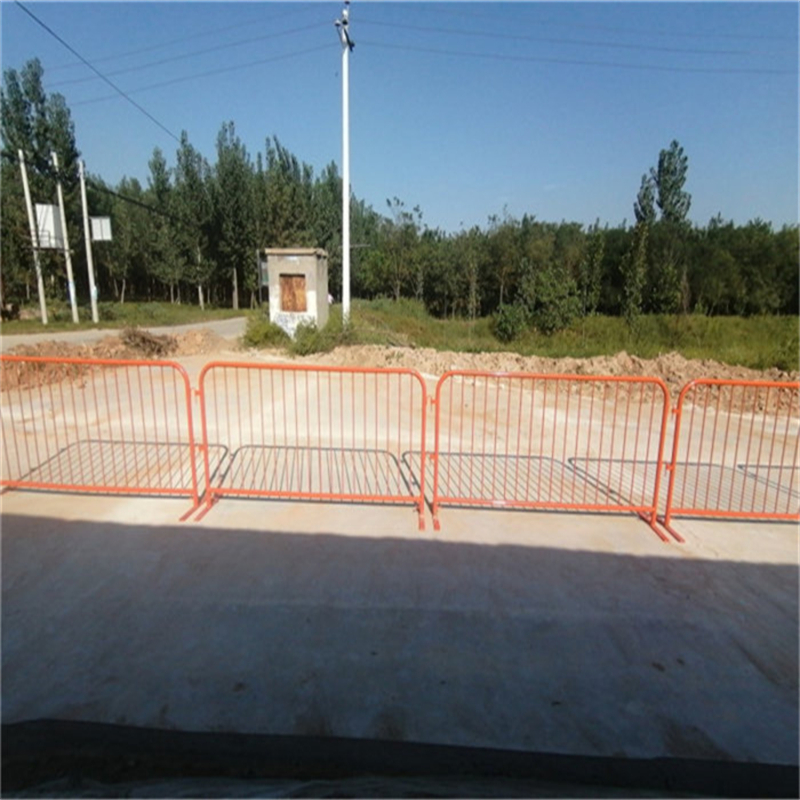

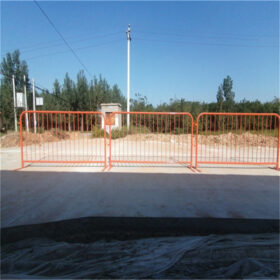
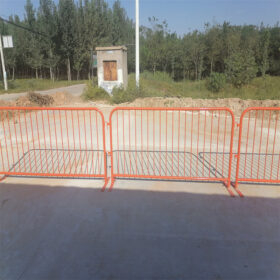
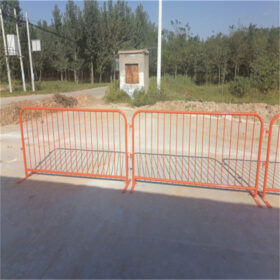
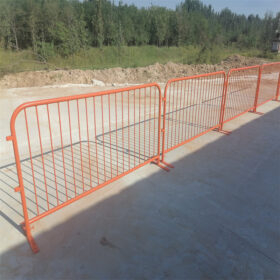
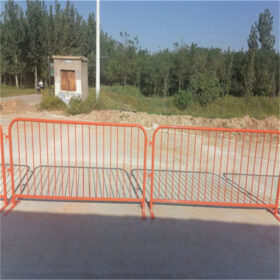
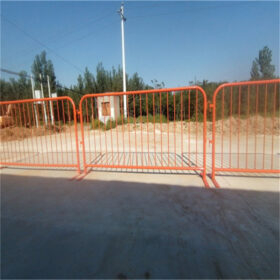
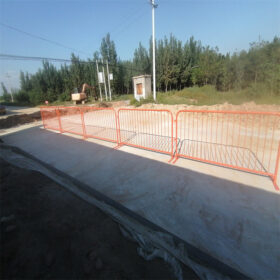
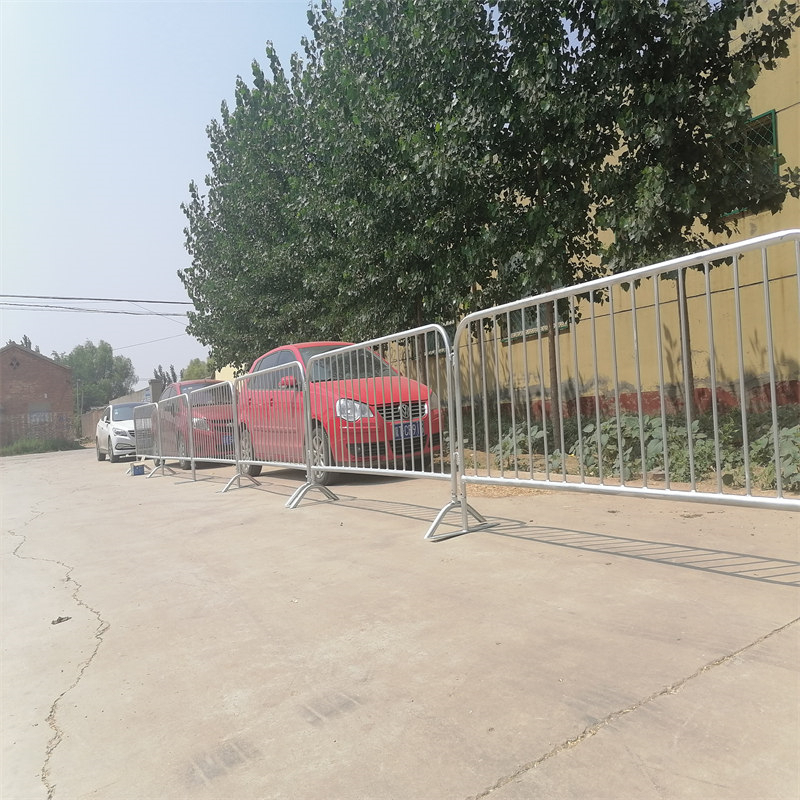
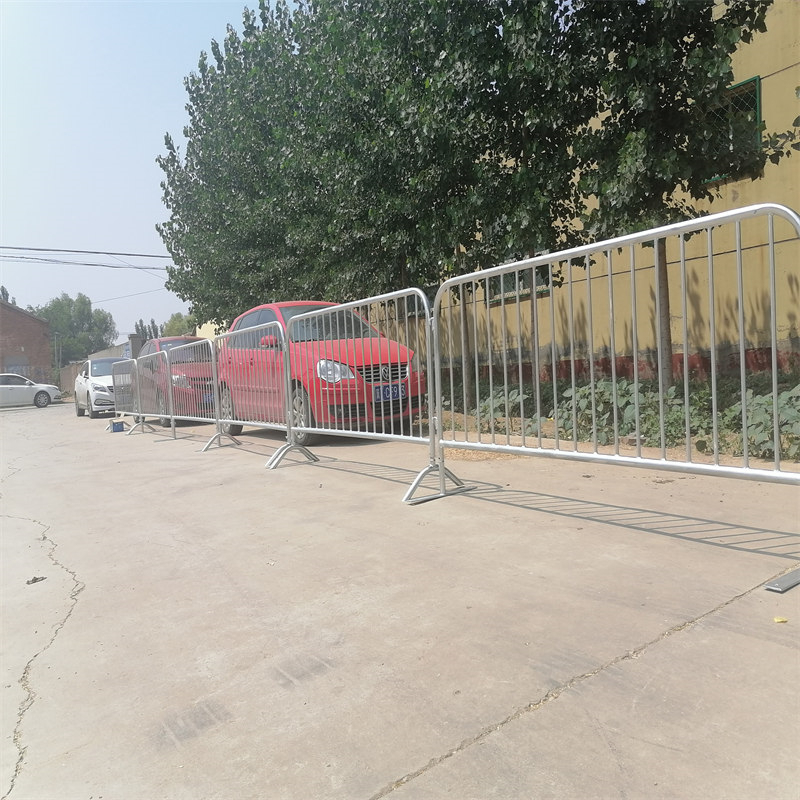
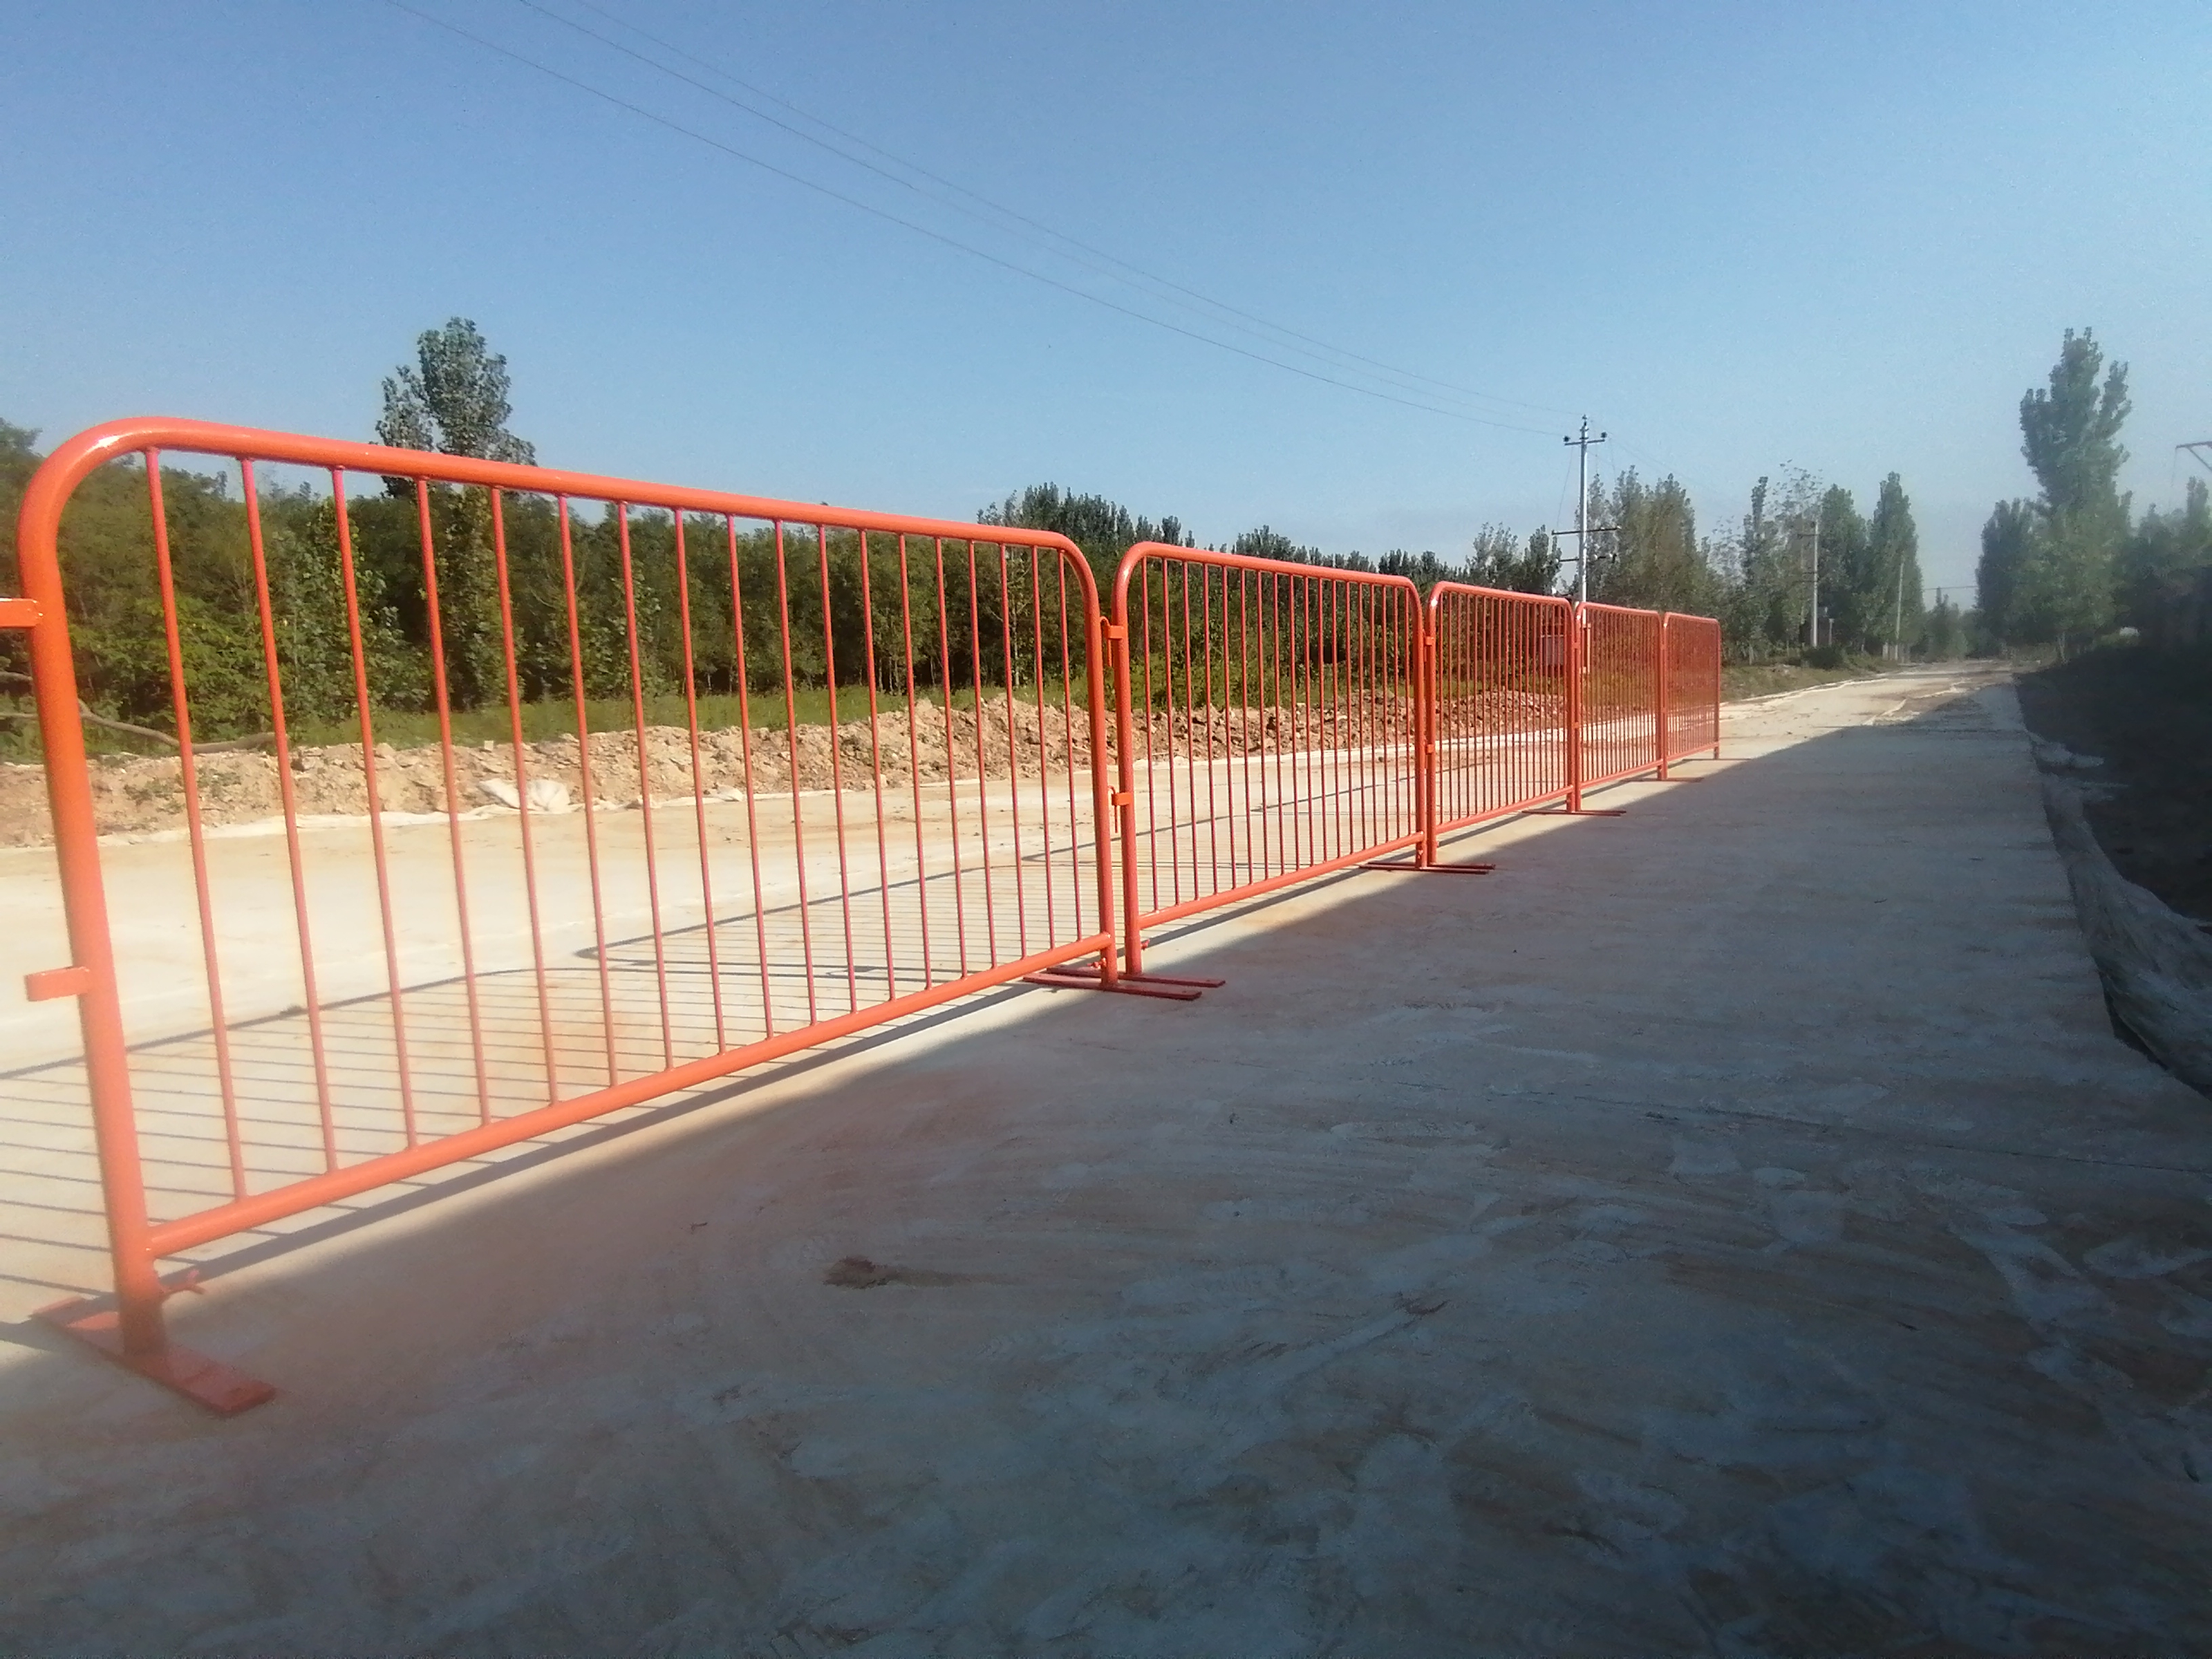
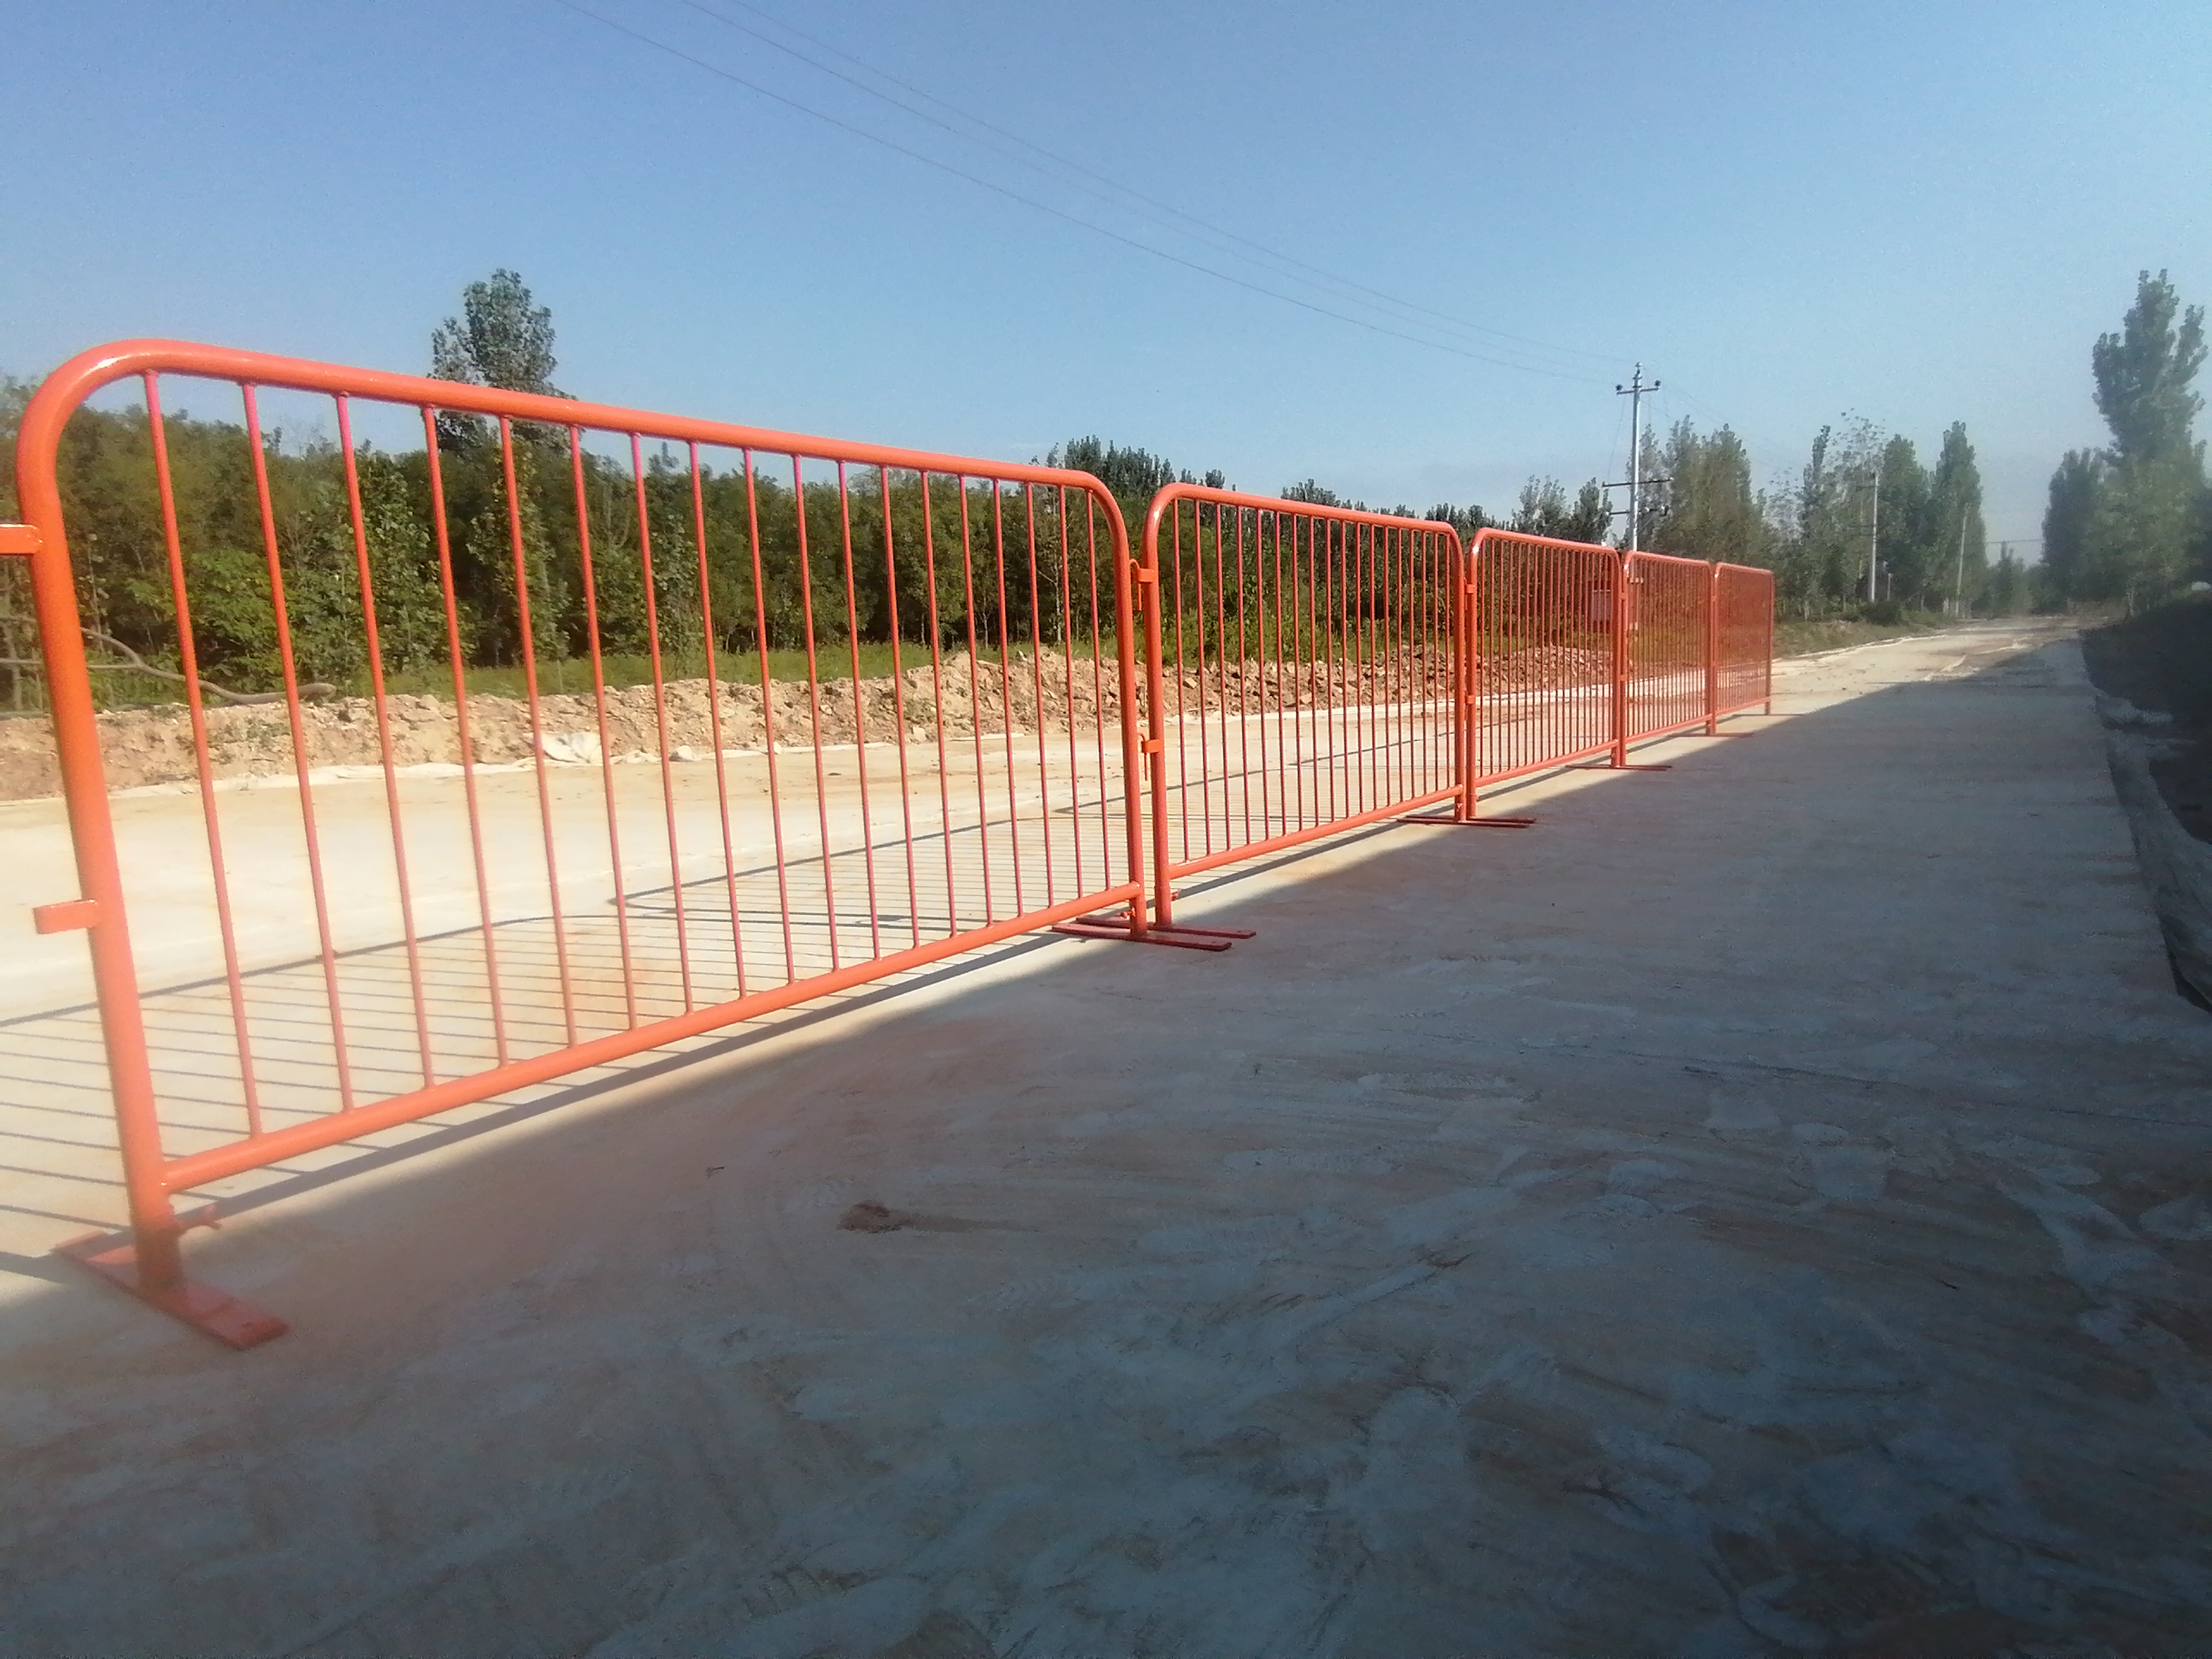
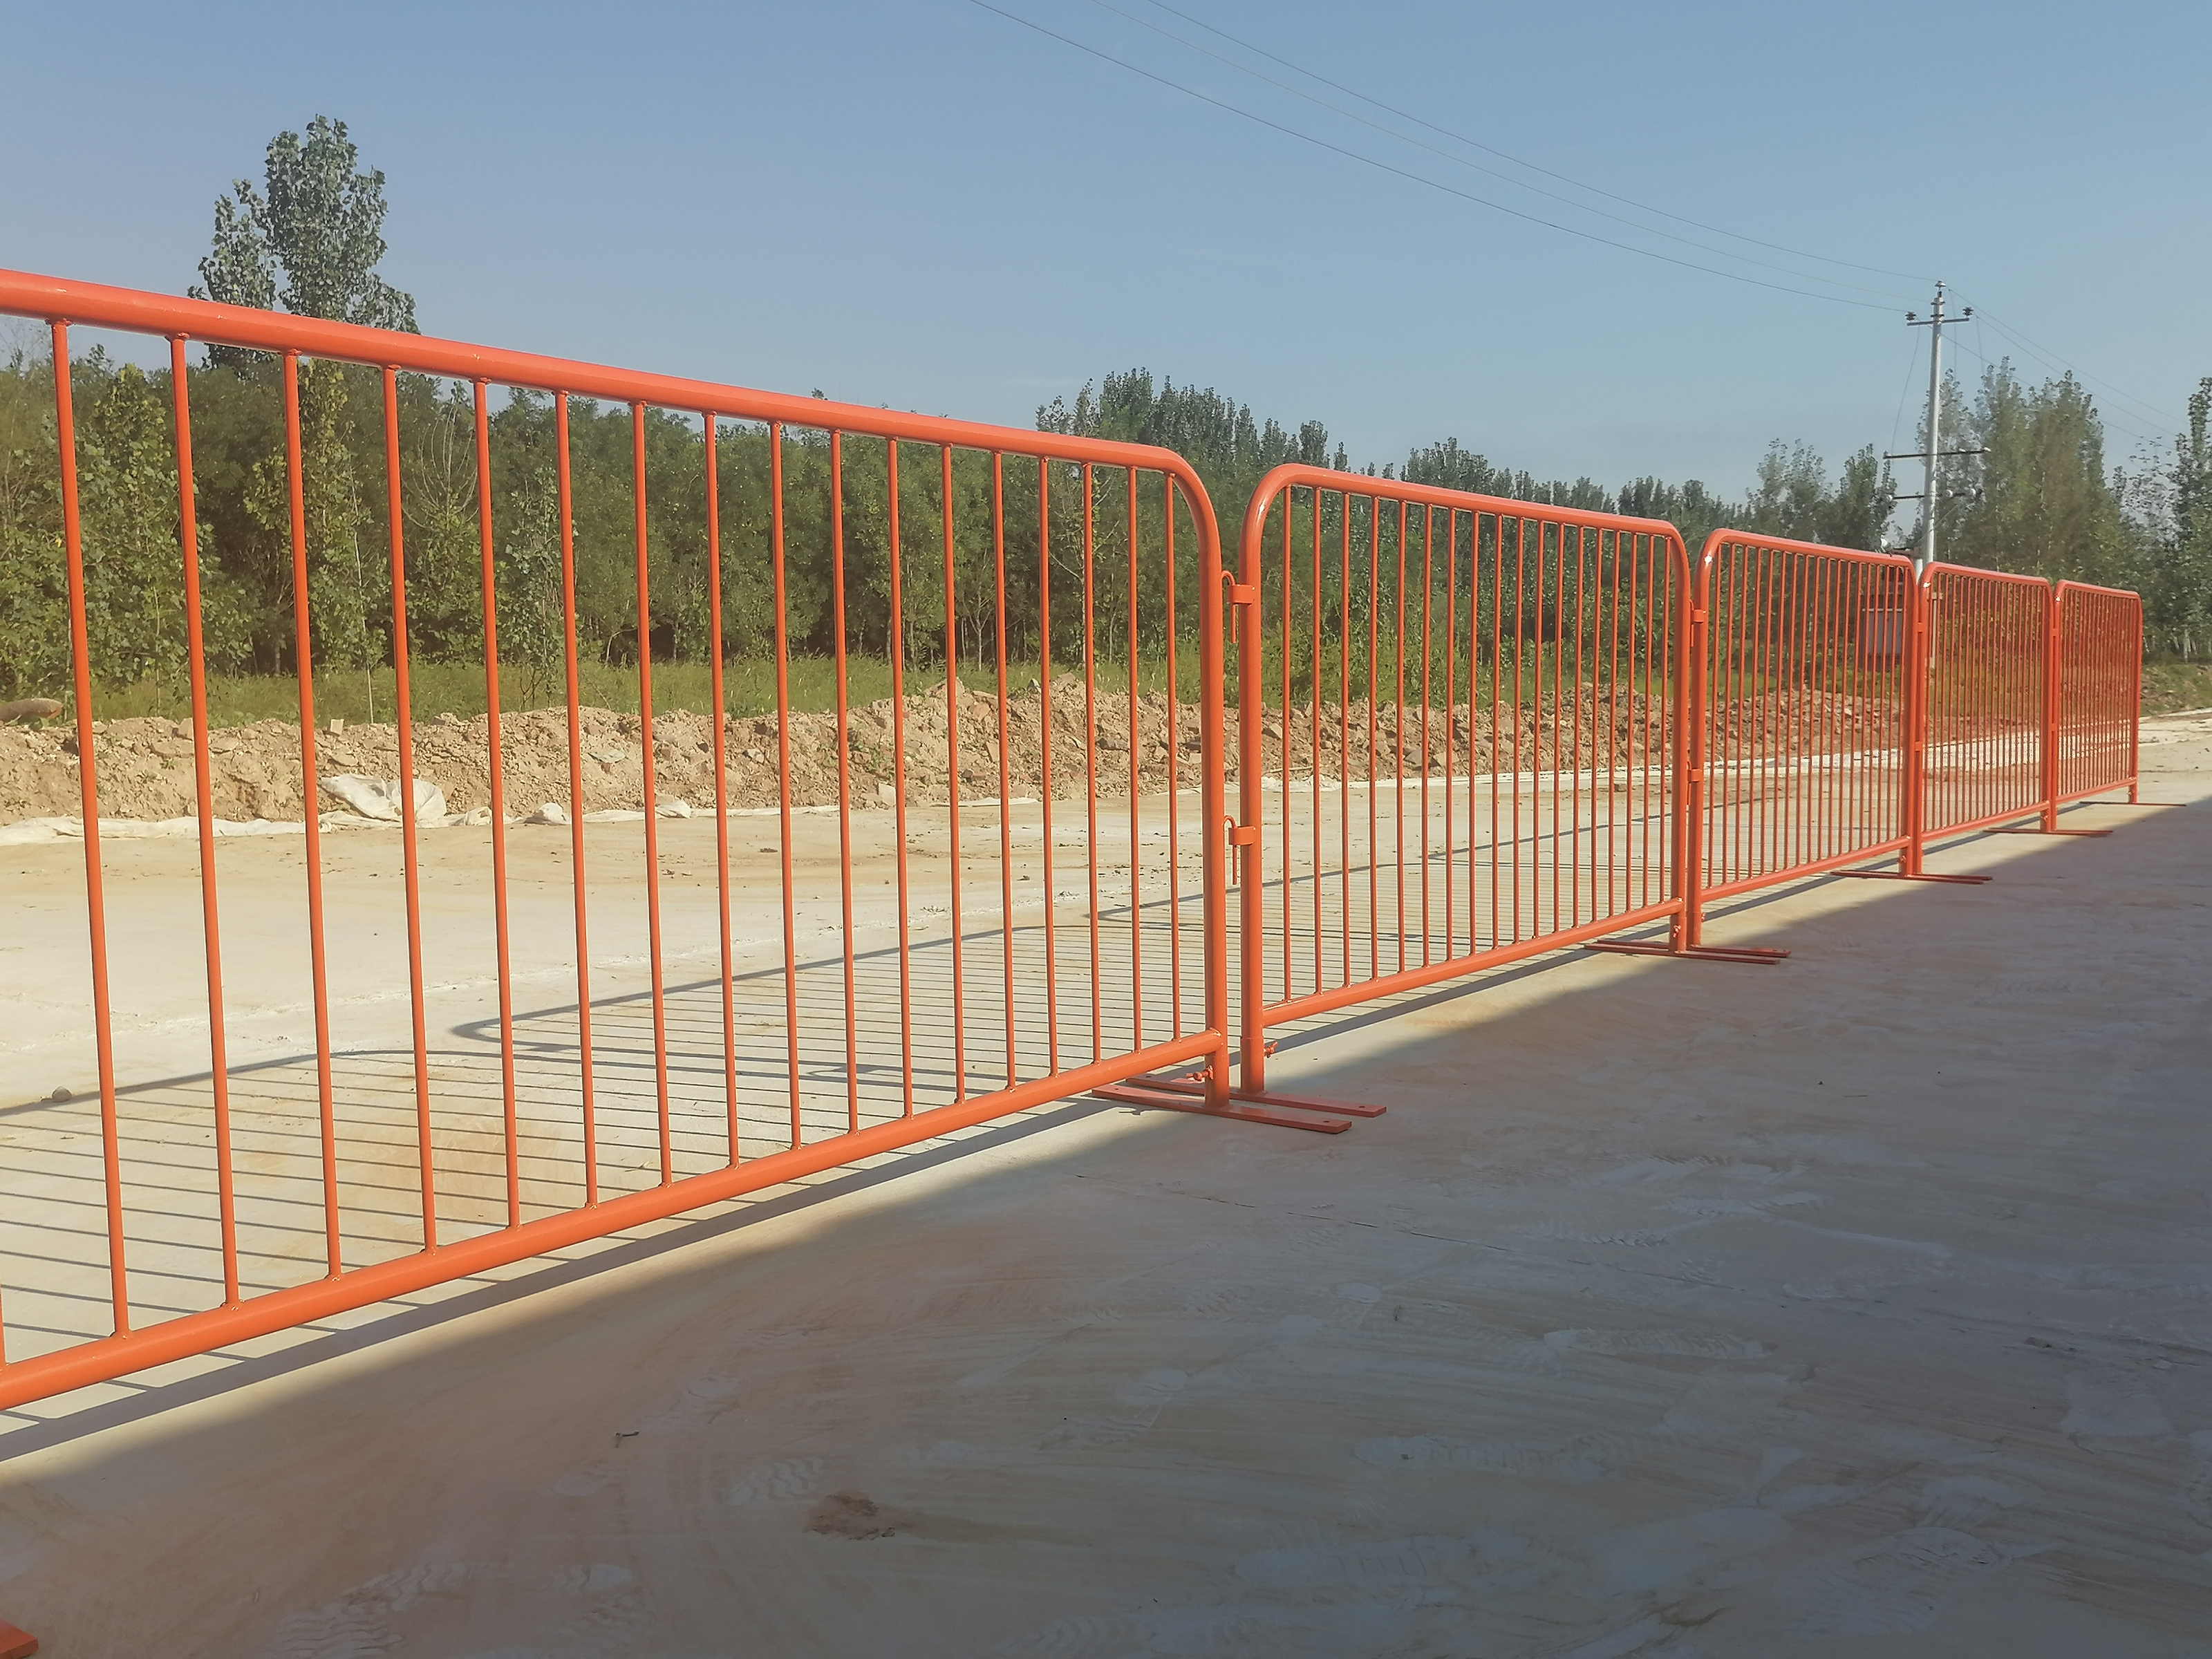
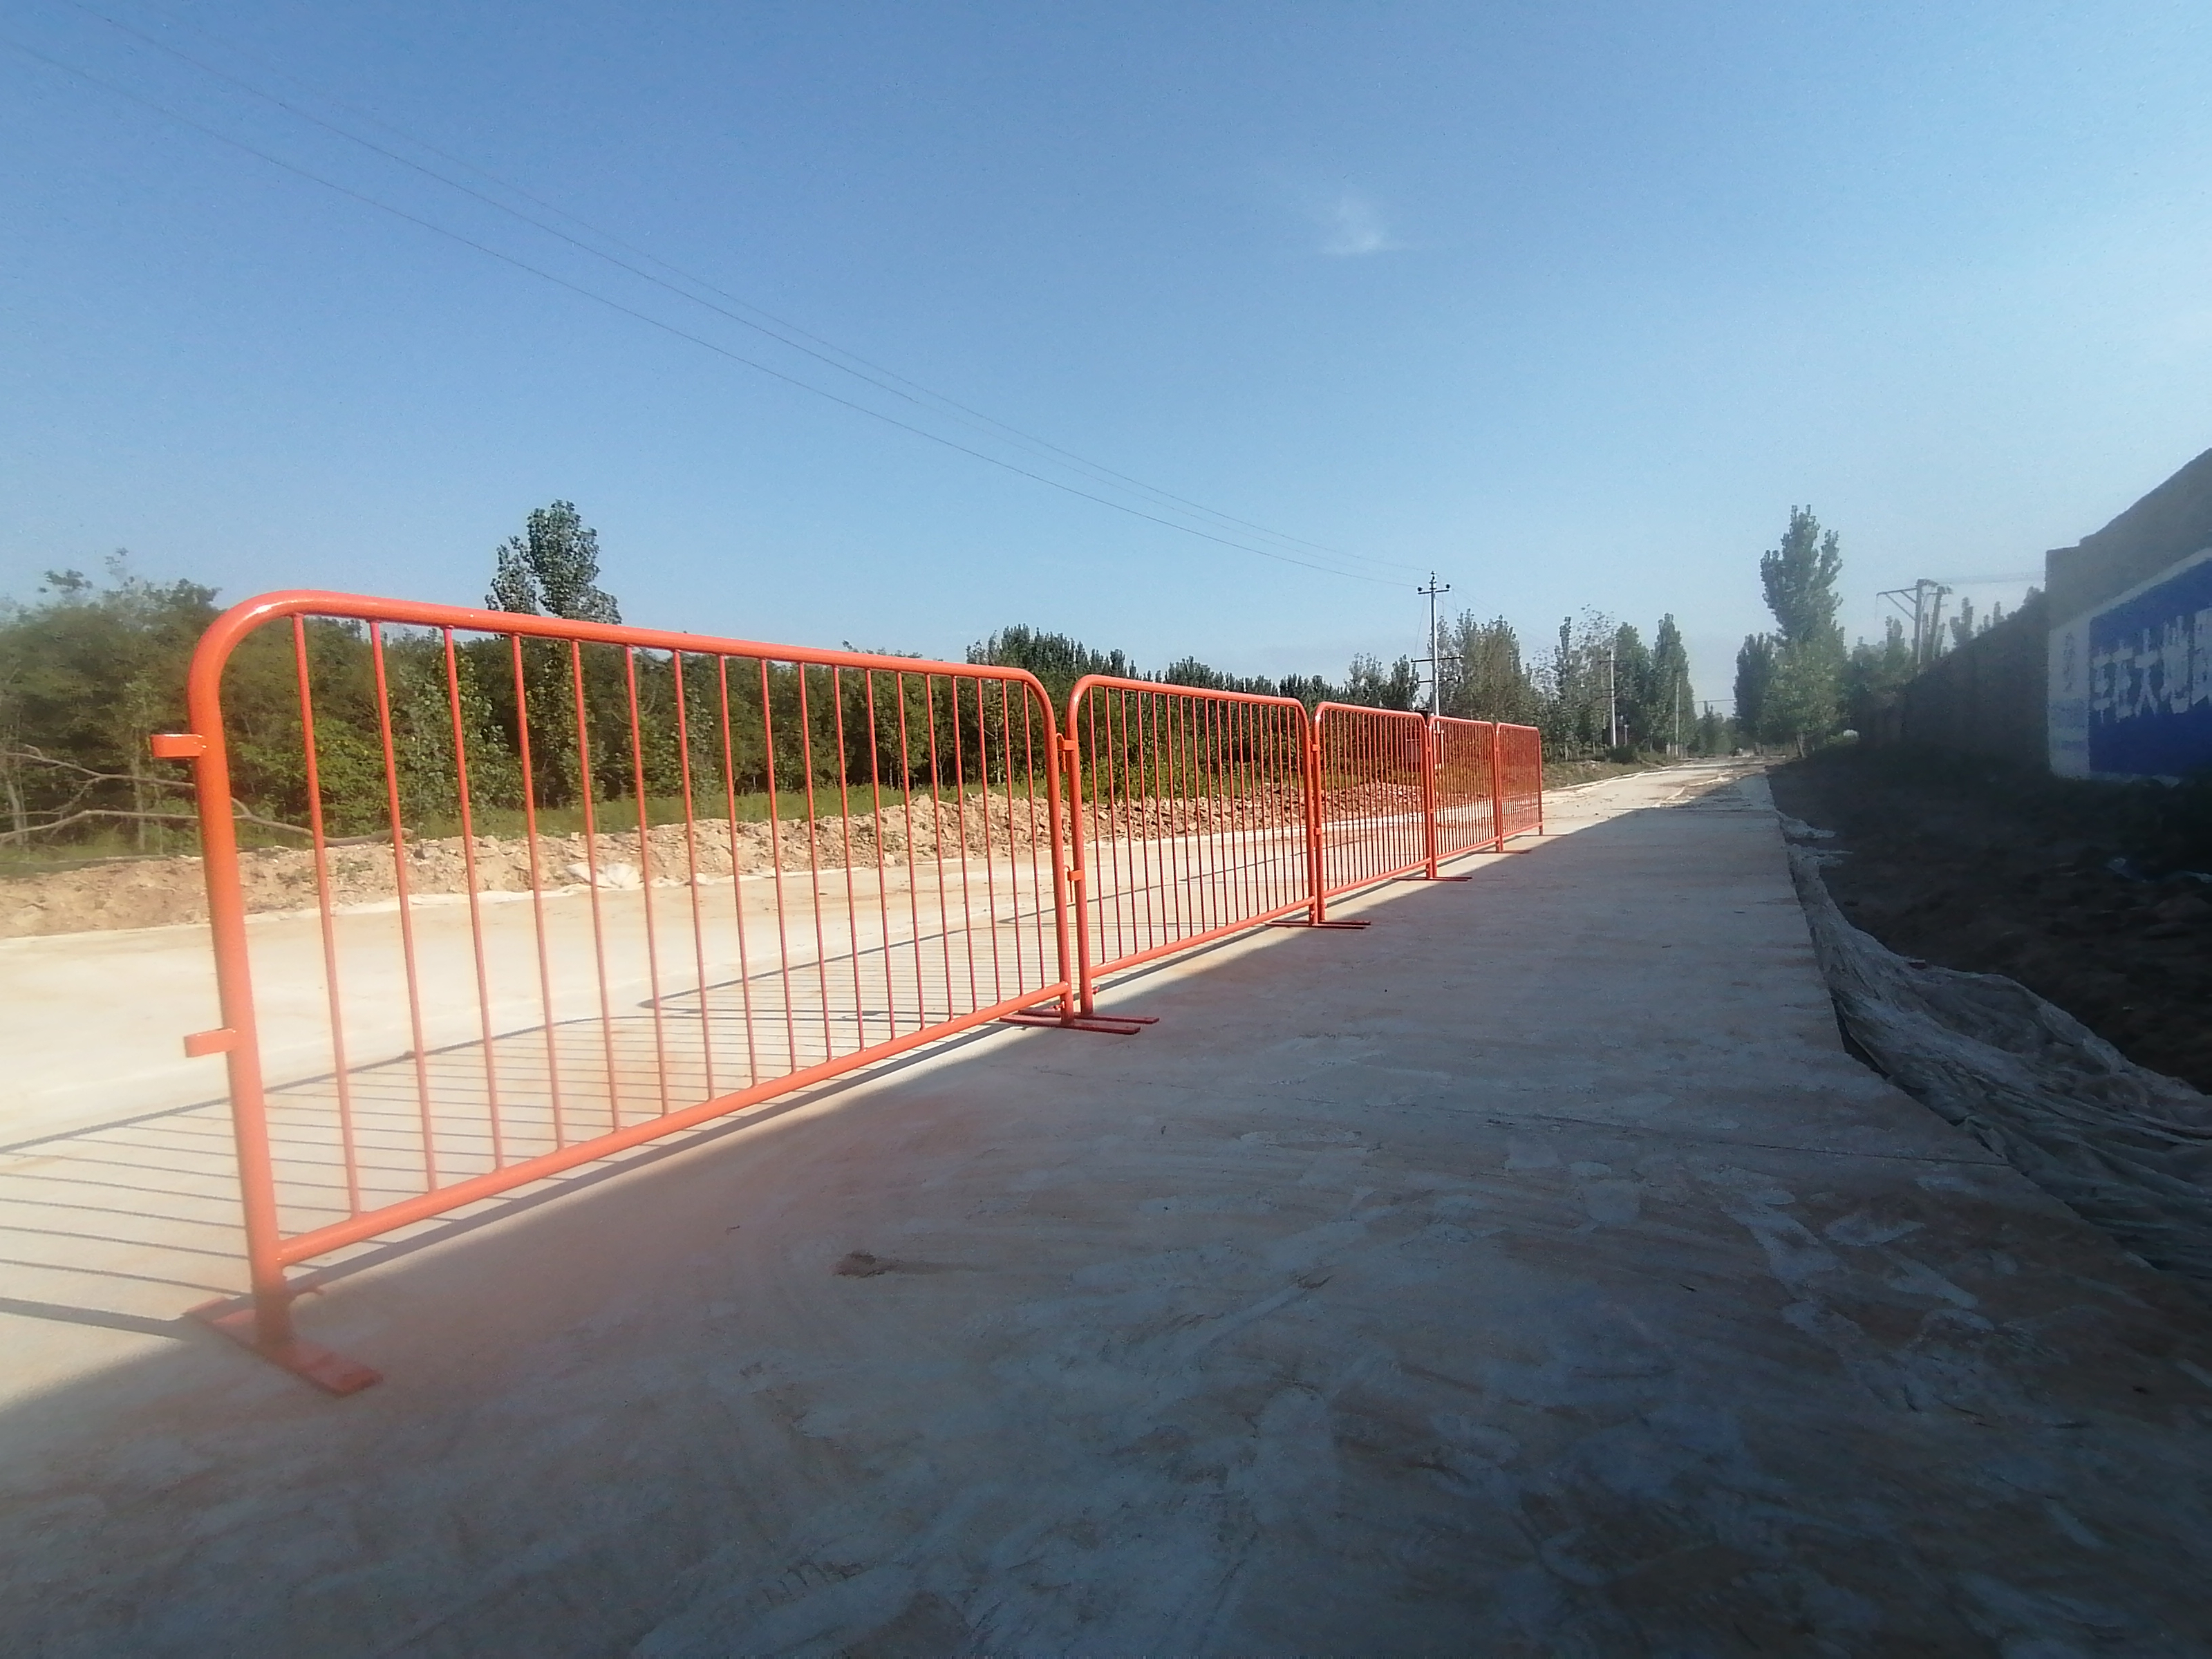
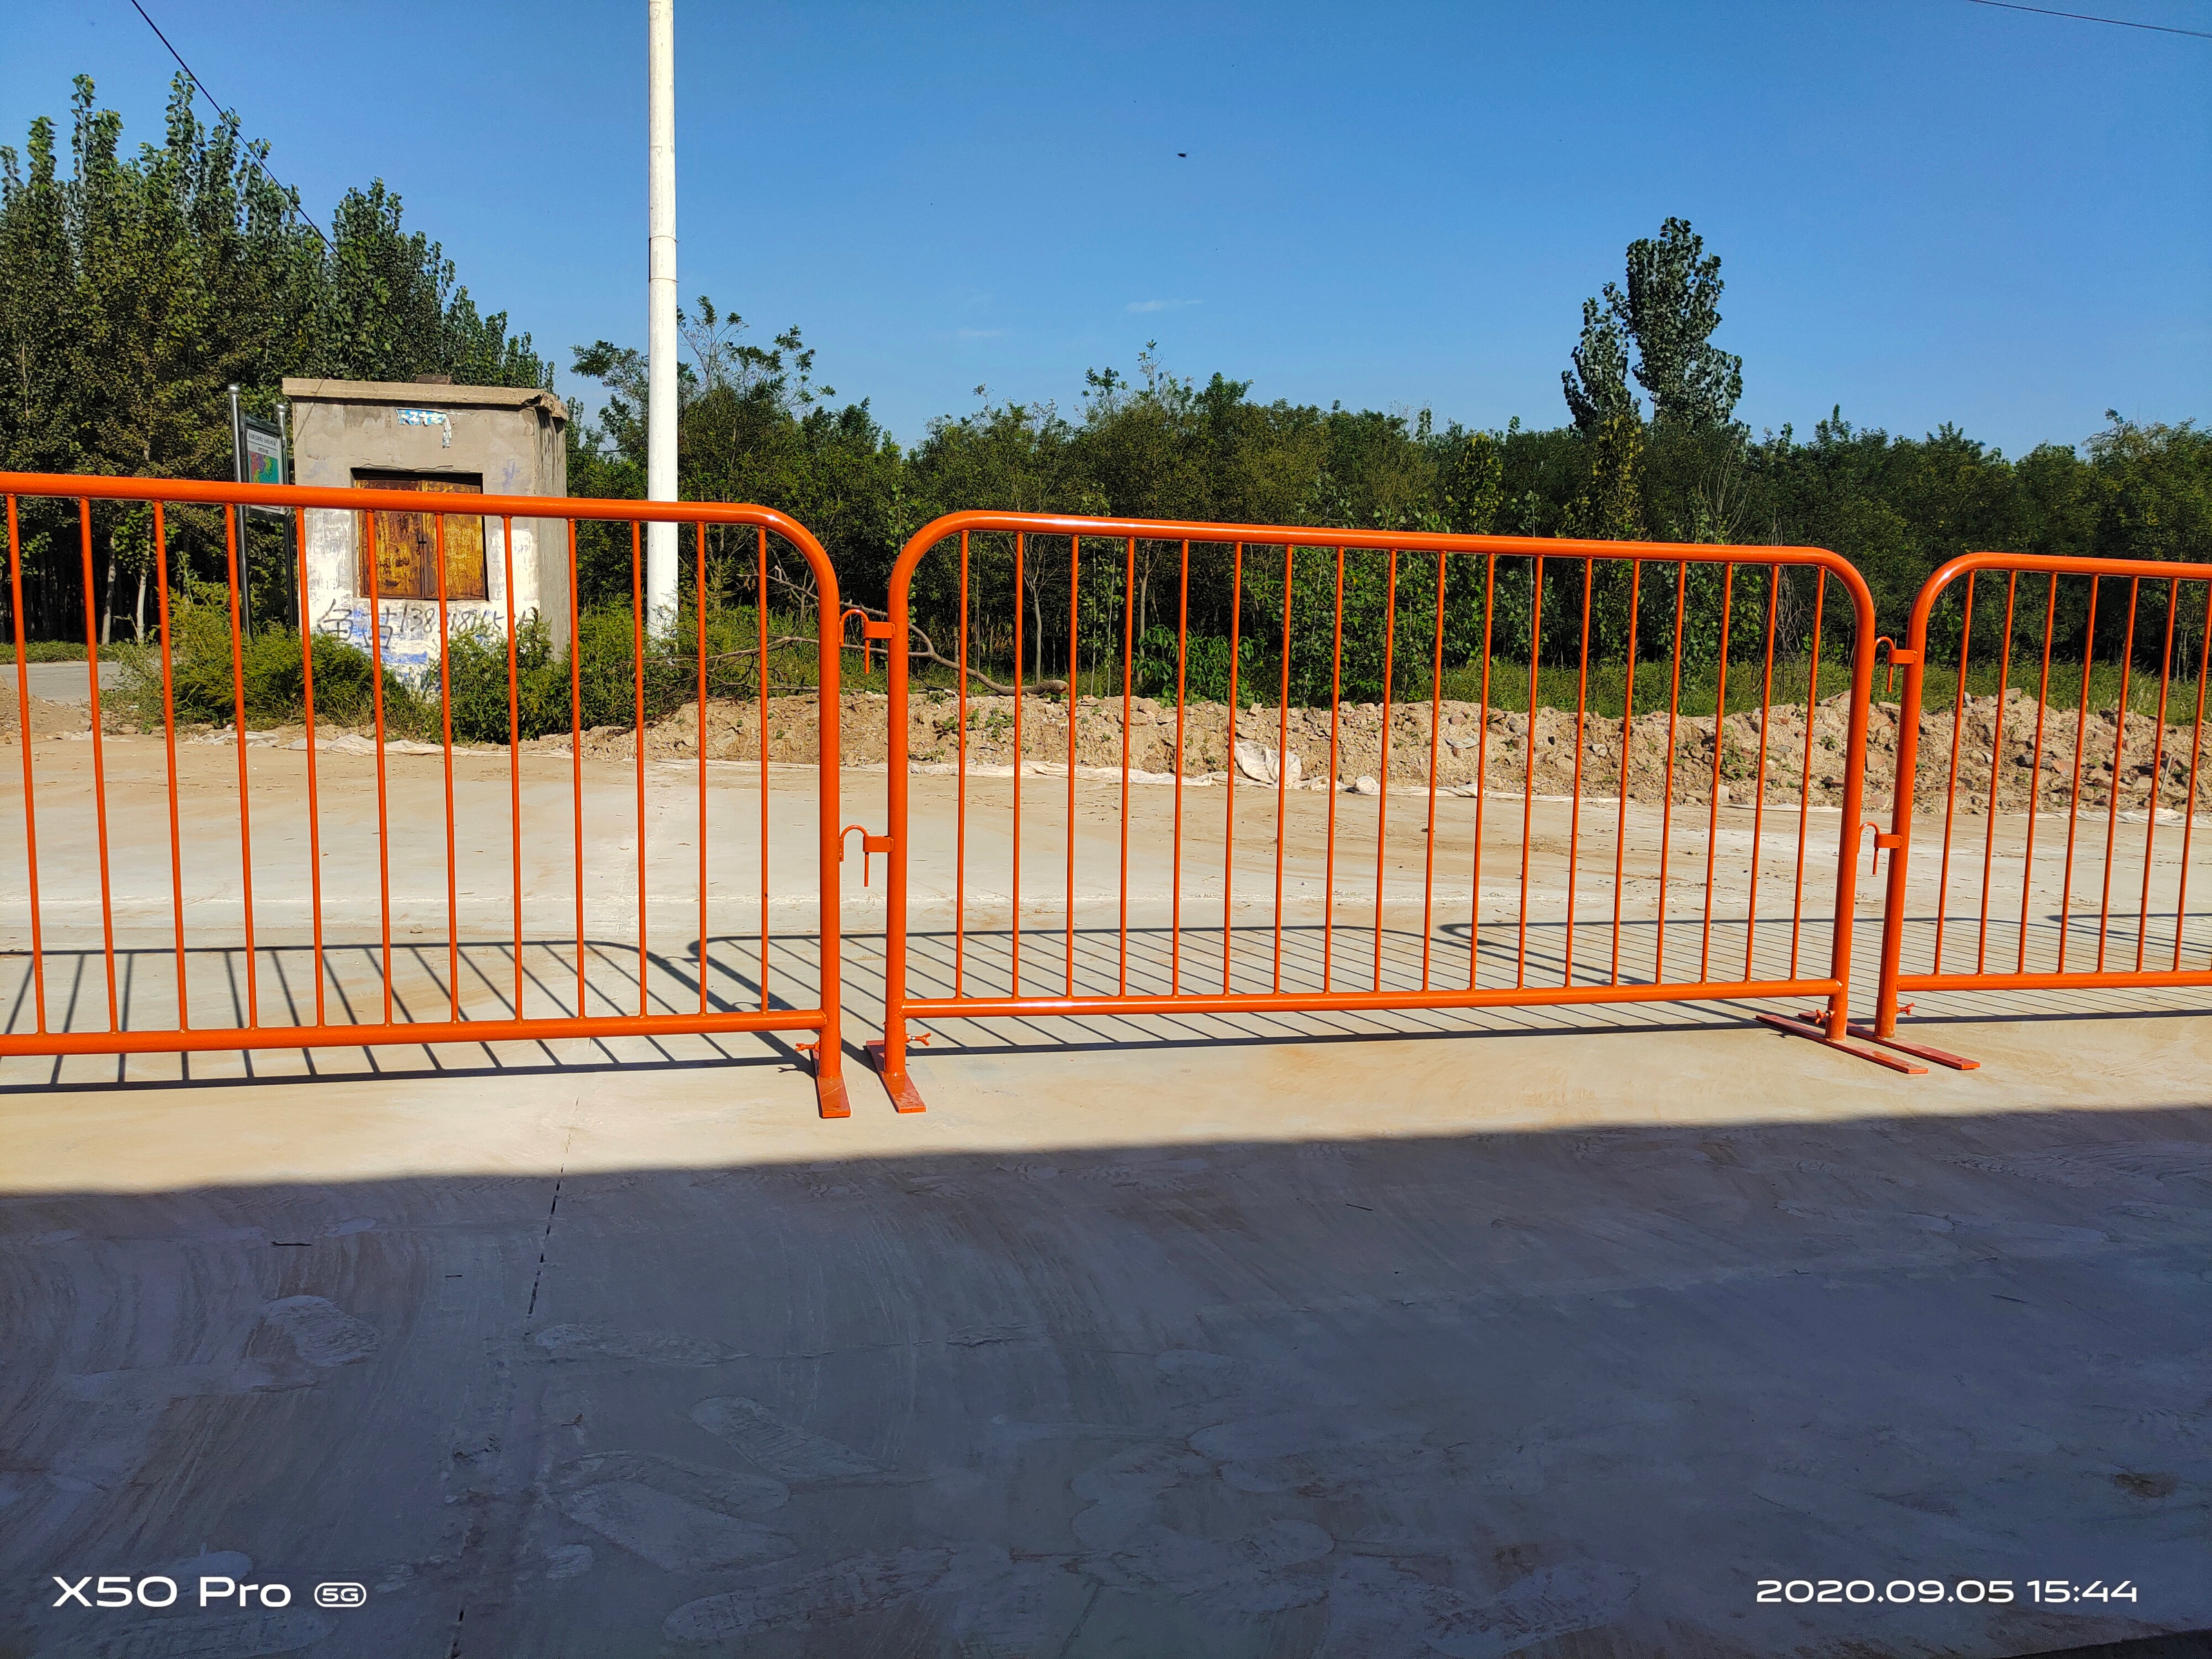
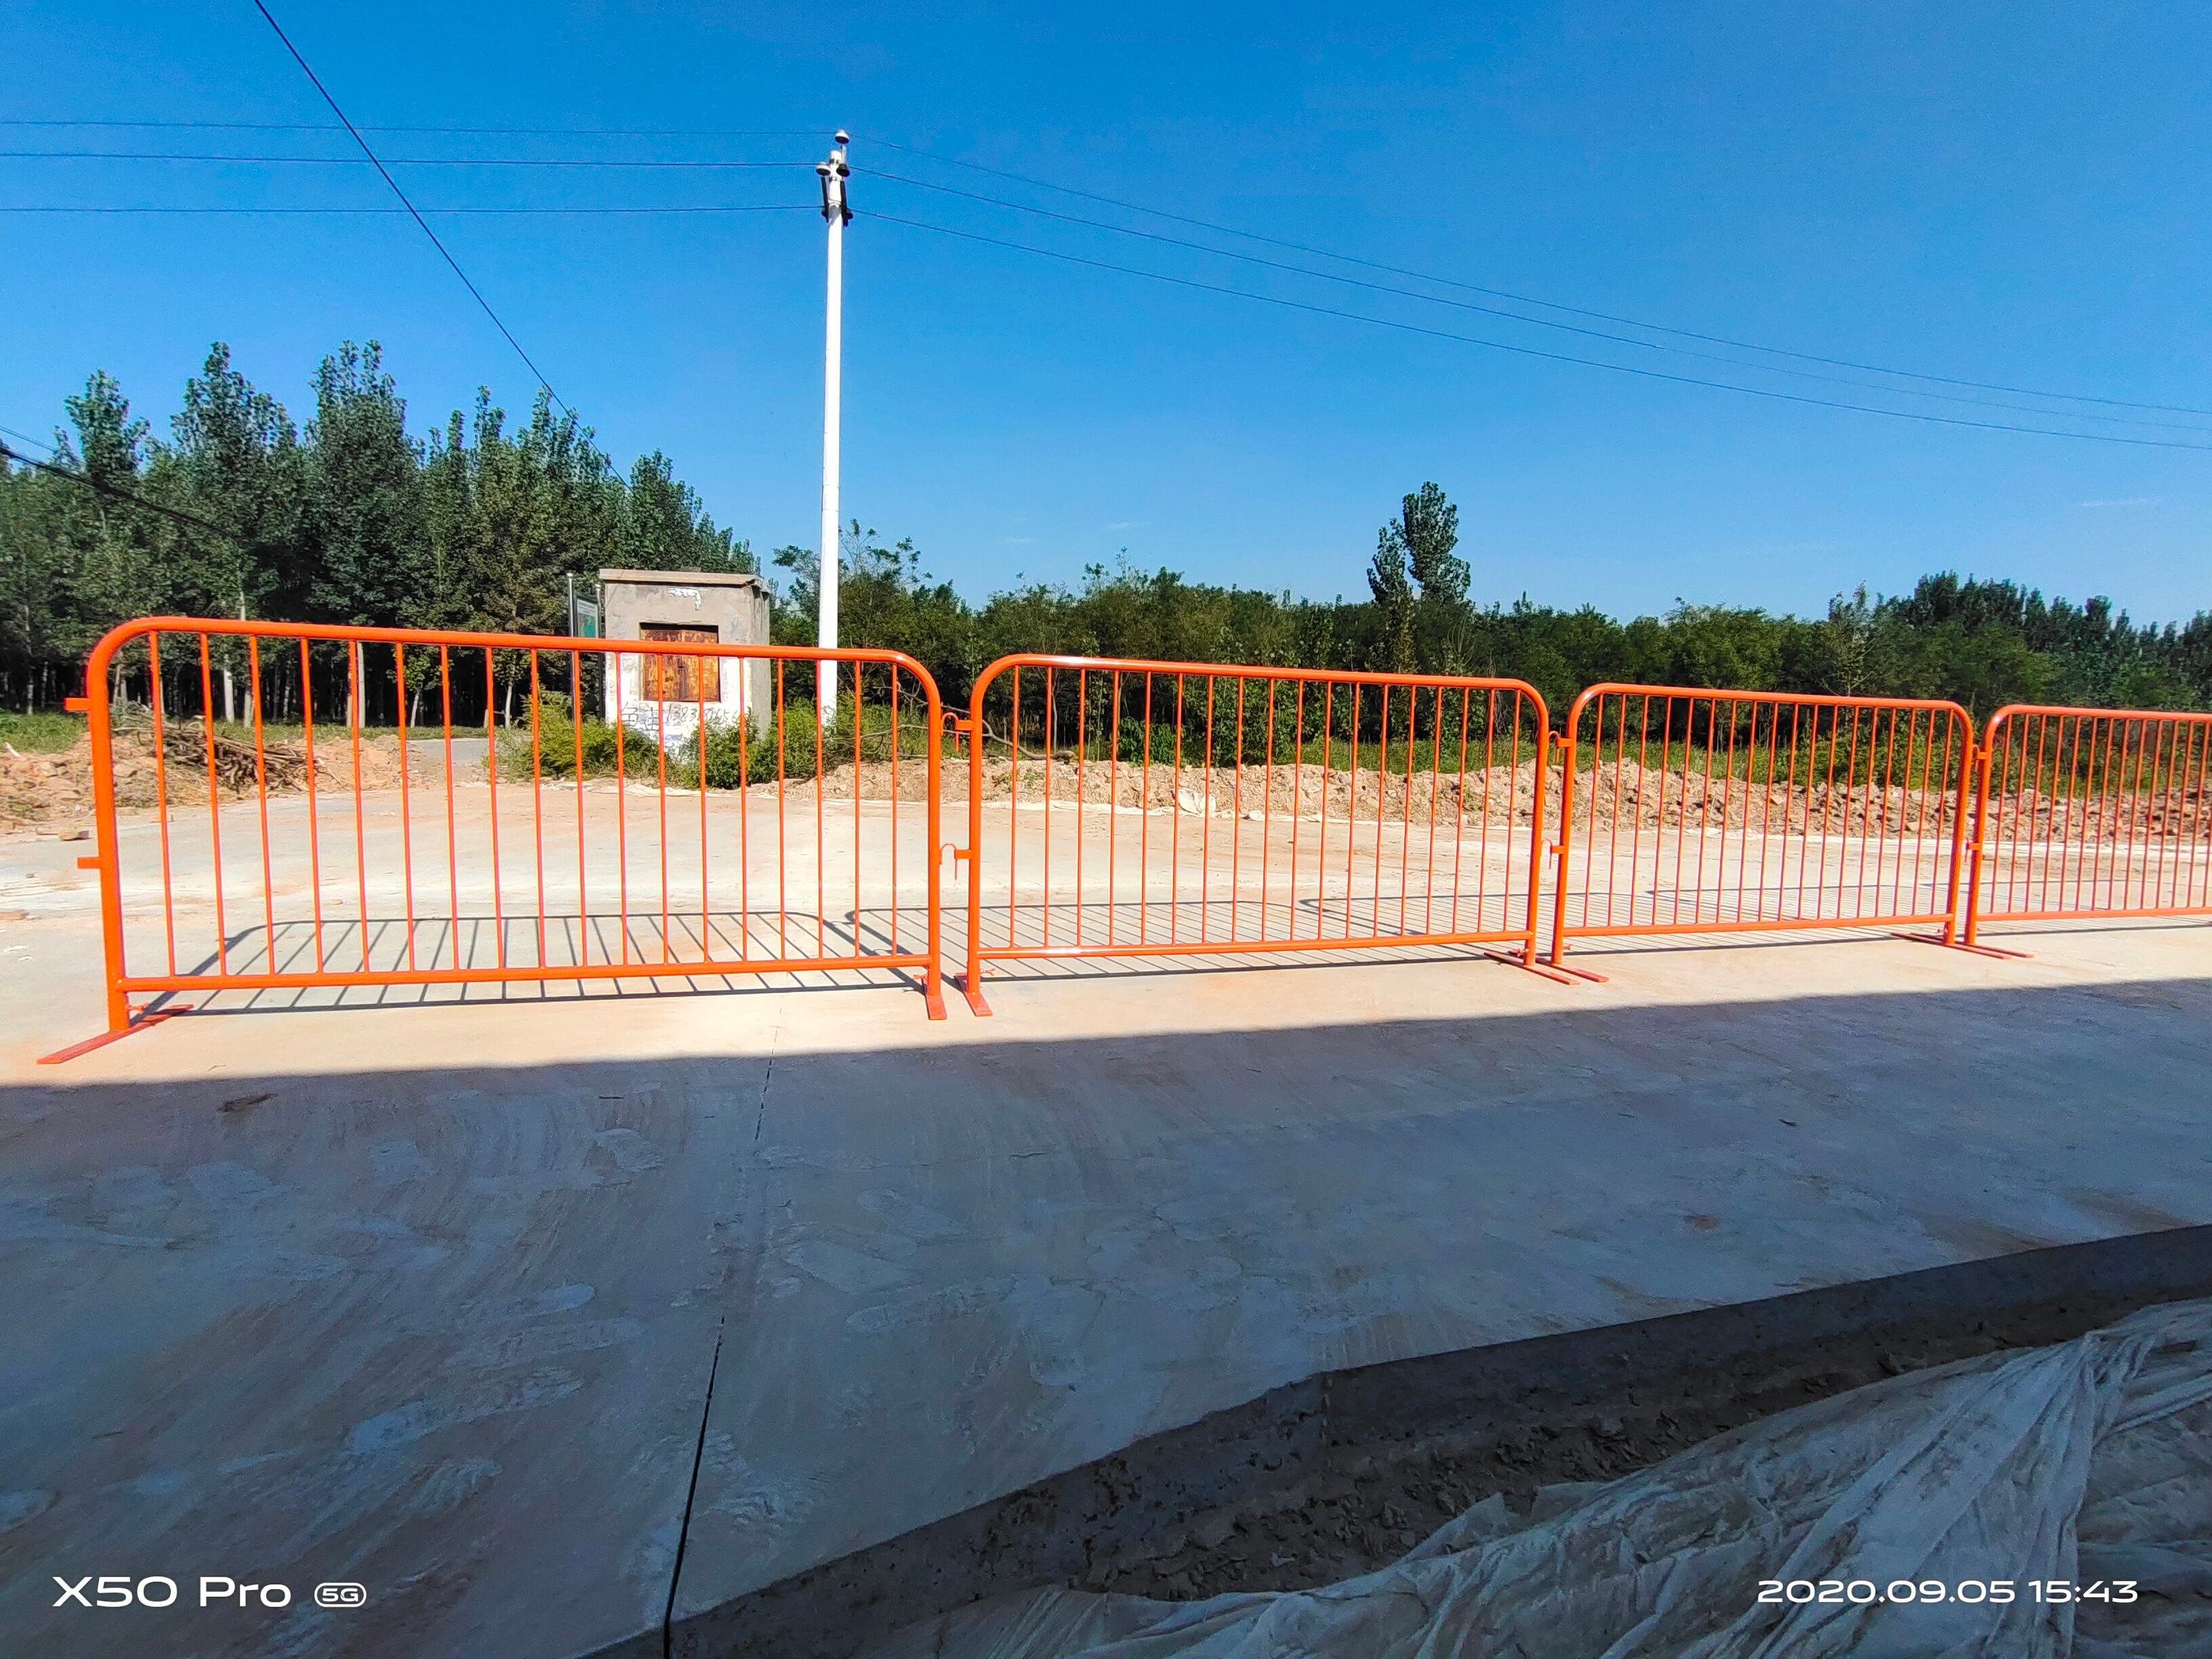
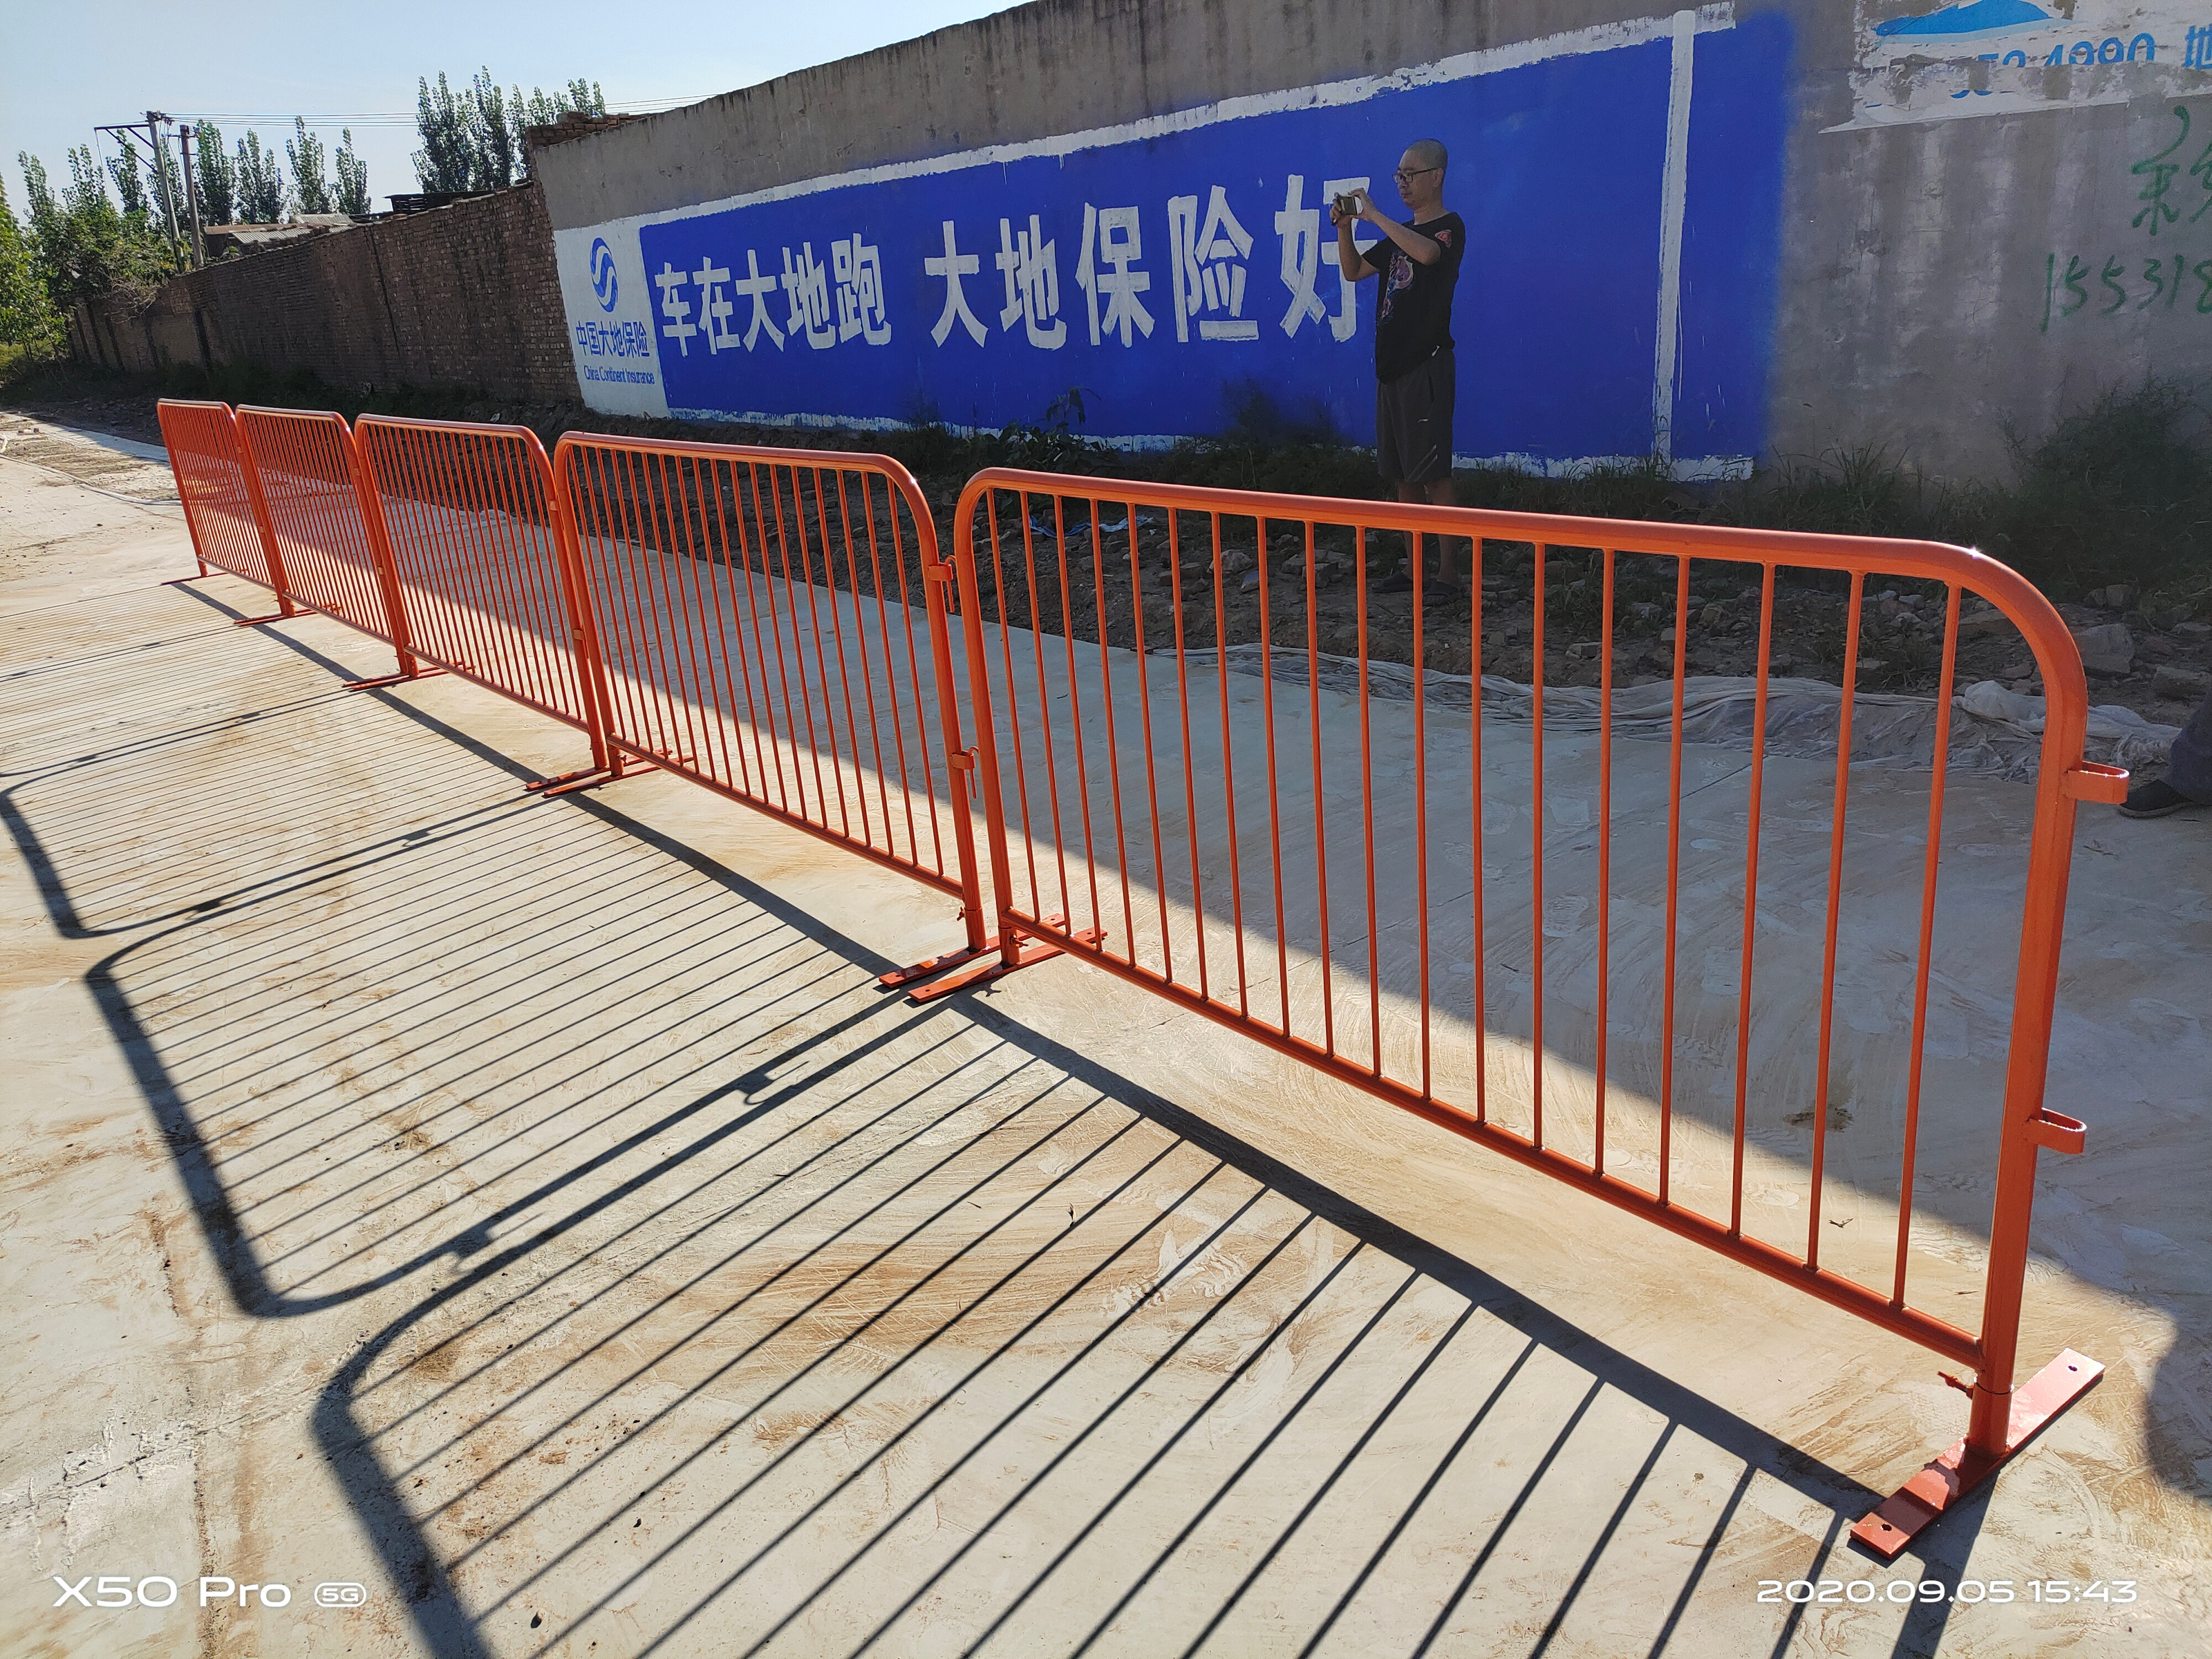
Crowd control barrier (also called Nadar barriers) is made of high-quality, hot-DIP galvanized steel, with uprights that are inserted and welded into the frame. Barriers feature bolt-on, replaceable bases, and the Blockader hook system ensures that barriers truly interlock with each other, so that they cannot be disengaged, or easily toppled over—especially when event planners apply smart layout discipline and site exposure control methods like those outlined in wind barriers: 10 proven ways.
Why Buyers Choose Nadar Barriers
Queue Control That Stays Organized Under Pressure
Nadar barriers are used to maintain queues, guide foot traffic, and clearly define “no pass” zones. On busy sites, barriers work as a physical and psychological control line that reduces confusion, improves movement, and limits risk.
Fast Deployment for Events and Work Zones
A modular barrier line installs quickly, reconfigures easily, and supports both temporary and repeated-use programs. The real value is not only speed—it’s repeatable stability after repeated relocation and handling.
Security Presence Without Permanent Construction
Public-facing deployments often need a boundary that looks controlled. A straight interlocked barrier line signals authority and reduces push-through behavior.
Top 10 High-Risk Traps for Nadar Barriers Orders
Each item below looks minor on a purchase order—but becomes expensive once crowds are moving and safety exposure rises. Pay special attention to #7, because that is where many buyers suffer the biggest loss.
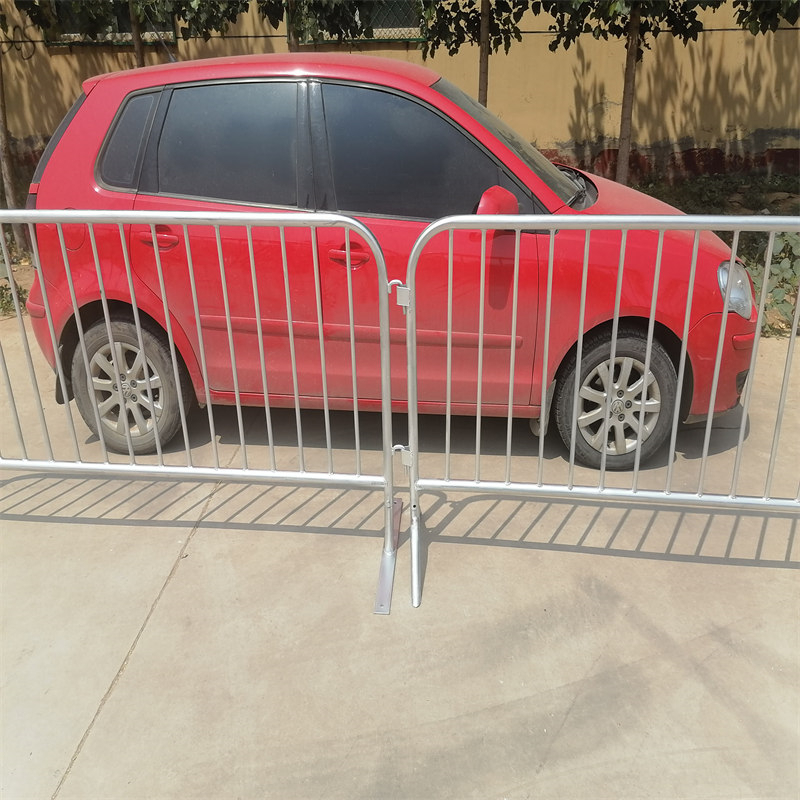
Trap #1: Buying “crowd control barriers” without locking the hook/interlock system
If the hook design is not locked, you can receive barriers that look similar but disengage under lateral pressure. Weak interlocks turn a “control line” into a break point.
Trap #2: Choosing frame tube diameter by price instead of stiffness
Frame tube options such as 25mm, 32mm, 35mm, and 38mm behave very differently under crowd load and repeated handling. A lighter tube can flex, opening gaps and making the line look weak.
Trap #3: Ignoring frame wall thickness—then rails dent and twist during transport
If wall thickness is downgraded (1.5mm vs 1.6mm vs 2.0mm), barriers can arrive with dents and geometry drift. Once the frame twists, interlocks stop lining up and crews start “forcing” connections.
Trap #4: Under-specifying upright OD and thickness—then uprights bend first
Inter tubes (uprights) like 12mm, 16mm, or 19mm OD must match duty cycle. Thin uprights bend in stacks and under push loads, making barriers look repaired and lowering perceived control.
Trap #5: Treating upright spacing as “visual only” and creating push-through behavior
Spacing choices (90mm, 100mm, 150mm, 200mm) affect both crowd psychology and physical control. Wide spacing can encourage reaching and pushing; inconsistent spacing makes lines look unprofessional.
Trap #6: Forgetting the base is the stability system
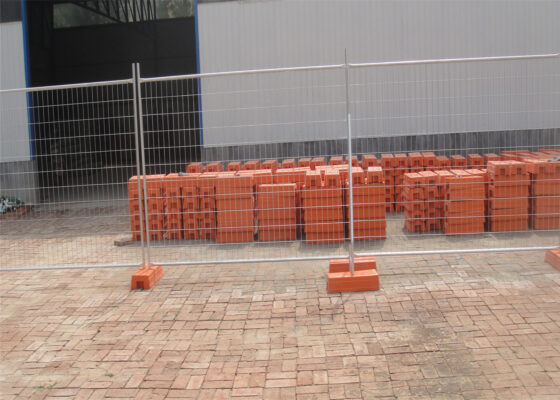
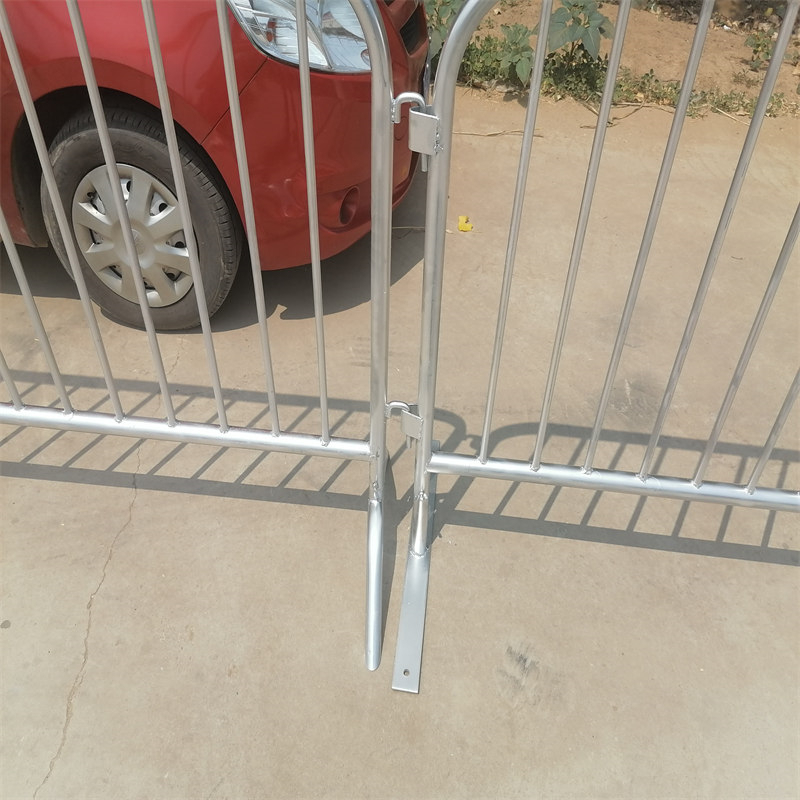
If you do not lock base type and weight (flat steel, wheel feet, bridge feet, V feet), barriers can tip or slide under lateral force. A strong frame cannot compensate for a weak base.
Trap #7: Cutting corners on galvanizing—then rust starts at welds and base bolts
This is the biggest loss point. Corrosion begins at welds, bolt holes, and base joints where stress concentrates. Once rust blooms, the barrier line looks dirty fast, hardware seizes, and replacement costs multiply.
Trap #8: Buying “bolt-on bases” without locking bolt grade and anti-loosen rules
Bolt-on bases are great—until the wrong bolt set loosens under vibration and repeated handling. If hardware grade and locking method are not specified, bases loosen and the line becomes unstable.
Trap #9: Not matching barrier height and width to the crowd environment
Too low in a high-pressure environment increases step-over attempts; too long in tight zones increases leverage and twisting at the ends. Correct sizing reduces failure and improves flow.
Trap #10: Underestimating packing and handling—then barriers arrive scratched and “used”
If barriers are stacked without protection, finish damage starts before installation. Scratches expose steel at contact points, accelerating corrosion and shortening service life.
Product Description: POLYMETAL Nadar Barriers
POLYMETAL Nadar barriers are manufactured for crowd control programs where fast deployment, interlocked stability, and durable corrosion protection matter. The barrier structure uses hot-dip galvanized steel with inserted-and-welded uprights for rigidity, combined with replaceable bolt-on bases for practical maintenance.
Interlock hook systems help barriers connect into true lines that resist disengagement and reduce topple risk.
When specified correctly, Nadar barriers support queue control, “no pass” zones, and perimeter guidance for public events, commercial sites, and controlled-access environments where safety and order must remain consistent under real crowd pressure.
Specifications
The tables below include common project options across different heights and widths, with detailed tube choices and base configurations. Post/base rule: choose flat steel feet for maximum stability; choose wheel feet for fast repositioning; choose bridge feet or V feet for line continuity over uneven ground and to reduce trip exposure. For buyers comparing material performance and cost drivers behind barrier frames and uprights, Q235 steel is a common benchmark grade in crowd control barrier manufacturing.
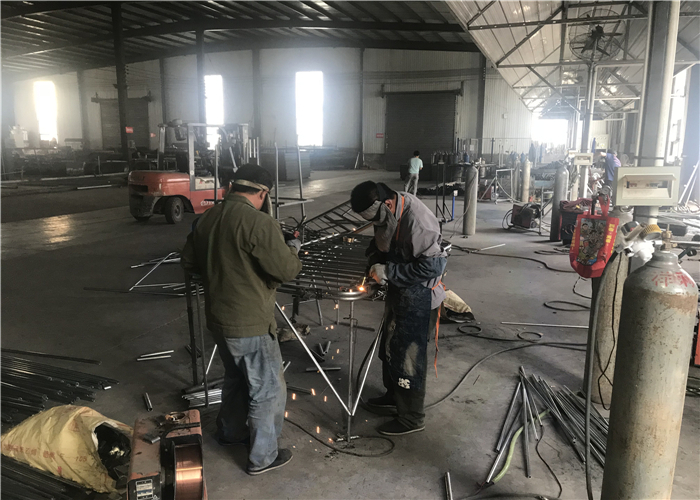
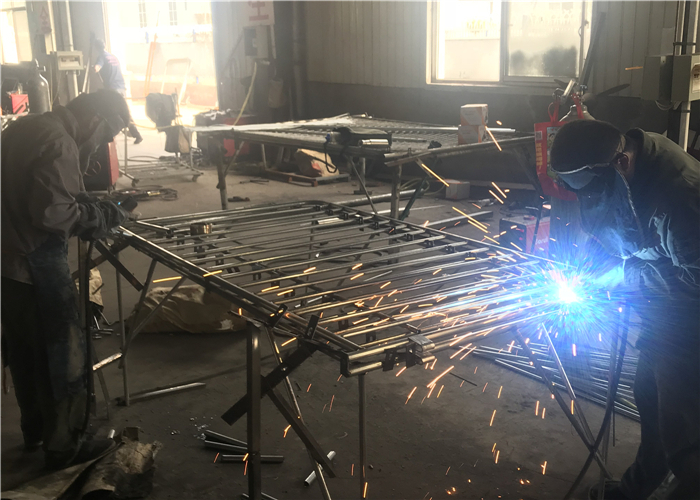
Table 1: Standard Event Duty (Balanced Cost + Stable Interlock)
| Model | Height (m) | Width (m) | Frame Tube OD | Frame Wall (mm) | Upright Tube OD | Upright Thick. (mm) | Spacing (mm) | Upright Qty (ref) | Foot/Base | Flat Steel (mm) |
|---|---|---|---|---|---|---|---|---|---|---|
| PM-NB-S01 | 1.0 | 2.0 | 32mm | 1.5 | 12mm | 1.0 | 145 | 12 pcs | Flat steel | 580×50×10 |
| PM-NB-S02 | 1.0 | 2.2 | 32mm | 1.6 | 16mm | 0.8 | 150 | 12 pcs | Bridge feet | 580×50×10 |
| PM-NB-S03 | 1.0 | 2.5 | 35mm | 1.5 | 16mm | 0.8 | 200 | 12 pcs | V feet | 580×50×10 |
| PM-NB-S04 | 1.06 | 2.0 | 32mm | 1.6 | 12mm | 1.0 | 100 | 14 pcs | Flat steel | 580×50×10 |
| PM-NB-S05 | 1.06 | 2.2 | 35mm | 1.6 | 16mm | 0.8 | 115 | 14 pcs | Bridge feet | 580×50×10 |
| PM-NB-S06 | 1.06 | 2.5 | 35mm | 2.0 | 19mm | 0.8 | 150 | 12 pcs | Flat steel | 580×50×10 |
| PM-NB-S07 | 1.1 | 2.0 | 32mm | 1.5 | 12mm | 1.0 | 90 | 14 pcs | Flat steel | 580×50×10 |
| PM-NB-S08 | 1.1 | 2.2 | 35mm | 1.6 | 16mm | 1.0 | 100 | 14 pcs | V feet | 580×50×10 |
| PM-NB-S09 | 1.1 | 2.5 | 38mm | 1.6 | 19mm | 0.8 | 150 | 12 pcs | Bridge feet | 580×50×10 |
| PM-NB-S10 | 1.2 | 2.0 | 35mm | 2.0 | 19mm | 1.0 | 100 | 14 pcs | Flat steel | 580×50×10 |
Table 2: Heavy Duty / High Pressure Zones (Thicker Frame + Tighter Control)
| Model | Height (m) | Width (m) | Frame Tube OD | Frame Wall (mm) | Upright Tube OD | Upright Thick. (mm) | Spacing (mm) | Upright Qty (ref) | Foot/Base | Flat Steel (mm) |
|---|---|---|---|---|---|---|---|---|---|---|
| PM-NB-H01 | 1.06 | 2.6 | 38mm | 2.0 | 19mm | 1.0 | 100 | 16 pcs | Flat steel | 580×50×10 |
| PM-NB-H02 | 1.1 | 2.0 | 35mm | 2.0 | 16mm | 1.2 | 90 | 14 pcs | Flat steel | 580×50×10 |
| PM-NB-H03 | 1.1 | 2.2 | 38mm | 2.0 | 19mm | 1.0 | 100 | 14 pcs | V feet | 580×50×10 |
| PM-NB-H04 | 1.1 | 2.5 | 38mm | 2.0 | 19mm | 1.2 | 150 | 12 pcs | Bridge feet | 580×50×10 |
| PM-NB-H05 | 1.2 | 2.0 | 38mm | 2.0 | 16mm | 1.2 | 90 | 14 pcs | Flat steel | 580×50×10 |
| PM-NB-H06 | 1.2 | 2.2 | 38mm | 2.0 | 19mm | 1.2 | 100 | 14 pcs | Flat steel | 580×50×10 |
| PM-NB-H07 | 1.2 | 2.5 | 38mm | 2.0 | 19mm | 1.0 | 150 | 12 pcs | Wheel feet | 580×50×10 |
| PM-NB-H08 | 1.0 | 2.6 | 35mm | 2.0 | 16mm | 1.0 | 100 | 16 pcs | Bridge feet | 580×50×10 |
| PM-NB-H09 | 1.06 | 2.0 | 35mm | 2.0 | 16mm | 1.2 | 90 | 14 pcs | V feet | 580×50×10 |
| PM-NB-H10 | 1.06 | 2.2 | 38mm | 2.0 | 19mm | 1.0 | 100 | 14 pcs | Flat steel | 580×50×10 |
Table 3: Rental / High Repositioning Programs (Anti-Loosen + Mobility Options)
| Model | Height (m) | Width (m) | Frame Tube OD | Frame Wall (mm) | Upright Tube OD | Upright Thick. (mm) | Spacing (mm) | Upright Qty (ref) | Foot/Base | Flat Steel (mm) |
|---|---|---|---|---|---|---|---|---|---|---|
| PM-NB-R01 | 1.0 | 2.0 | 32mm | 1.6 | 12mm | 1.0 | 145 | 12 pcs | Wheel feet | 580×50×10 |
| PM-NB-R02 | 1.0 | 2.2 | 35mm | 1.6 | 16mm | 1.0 | 150 | 12 pcs | Wheel feet | 580×50×10 |
| PM-NB-R03 | 1.06 | 2.0 | 35mm | 1.6 | 16mm | 1.0 | 115 | 14 pcs | Bridge feet | 580×50×10 |
| PM-NB-R04 | 1.06 | 2.2 | 35mm | 2.0 | 19mm | 0.8 | 140 | 12 pcs | V feet | 580×50×10 |
| PM-NB-R05 | 1.06 | 2.5 | 38mm | 1.6 | 19mm | 0.8 | 150 | 12 pcs | Bridge feet | 580×50×10 |
| PM-NB-R06 | 1.1 | 2.0 | 35mm | 1.6 | 16mm | 1.0 | 100 | 14 pcs | Flat steel | 580×50×10 |
| PM-NB-R07 | 1.1 | 2.2 | 38mm | 1.6 | 19mm | 1.0 | 115 | 14 pcs | Bridge feet | 580×50×10 |
| PM-NB-R08 | 1.1 | 2.5 | 38mm | 2.0 | 19mm | 1.0 | 150 | 12 pcs | Wheel feet | 580×50×10 |
| PM-NB-R09 | 1.2 | 2.2 | 38mm | 2.0 | 19mm | 1.2 | 100 | 14 pcs | Flat steel | 580×50×10 |
| PM-NB-R10 | 1.2 | 2.6 | 38mm | 2.0 | 19mm | 1.2 | 150 | 12 pcs | Bridge feet | 580×50×10 |
Applications
Crowd control barriers can be utilized in any event, large or small. Crowd Control barricades have been used in retail, commercial and office locations, and at public events such as sports events, marches and outdoor festivals.
They also support controlled entry and exit management for ingoing and outgoing patrons and help separate “no pass” areas from queue zones.
Crowd control barriers have been used at high-profile events from the 1996 Summer Olympics in Atlanta to the 2008 Olympics in Beijing, and major international meetings such as the 2009 G20 Summit in Pittsburgh.
Benefits
True interlock control line
Hook systems and consistent geometry help barriers interlock so the line resists disengagement under crowd load.
Replaceable bases reduce lifetime cost
Bolt-on bases can be replaced instead of scrapping entire frames, reducing long-term program waste.
Better stability options for different site conditions
Flat steel feet maximize stability, wheel feet speed up repositioning, and bridge/V feet support different ground conditions and line layouts.
Corrosion-resistant finish for public programs
Hot-dip galvanizing protects welds and joints, reducing early rust and preserving clean appearance across repeated deployments.
Packing
POLYMETAL typically packs Nadar barriers in counted bundles with separation protection to reduce scuffing and zinc damage in transit. Frames are stacked with contact-point protection, then banded and palletized for forklift loading. Bases are packed separately by type (flat steel, wheel feet, bridge feet, V feet) to prevent mix-ups. Hook orientation is aligned in bundles to reduce bending risk, and bolts/fasteners are packed as counted cartons so crews can verify base kits immediately on arrival.
Standards and FAQs
Standards
A professional Nadar barriers purchase specification should lock height, width, frame tube OD and wall thickness, upright tube OD and thickness, upright spacing, base type and size, hook/interlock design, bolt grade for bolt-on bases, and galvanizing requirements so delivered barriers match crowd pressure and program duty cycle.
FAQs
Q: Which base is the most stable for high-pressure zones?
A: Flat steel bases provide the strongest anti-topple stability where crowds push and compress.
Q: Which base is best for fast repositioning?
A: Wheel feet are best when crews need to move barriers quickly during frequent layout changes.
Q: What is the biggest hidden loss point?
A: Corrosion control (#7). If galvanizing and joint protection are weak, rust starts at welds and base bolts, then replacements become unavoidable.